Nimitz Alive!
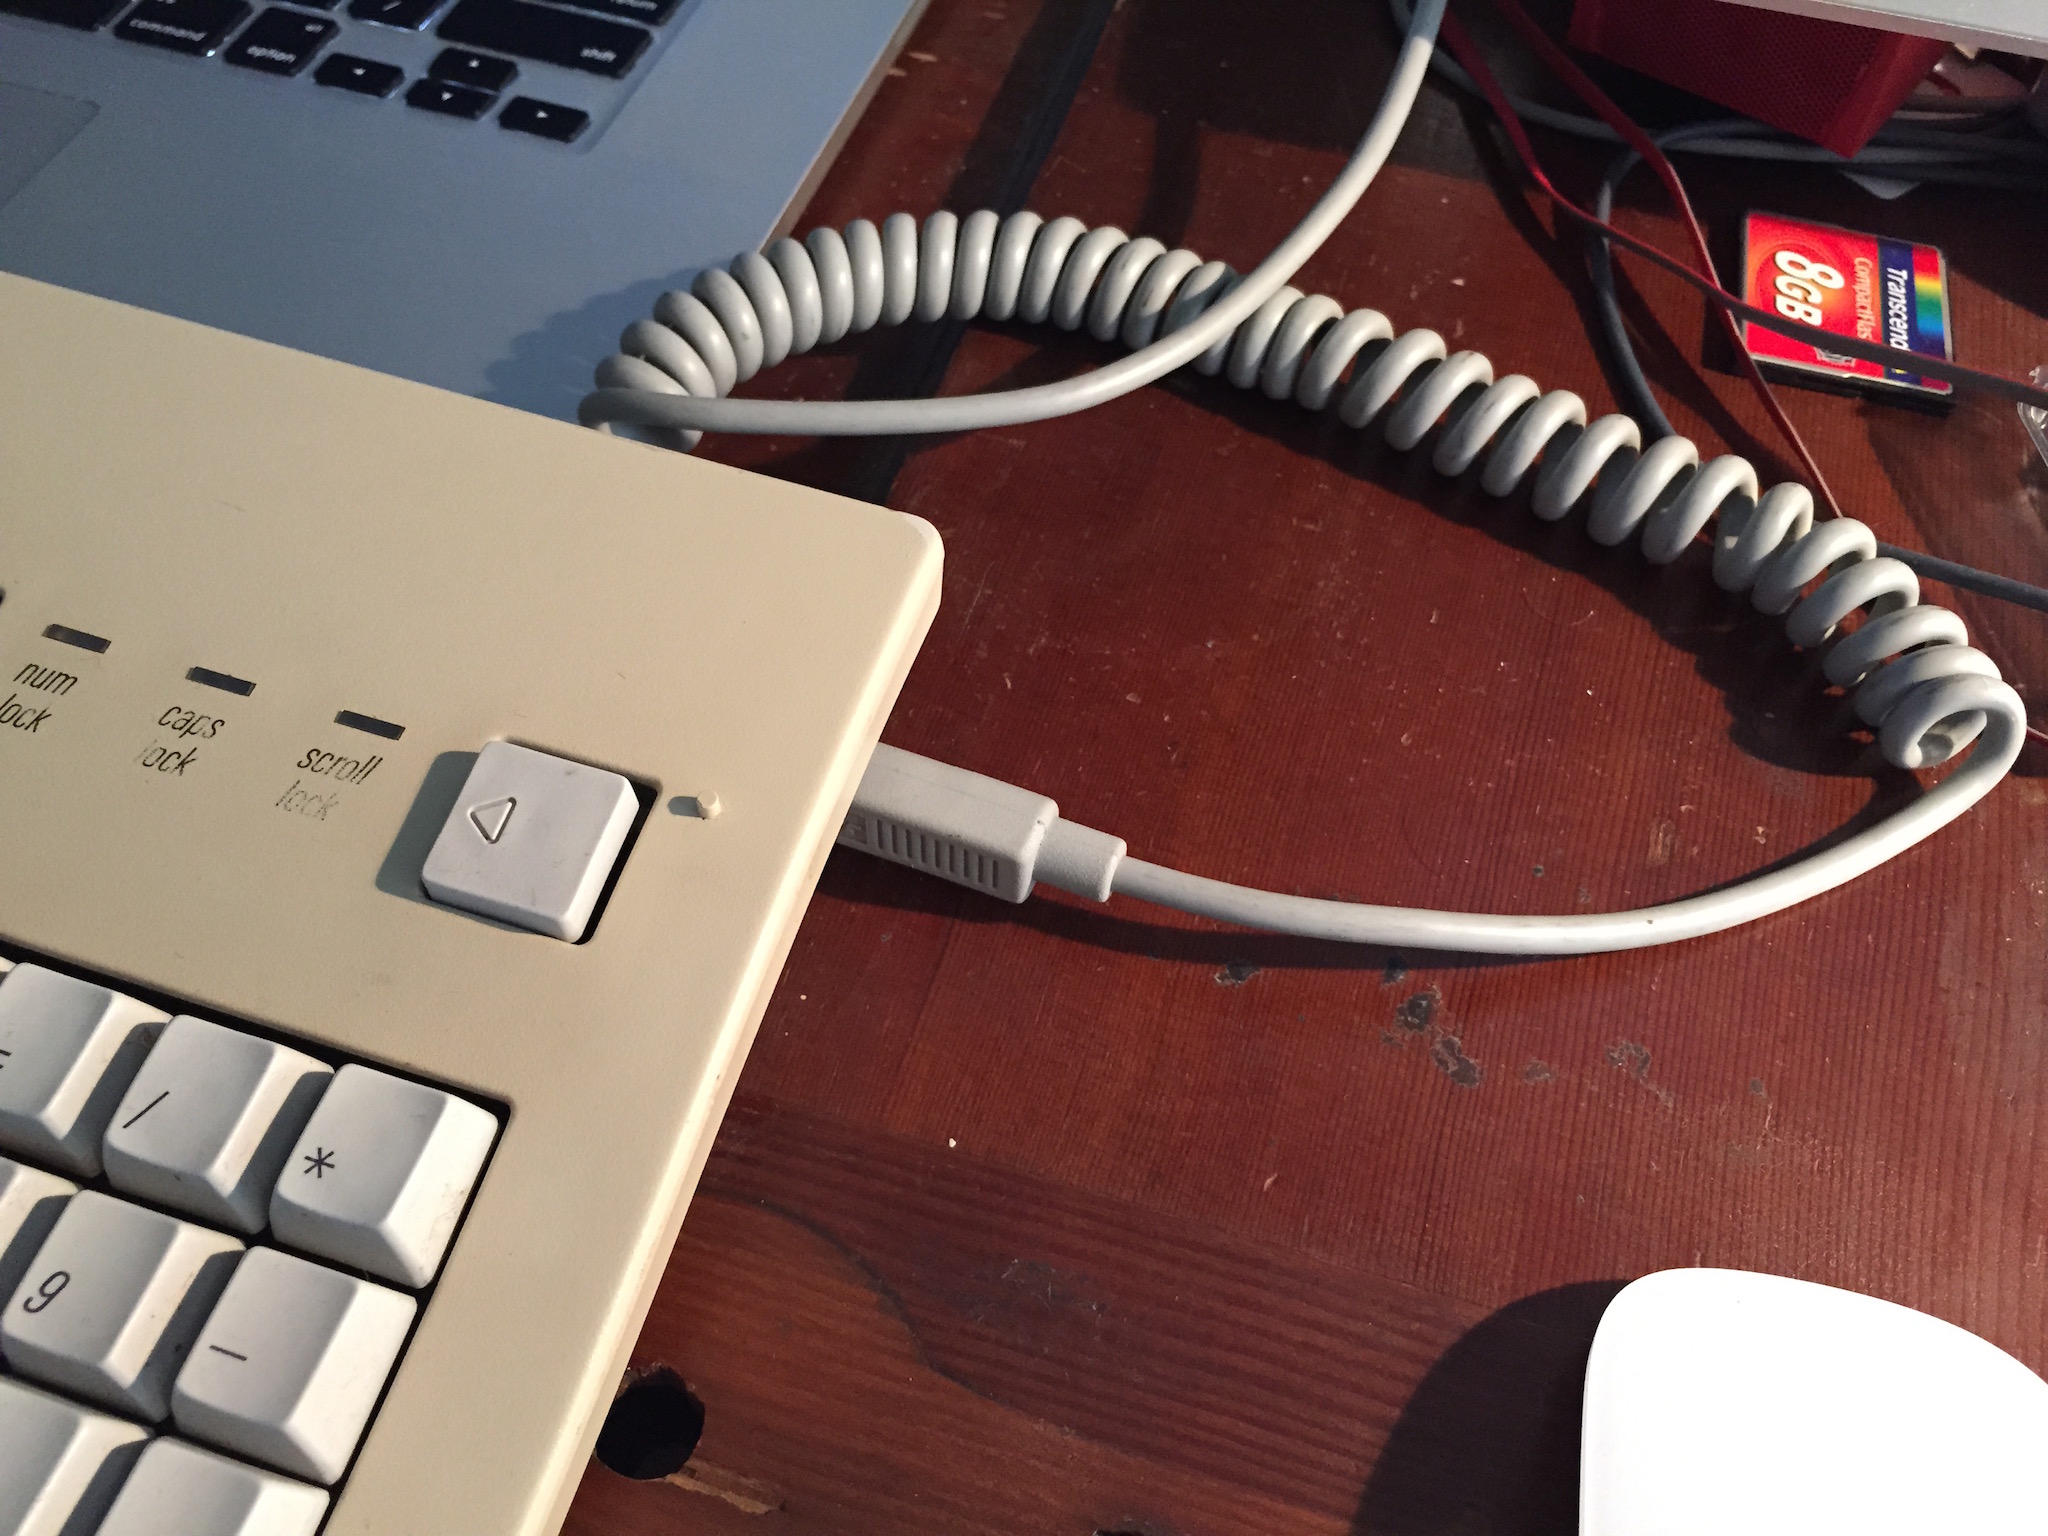
Mechanical keyboards. I love mechanical keyboards. I’ve owned several in the past, but between moves and an admitted amount of fickleness, I haven’t had one for about a decade. Now, that’s changed. I’m writing this on an Apple Extended Keyboard II. It’s stock, and is connected to my iMac via a homebuilt USB adapter.
Background
In the run-up to reintroducing a mechanical keyboard to my setup, I did plenty of research, and I looked back on my past experiences with both the IBM Model M and the Apple Extended Keyboard II. I considered new mechanicals made by WASD (both the stock v2 and Jeff Atwood’s CODE) and Unicomp. I quickly came to the realization that the Model M and the CODE were right out. The Model M because of its 101-key layout. I didn’t want to have to do too much training to figure out where and how I’d fit in an affordance for the Option key, and the CODE, while ostensibly supporting a Mac layout via DIP switches, felt a little bit like capitulating to a default-Windows-world. I quite like the WASD v2 with the available Mac layout (and I encourage you to play with their online keyboard designer. Colored keycaps! Fonts! Layouts!), but the price was a bit off-putting. I looked (very) briefly at the Unicomp, and quickly closed my browser tab. The aesthetics left more than a little to be desired. So I found myself back in the 90’s, looking for an Apple Extended Keyboard II. After reading an article about making your own USB adapter for the AEKII, the bug was planted, and the deal was sealed.
Start scouting eBay, and you’re bound to find some in good-enough condition. When looking at AEKIIs, you’ll discover that although all are Family Number M3501, some were manufactured in Japan, with Mitsumi key switches, while those made in the US and elsewhere had Alps key switches. Among aficionados, the Mitsumi switches are inferior to the Alps. You can verify the presence of Alps by checking place of manufacture, or by checking the serial number. All Alps key switch keyboards will have a serial number ending in M0312. You can find more gory details here
Assembly
I found one seller with four separate listings, each at a decent price, bundled with a counterpart Apple one-button mouse. I asked whether he’d consider a discount if I unbundled the mouse or bought multiple keyboards. He wrote back and gave me a decent discount on all four keyboards, minus mice, with free shipping: $112. Done. I had the keyboards, but no cables. My options were to follow ScottV’s lead (internalize the adapter and use a USB cable) or find an ADB cable. I opted for the latter with an external adapter for three main reasons:
- I had three backup keyboards, which meant there would be a lot of work to fix or swap components from a stock keyboard to a modified keyboard.
- There isn’t a whole lot of space inside the keyboard case, and I don’t have that much experience with soldering and small electronics to feel comfortable working in an environment that cramped.
- That original coiled ADB cable! Turns out, you can also get standalone cables on eBay. I found two in good shape–one was NOS (New Old Stock), for about $5 each.
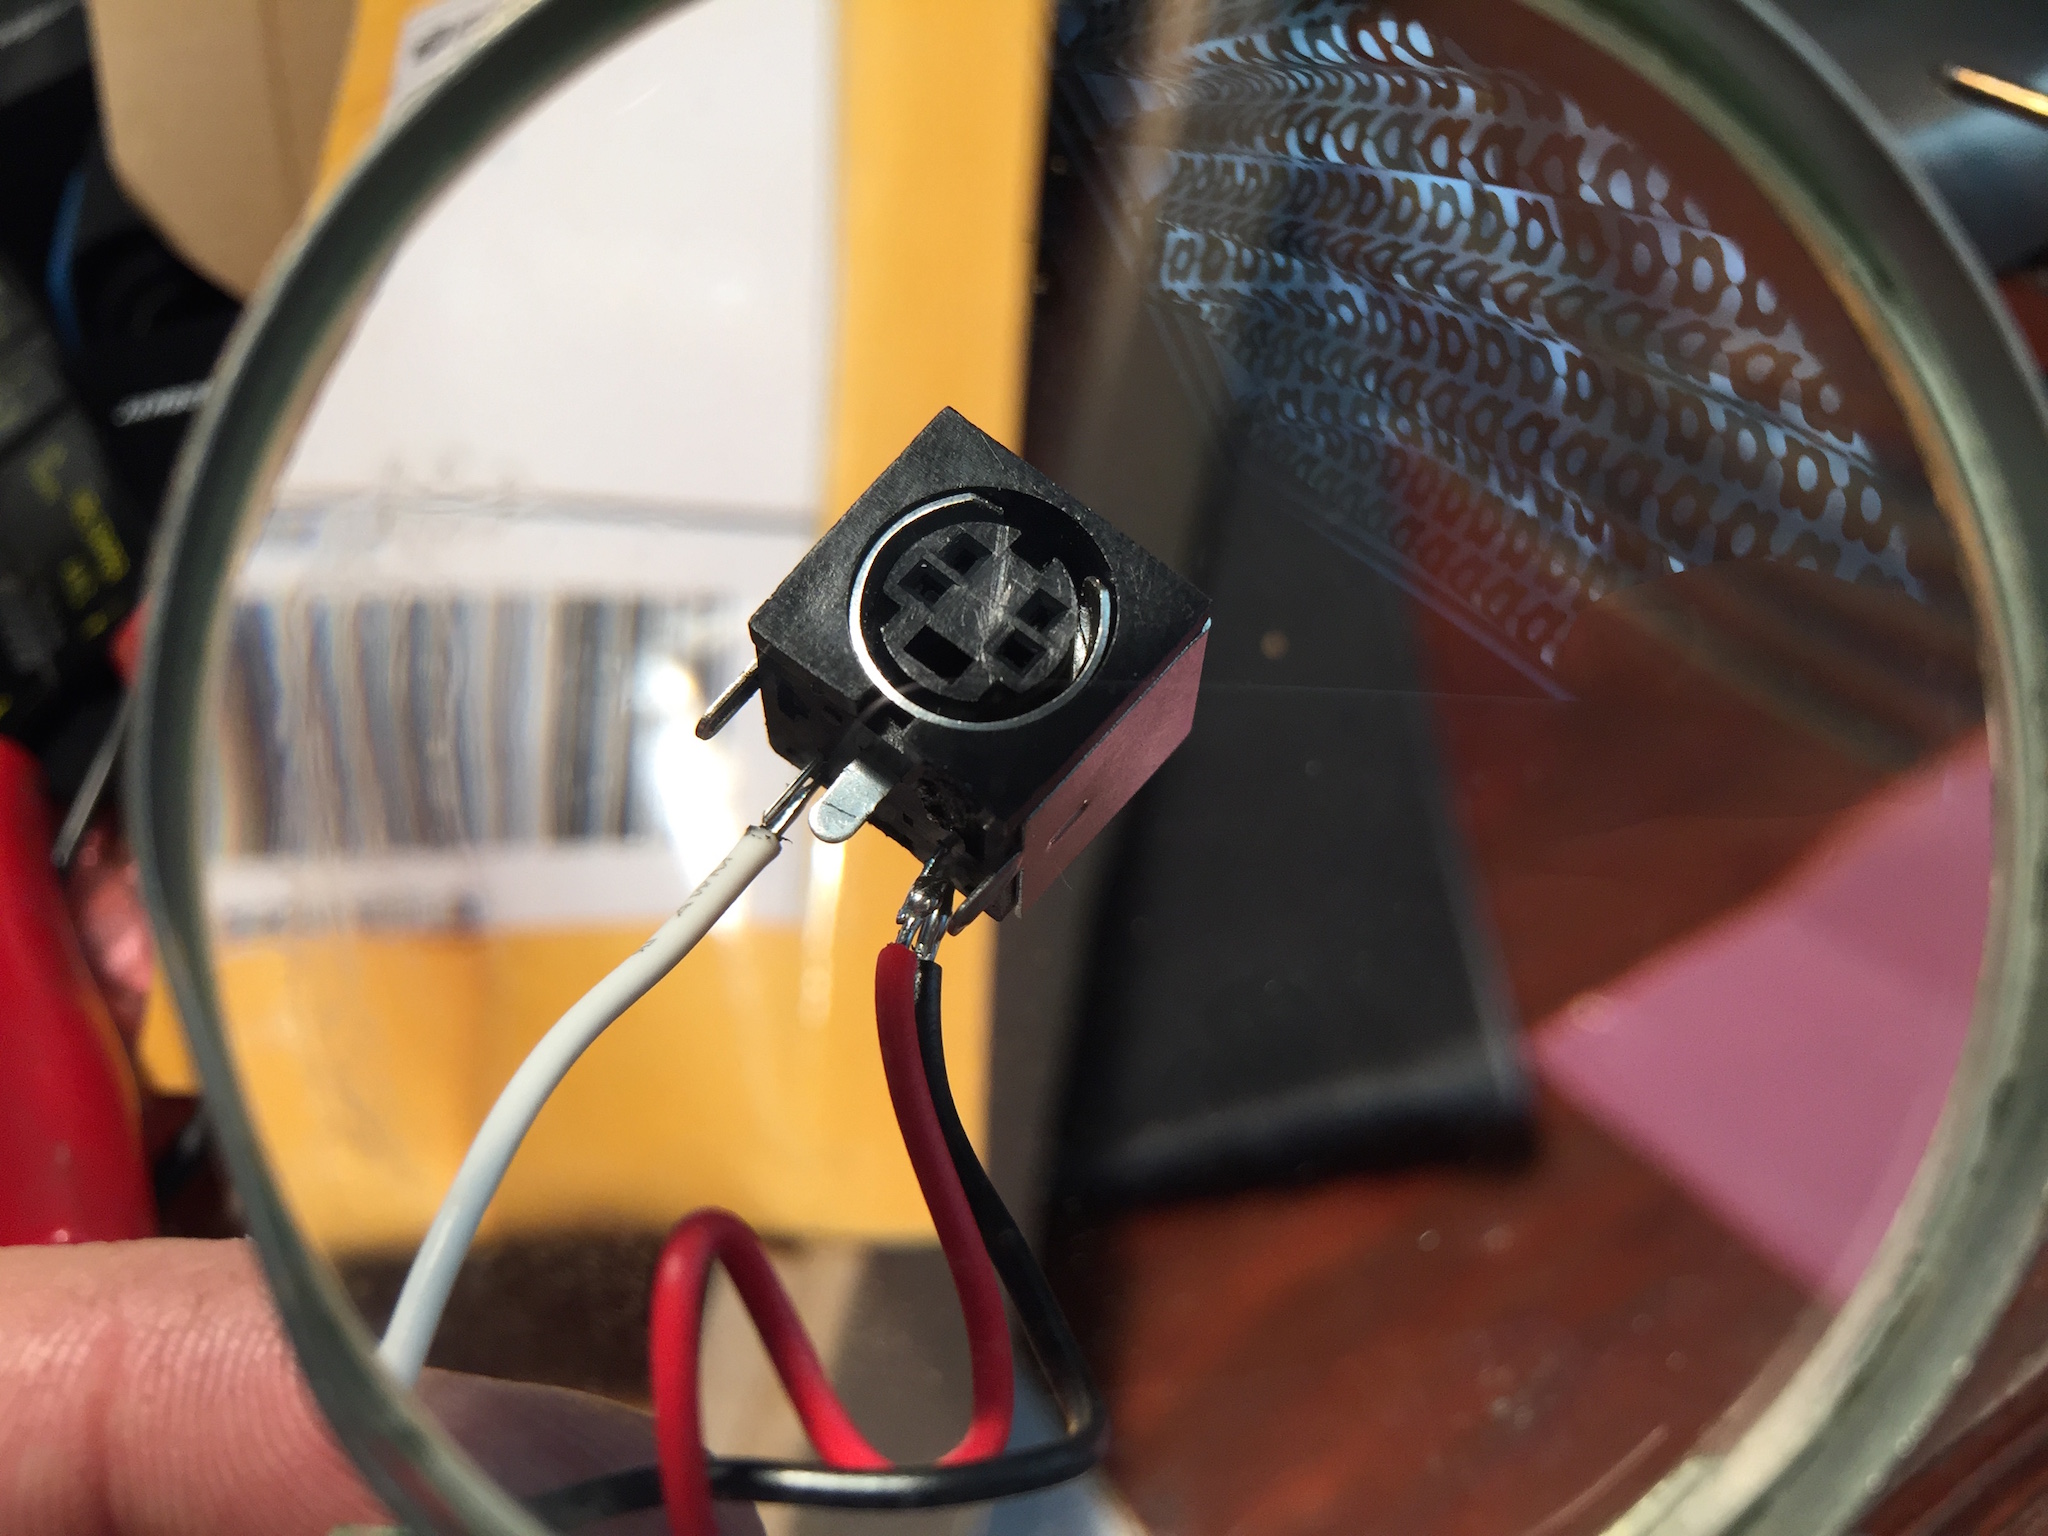
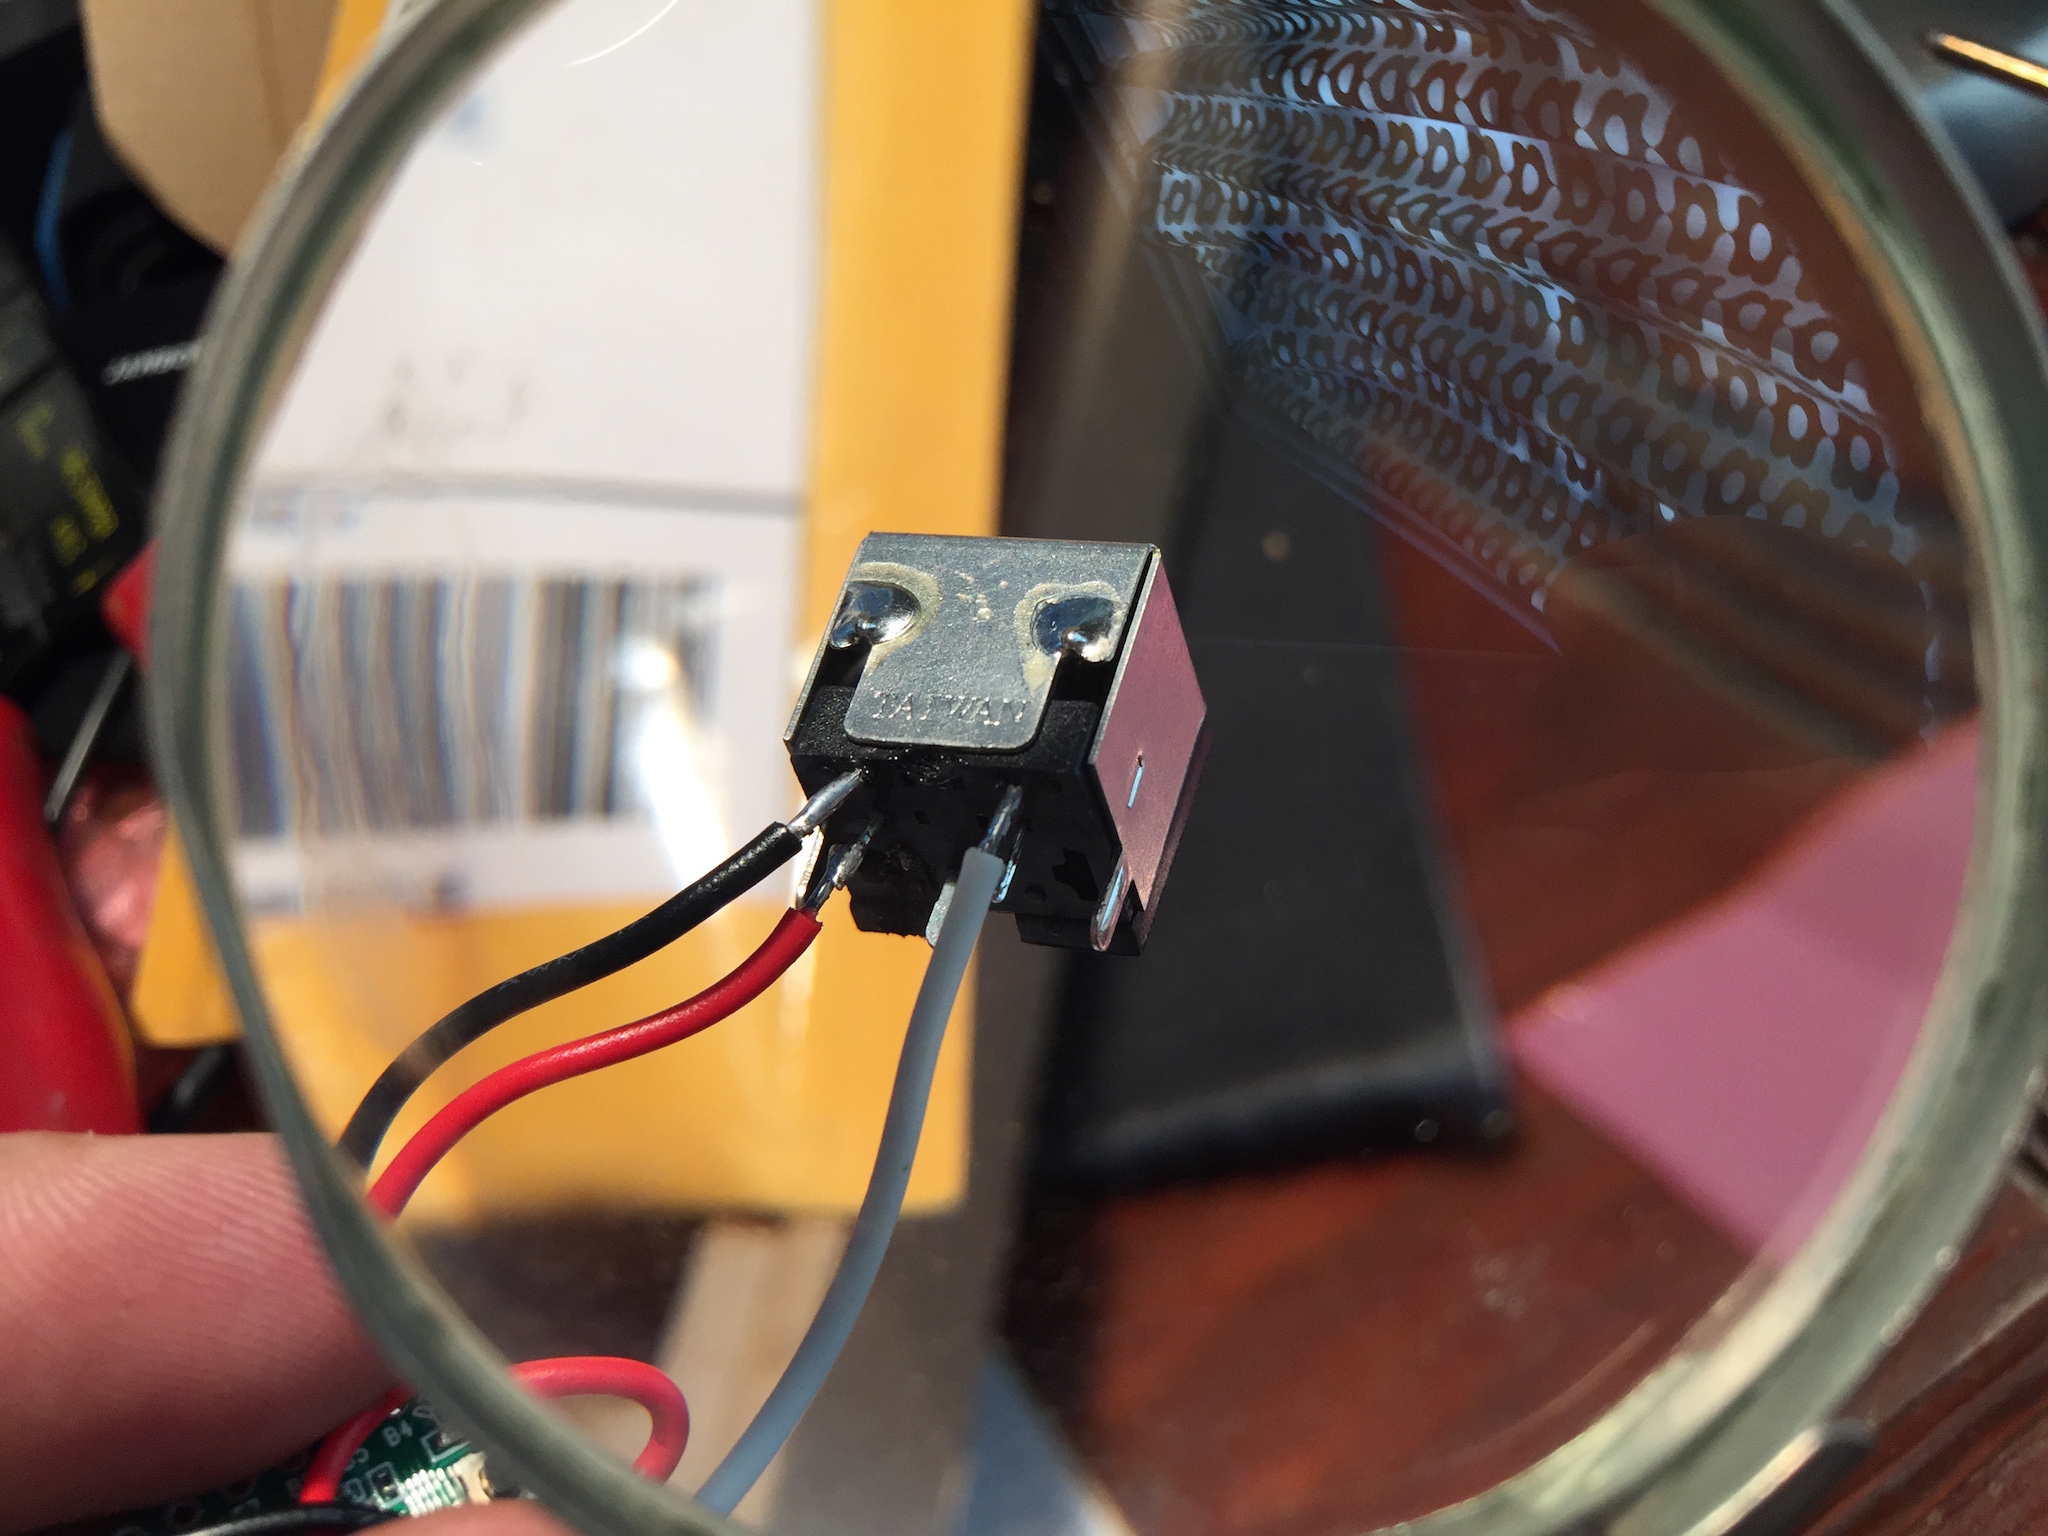
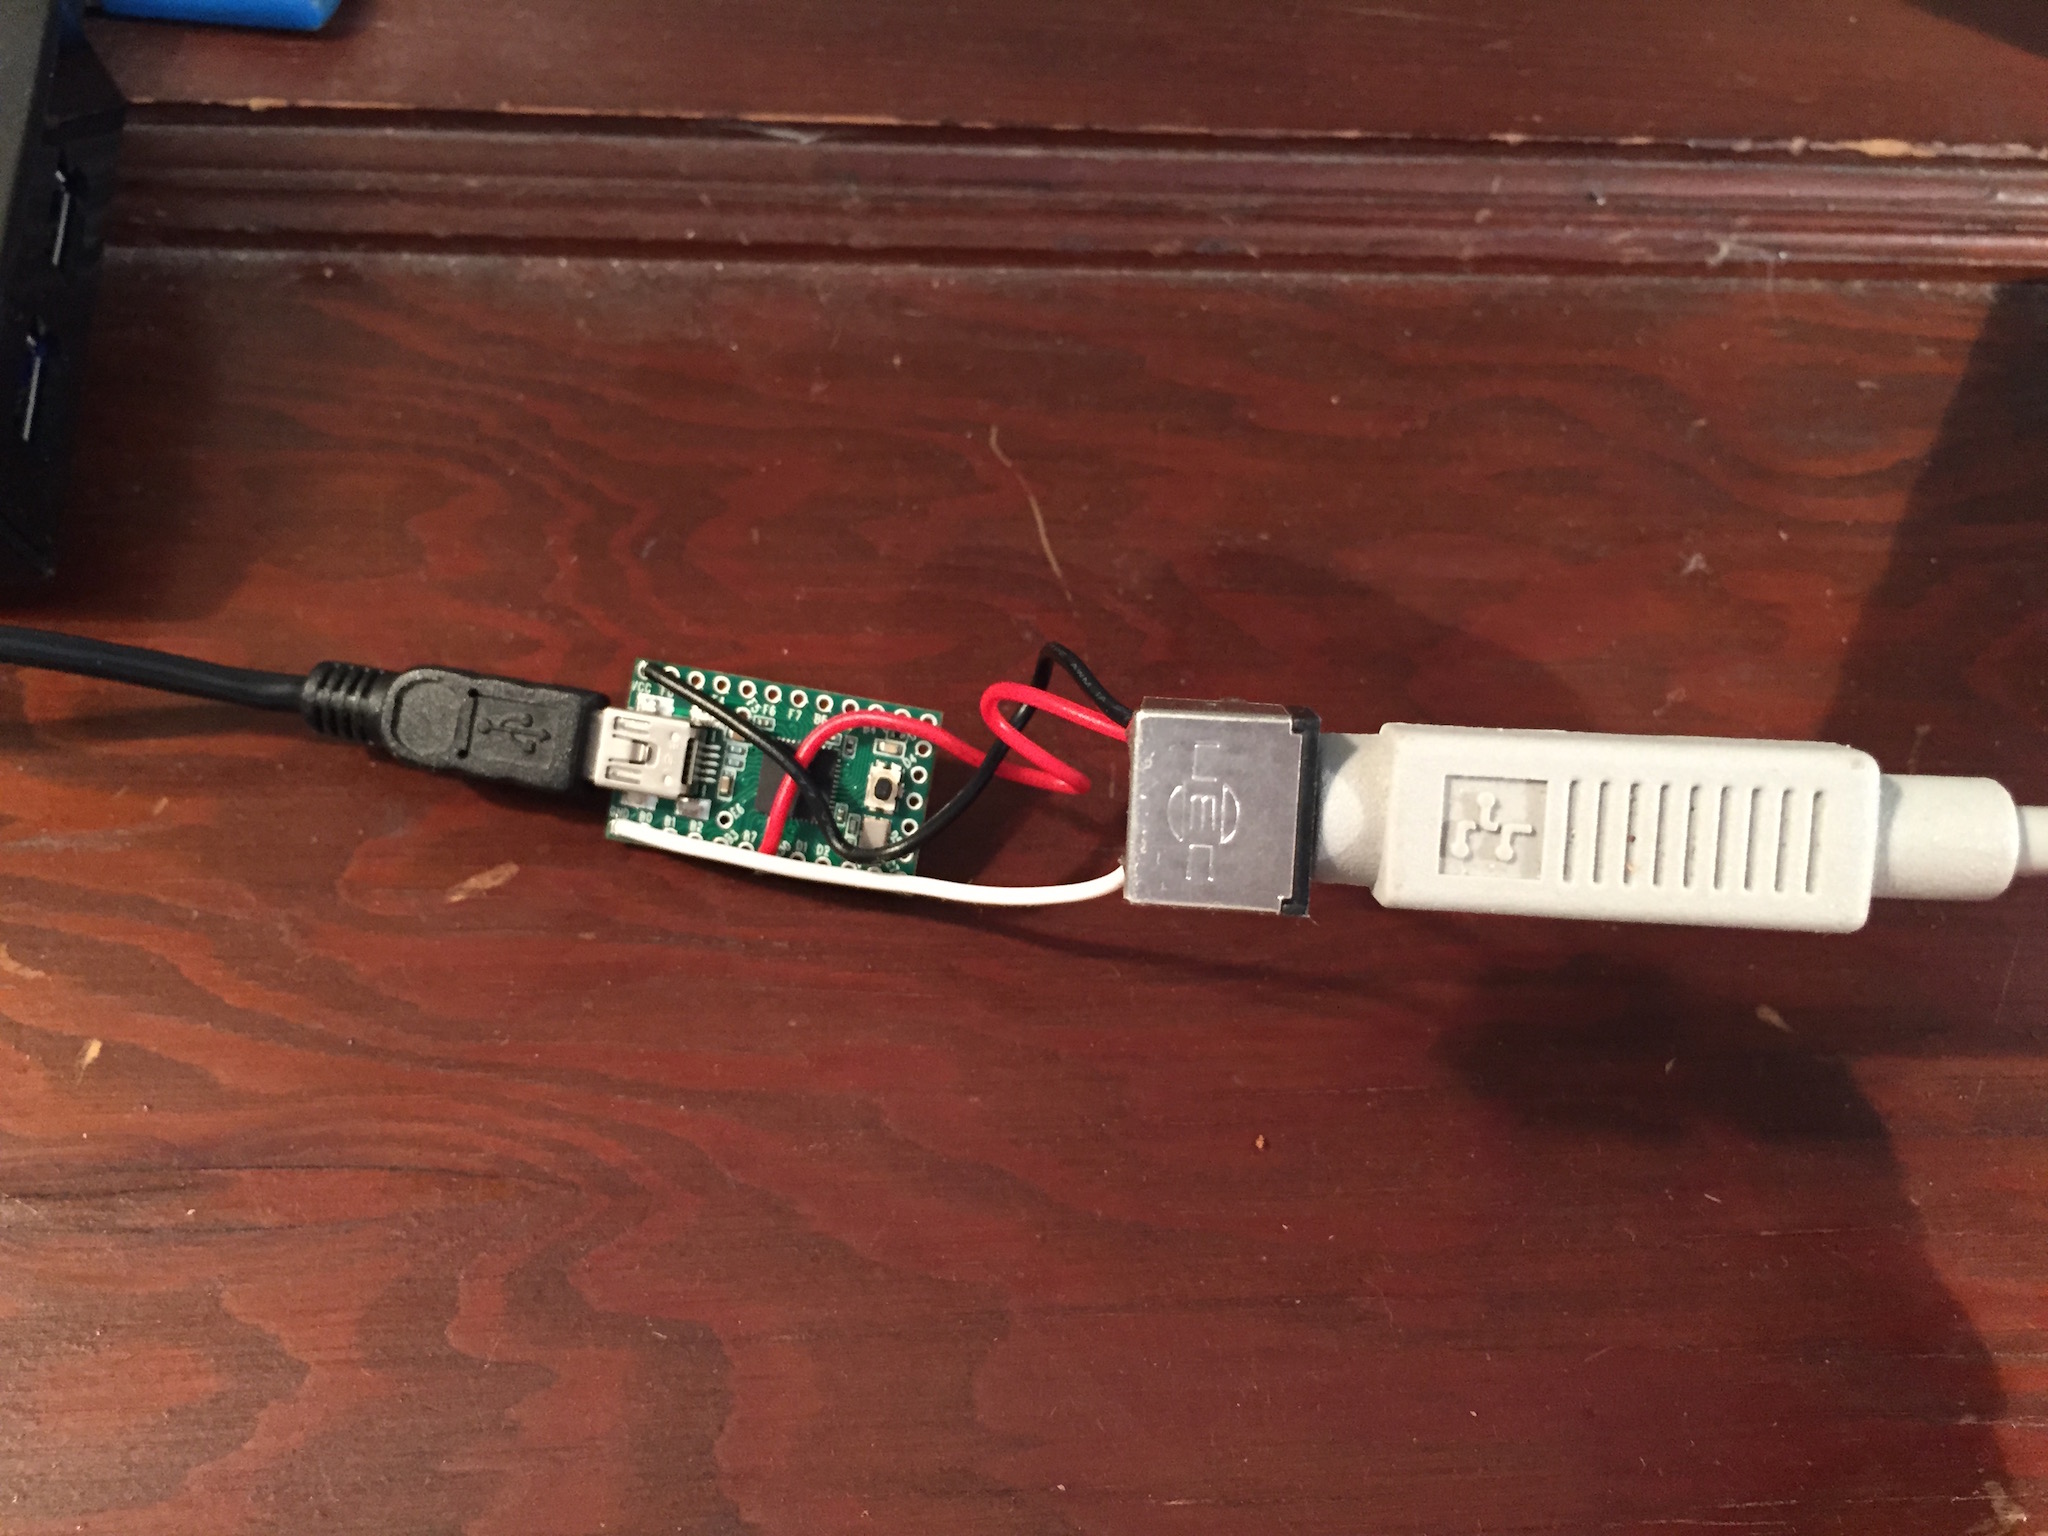
Going external, however, meant that I needed something to plug the cable into. ADB is basically just branded S-Video, so let’s go back to eBay and get some S-Video connectors. 10 for $5? Done.
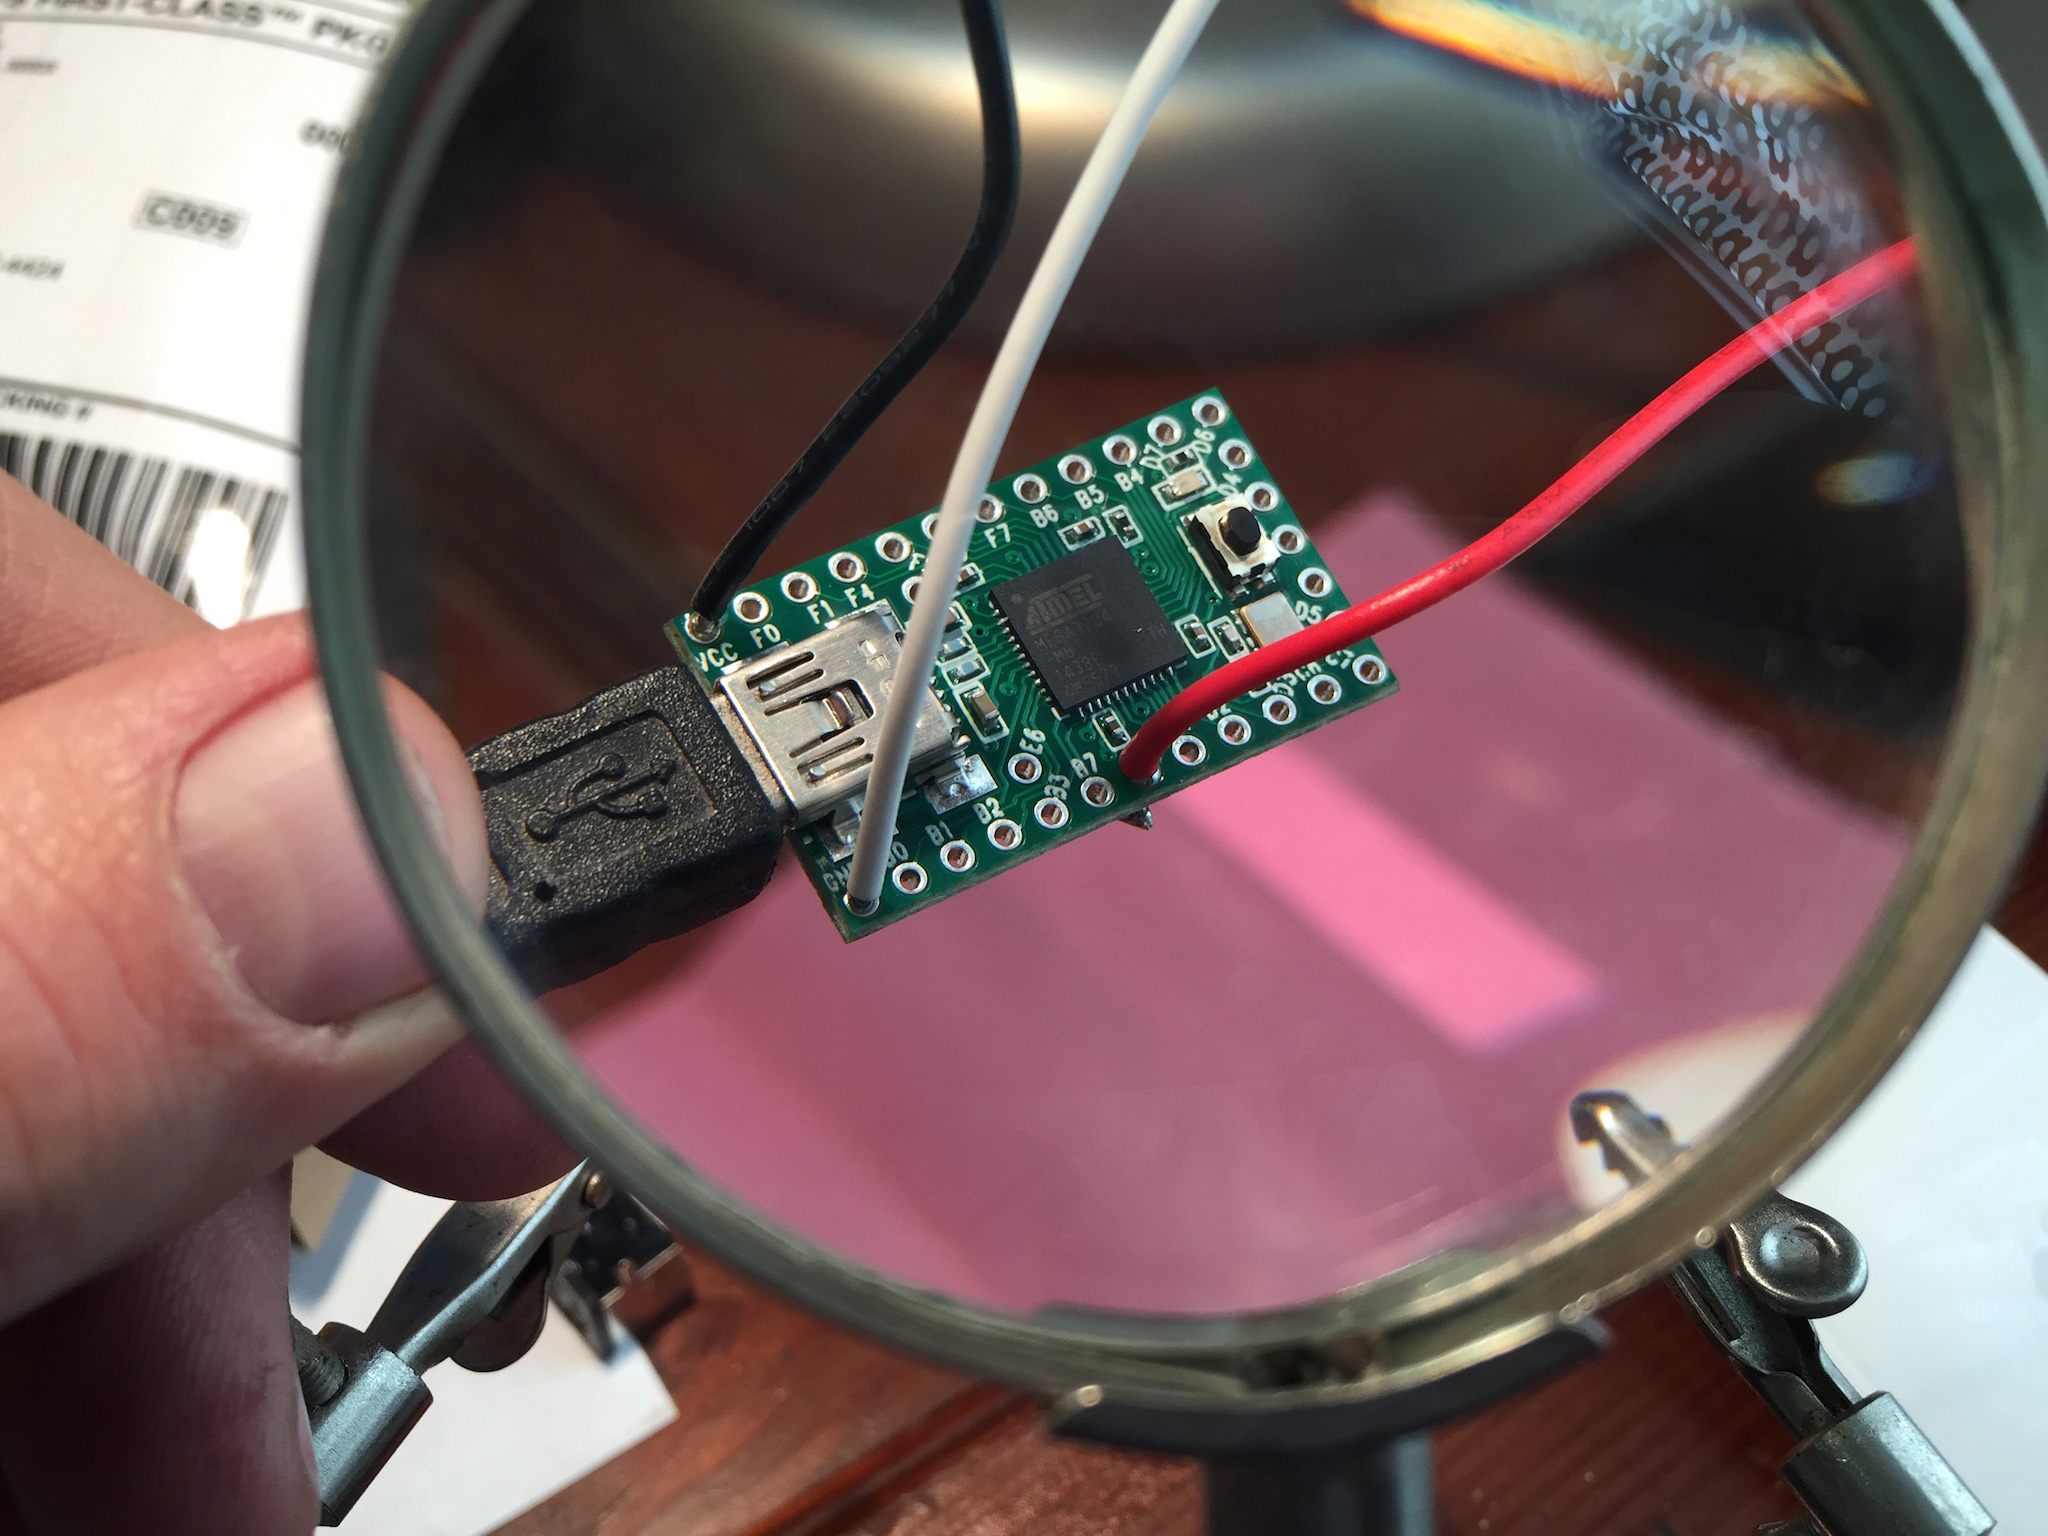
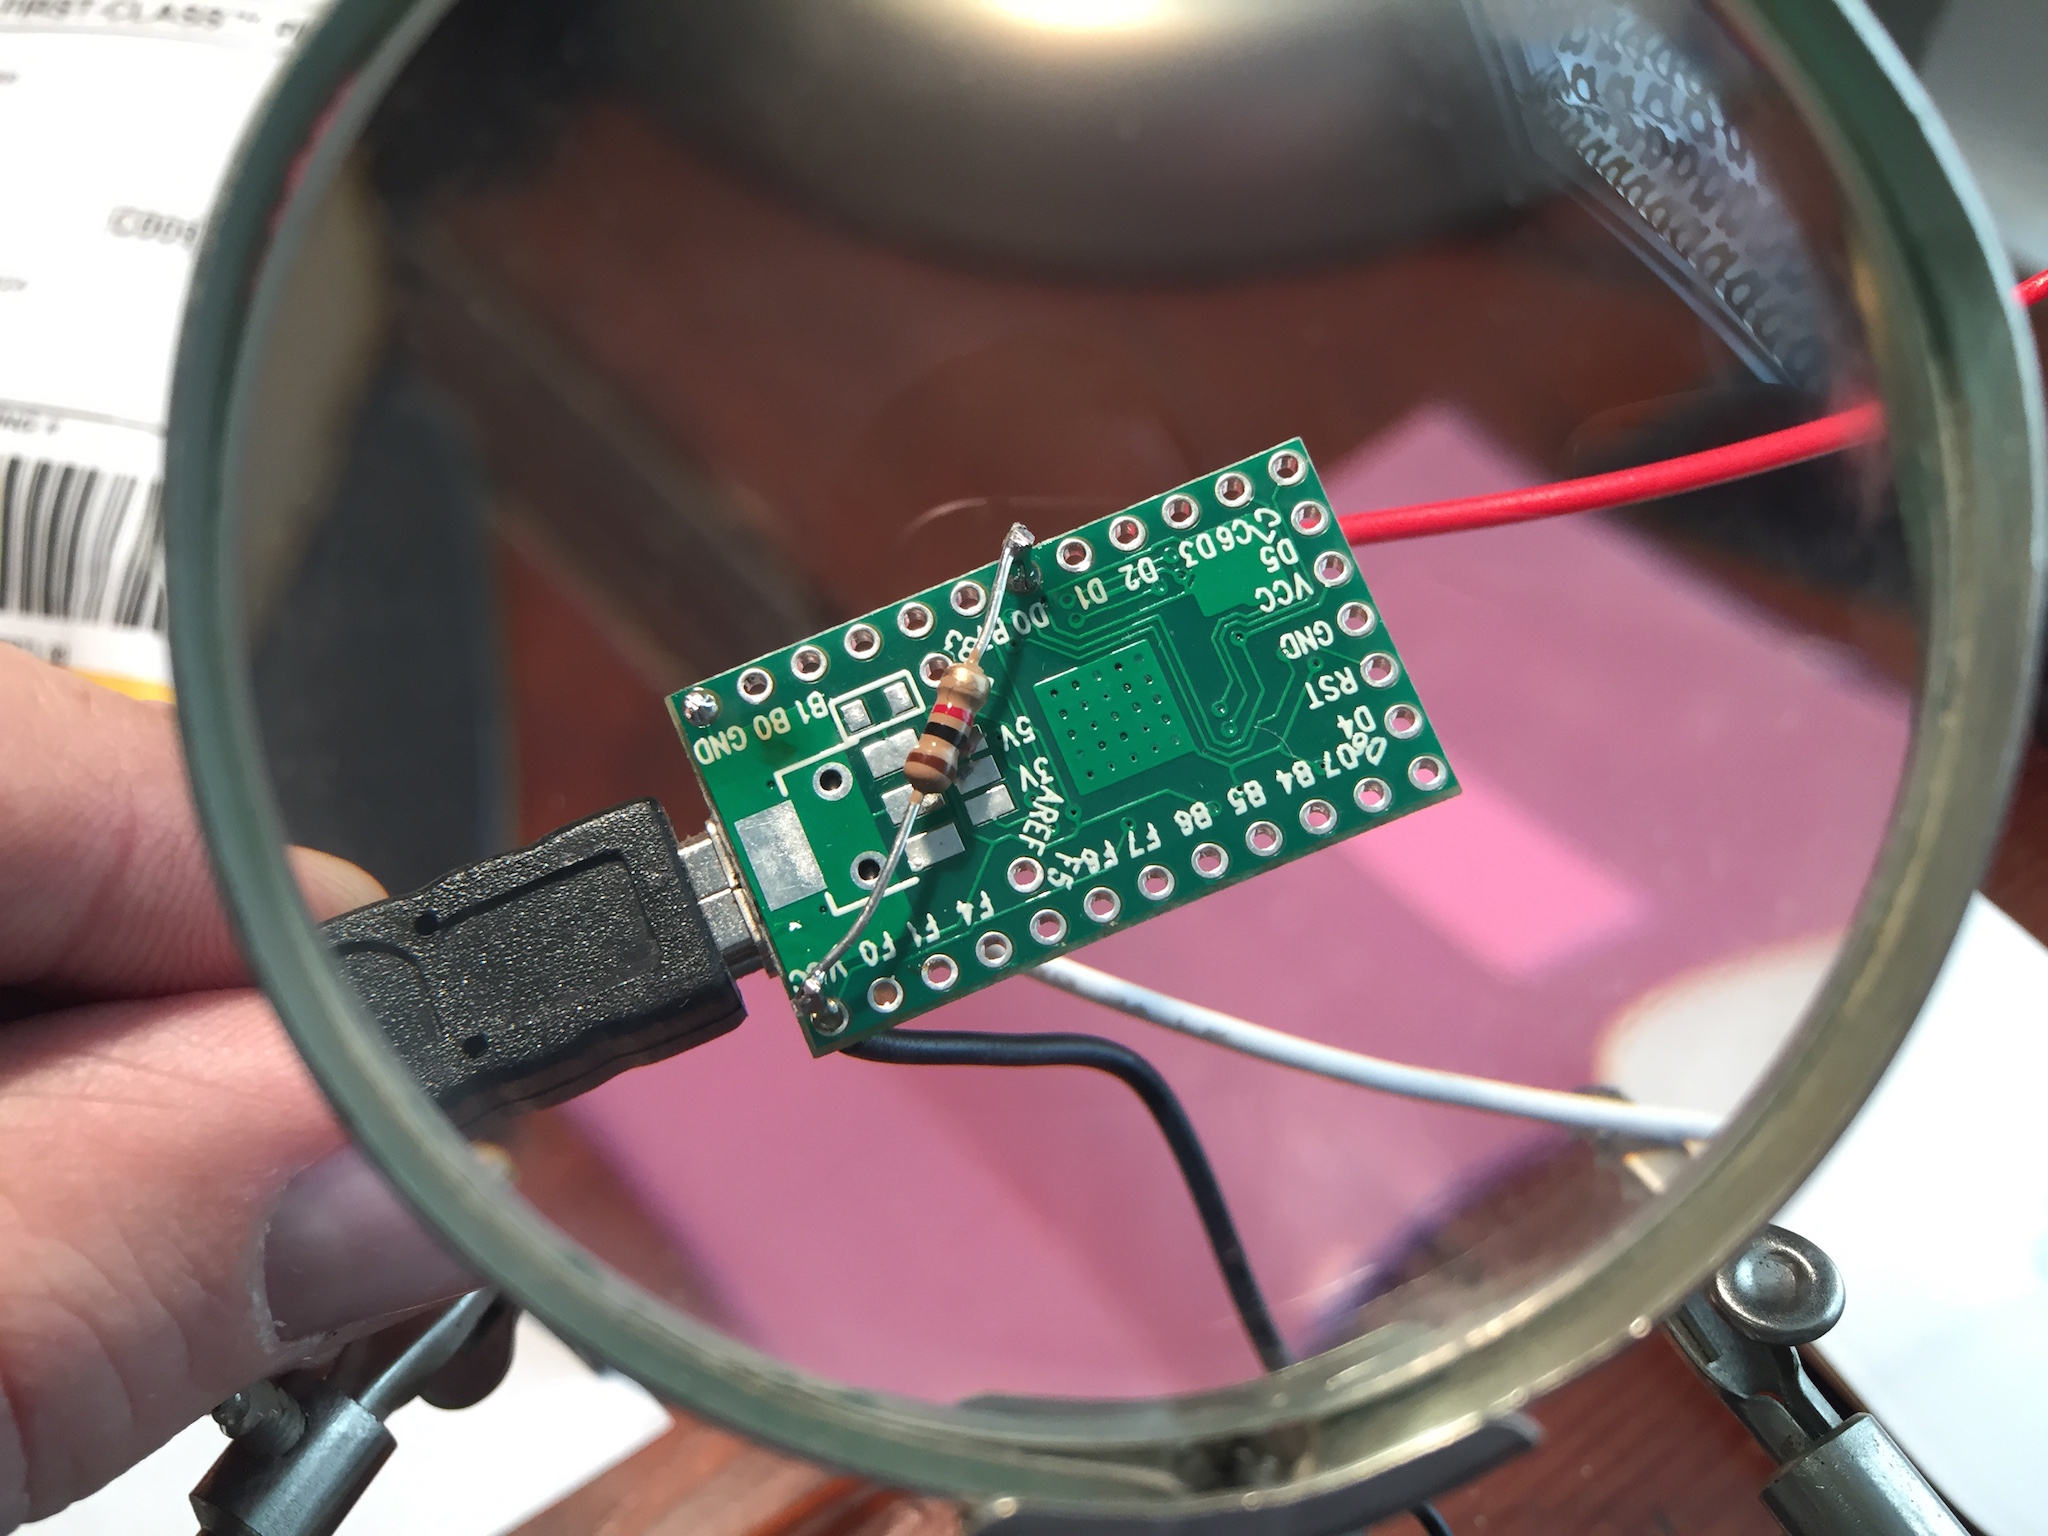
Getting it all together means you’ll need a microcontroller. I went with the Teensy 2.0 board, since that’s what ScottV used. There are also Arduino boards that will work. You can check Hasu’s github for more information. I ordered two, just to be on the safe side.
Compiling Hasu’s code is simple enough, but you’ll want to install CrossPack by Objective Development. It provides the tools necessary to compile the firmware. You can find them elsewhere, but ObDev puts it in one easy package. You’ll also need the Teensy Loader application from PJRC’s site to get the compiled firmware onto the Teensy device.
I had some generic USB mini cables lying around from various other peripherals, and I’ve been building up a small stock of soldering gear in preparation for other projects with Lex (maybe we’ll write about those later). So, the rough final cost for my keyboard:
- Apple Extended Keyboard II: $28
- Apple ADB keyboard cable: $5
- Teensy 2.0: $16
- S-Video connector: $0.50
- Random soldering components: $chickenfeed
For $50 and an hour’s work, I’m clackety-clacking away on a beautiful piece of hardware, and I have three backup units, in case anything goes wrong.
Gallery
Future modifications
- Provide a housing for the adapter. Mini Altoids tin (Alpstoids?)
- Apply retr0bright to the keyboard cases and space bars to remove the yellowing and return them to their platinum best. Should probably wait until Spring for plenty of natural daylight UV.
Get Caps Lock as Control.This will involve removing the physical lock on the Alps switch under the Caps Lock key, and modifying the Teensy firmware to treat the Caps Lock key as a momentary key. After that, OS X will handle the translation for me. Done!- Bluetooth! A wonderfully thorough writeup of a project to convert an IBM Model M to a Bluetooth wireless keyboard.
Conclusion
This was a fun project that has only just started me down the road of hardware hacking. I’m looking forward to future fun with Lex and a Raspberry Pi that he might be getting for Christmas (shhh, don’t tell).
If you find yourself getting the mechanical keyboard bug, you’ll do well to spend some time reading through the GeekHack and Deskthority sites. Very friendly, helpful people all firmly in the mechanical keyboard camp.
Followups
- Getting Control over Caps Lock - Making my Caps Lock key act like a proper Control key
- In Media Res - Getting mute, volume, and play/ause, prev, and next media keys working
- Self Control - Moving the Control behavior completely to firmware.
