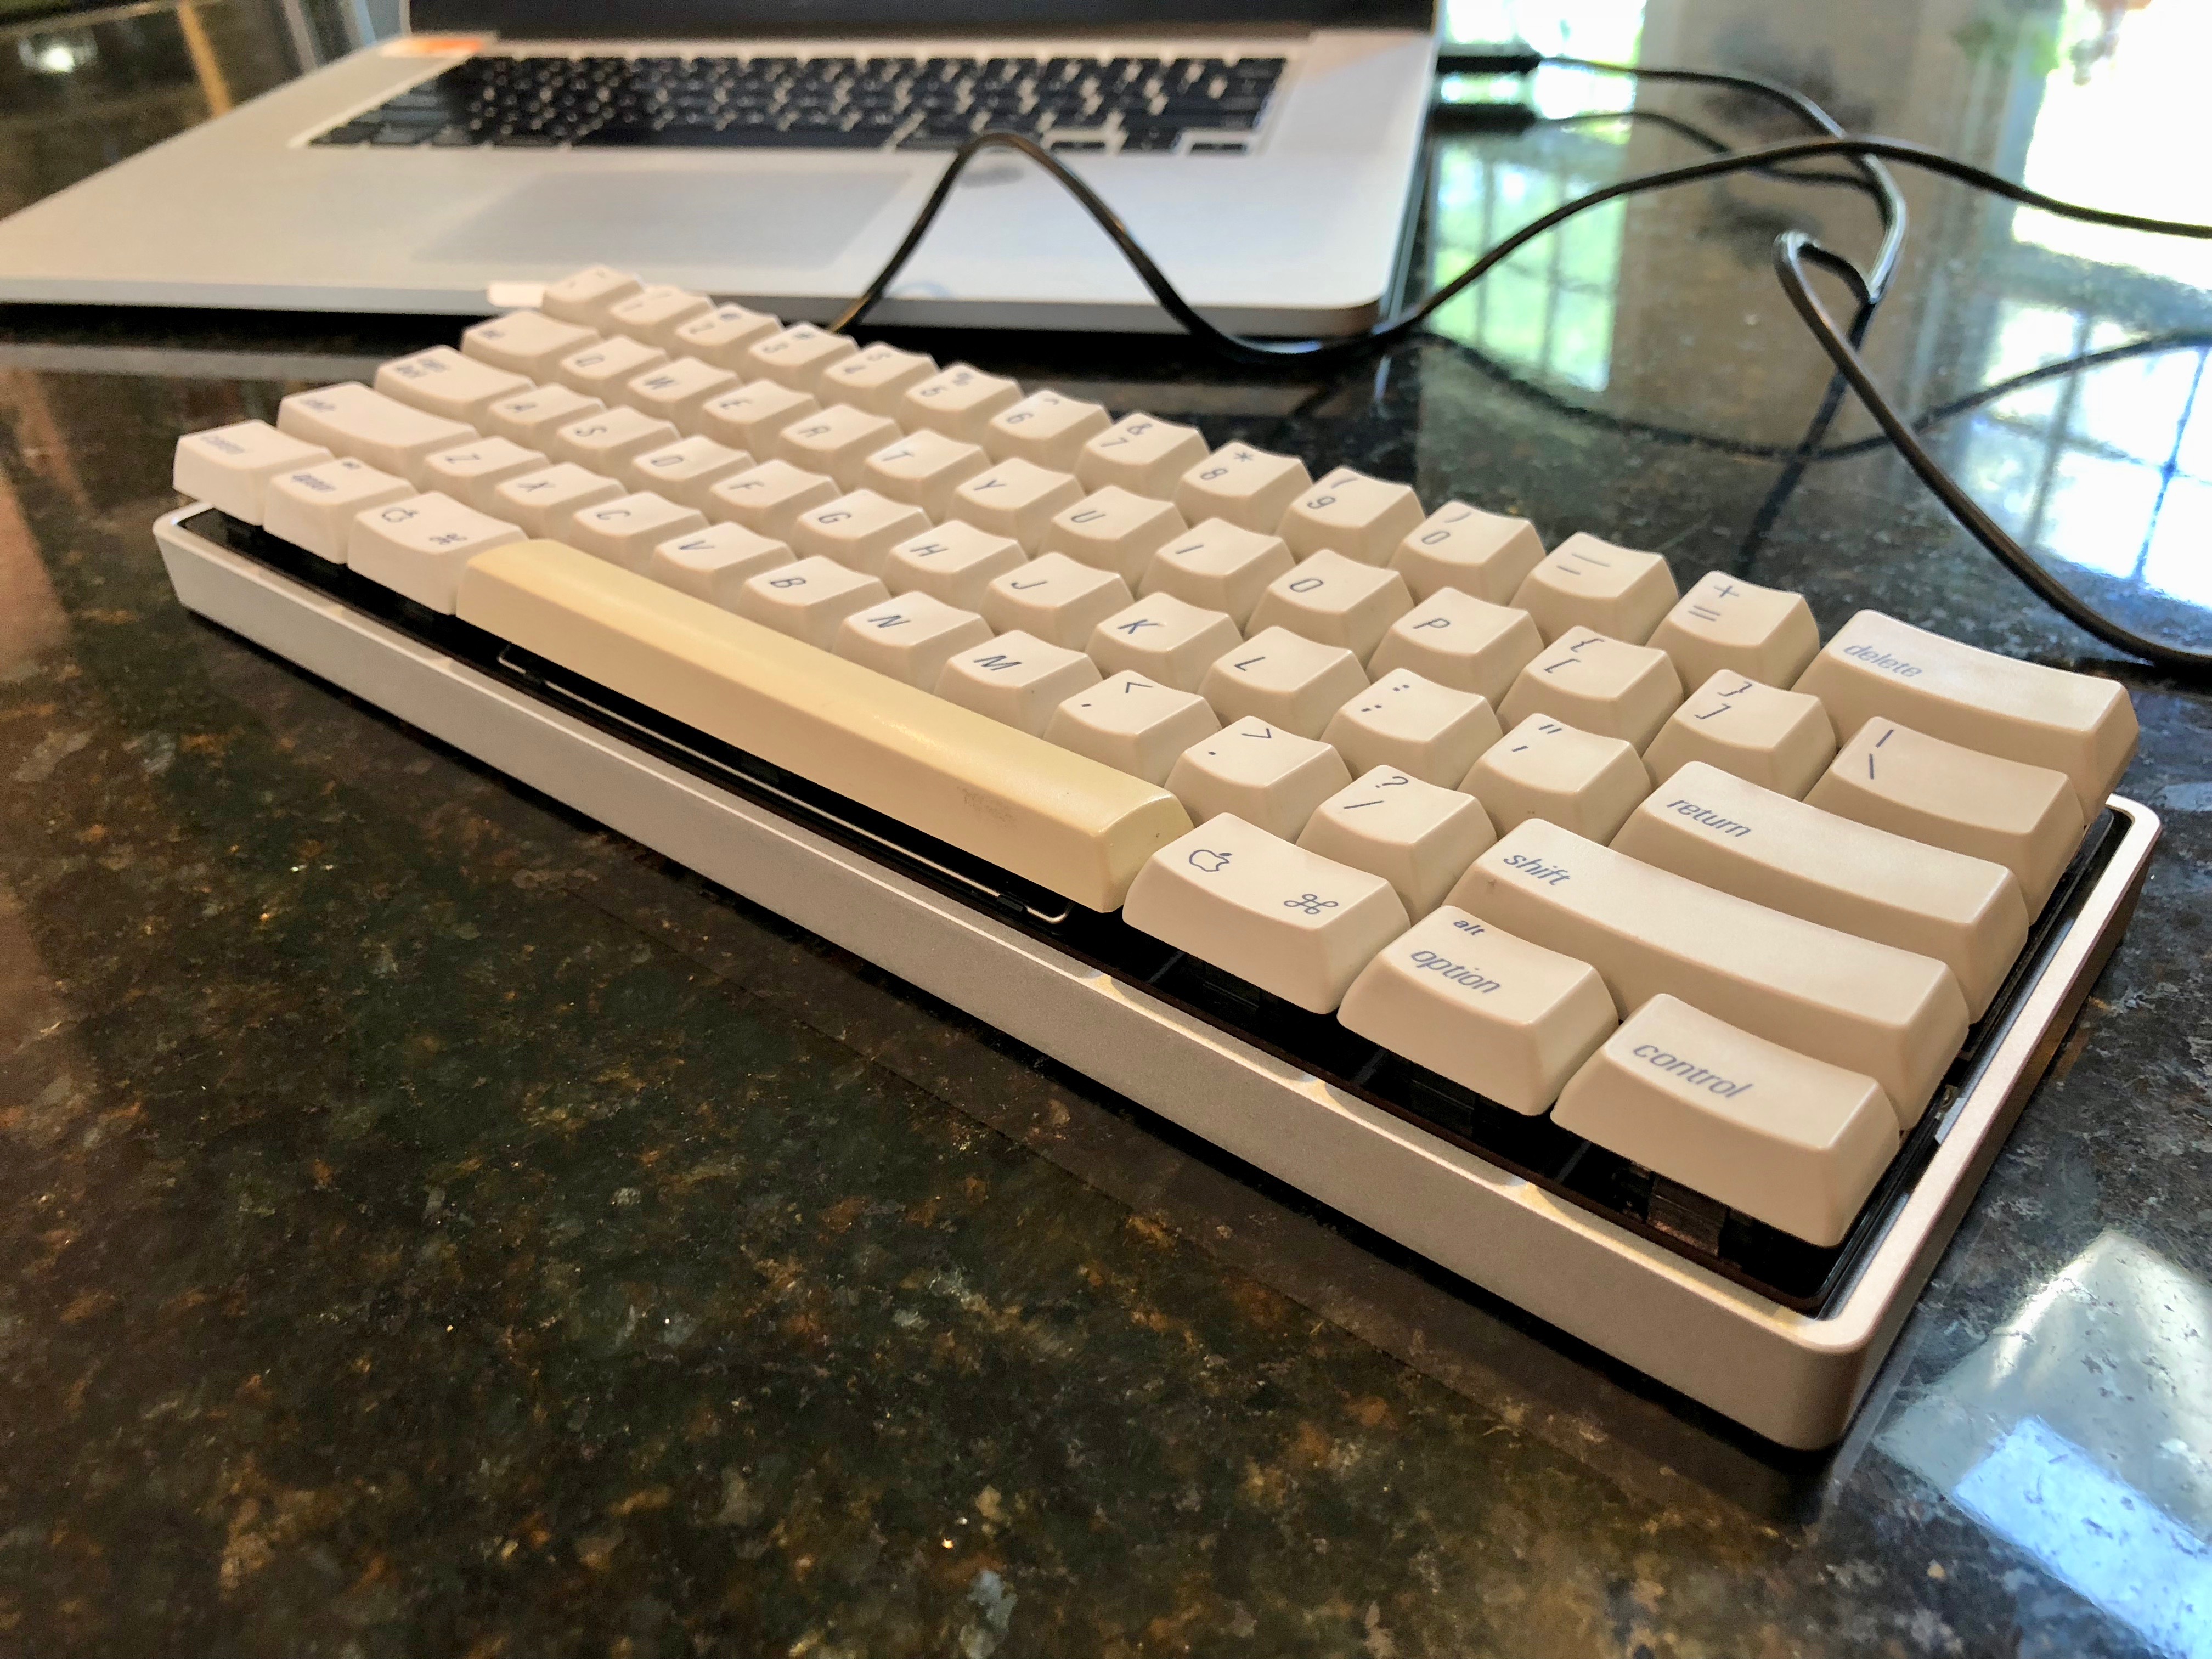
Elegance, distilled: the 60% Apple Extended Keyboard II
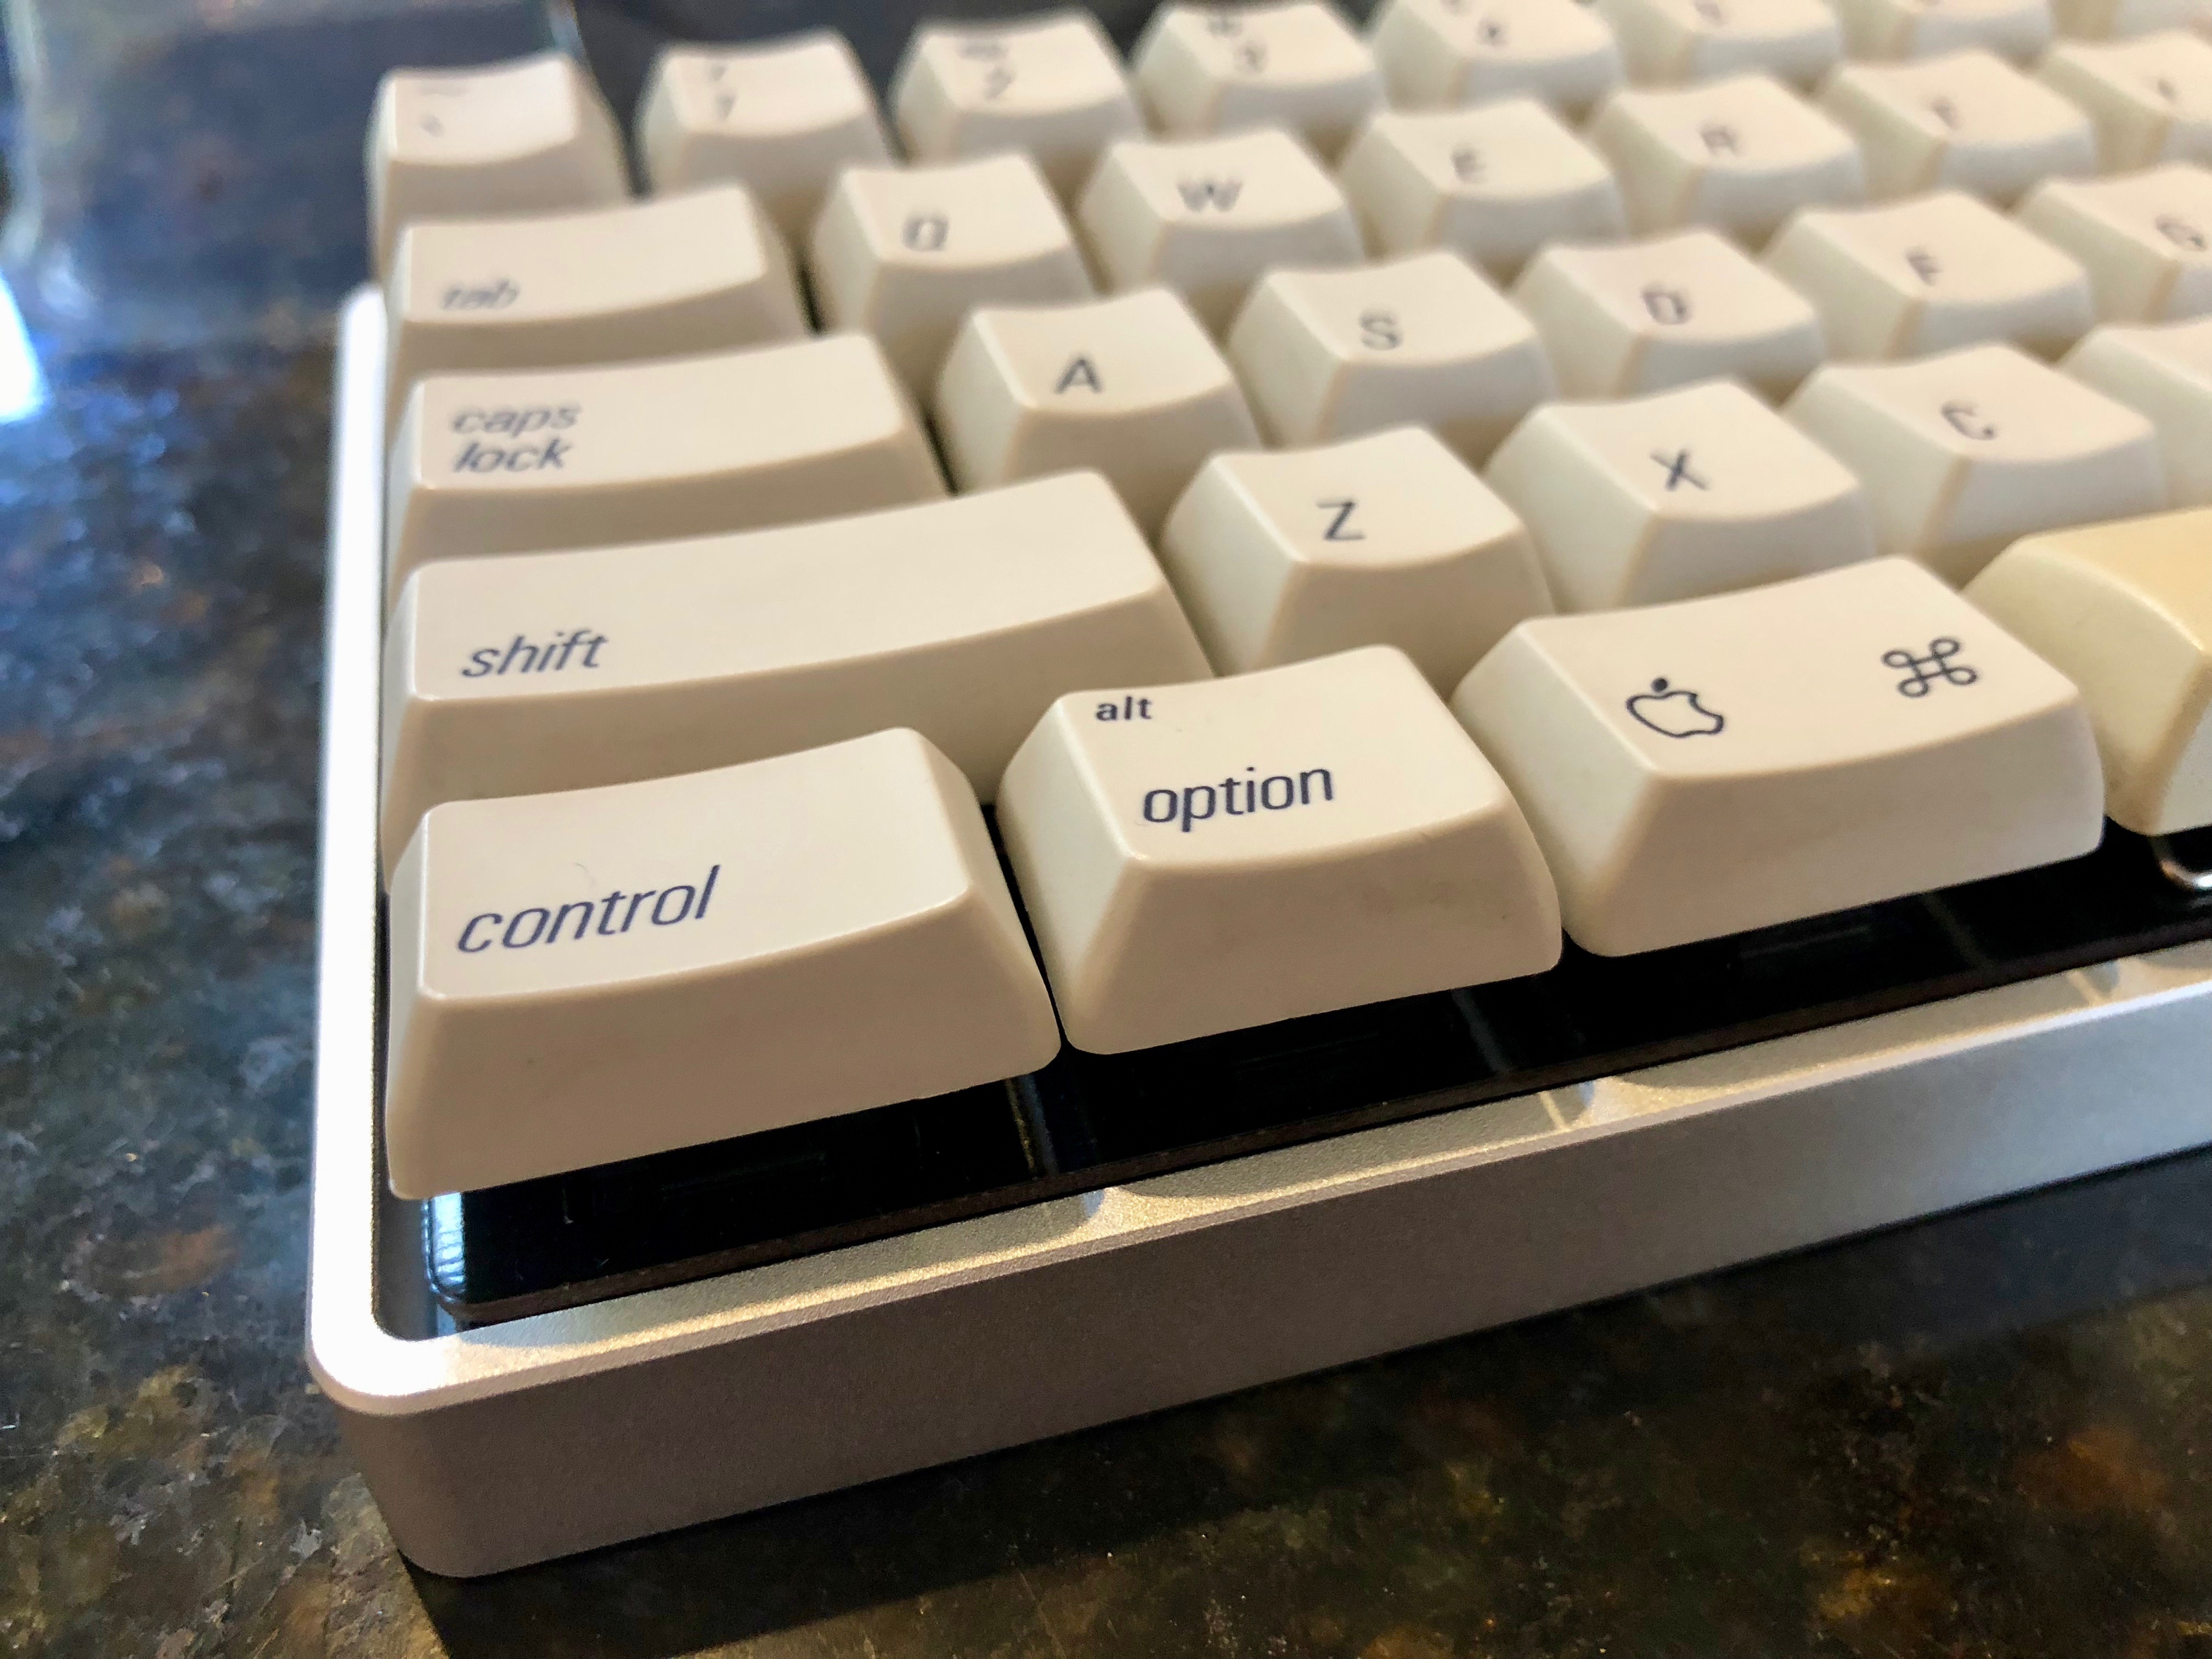
Have I mentioned that I love mechanical keyboards? I have? Well, I’ve just finished up another little project, and I’m typing on it right now. It’s considerably smaller than the Nimitz, but just as satisfyingly clicky.
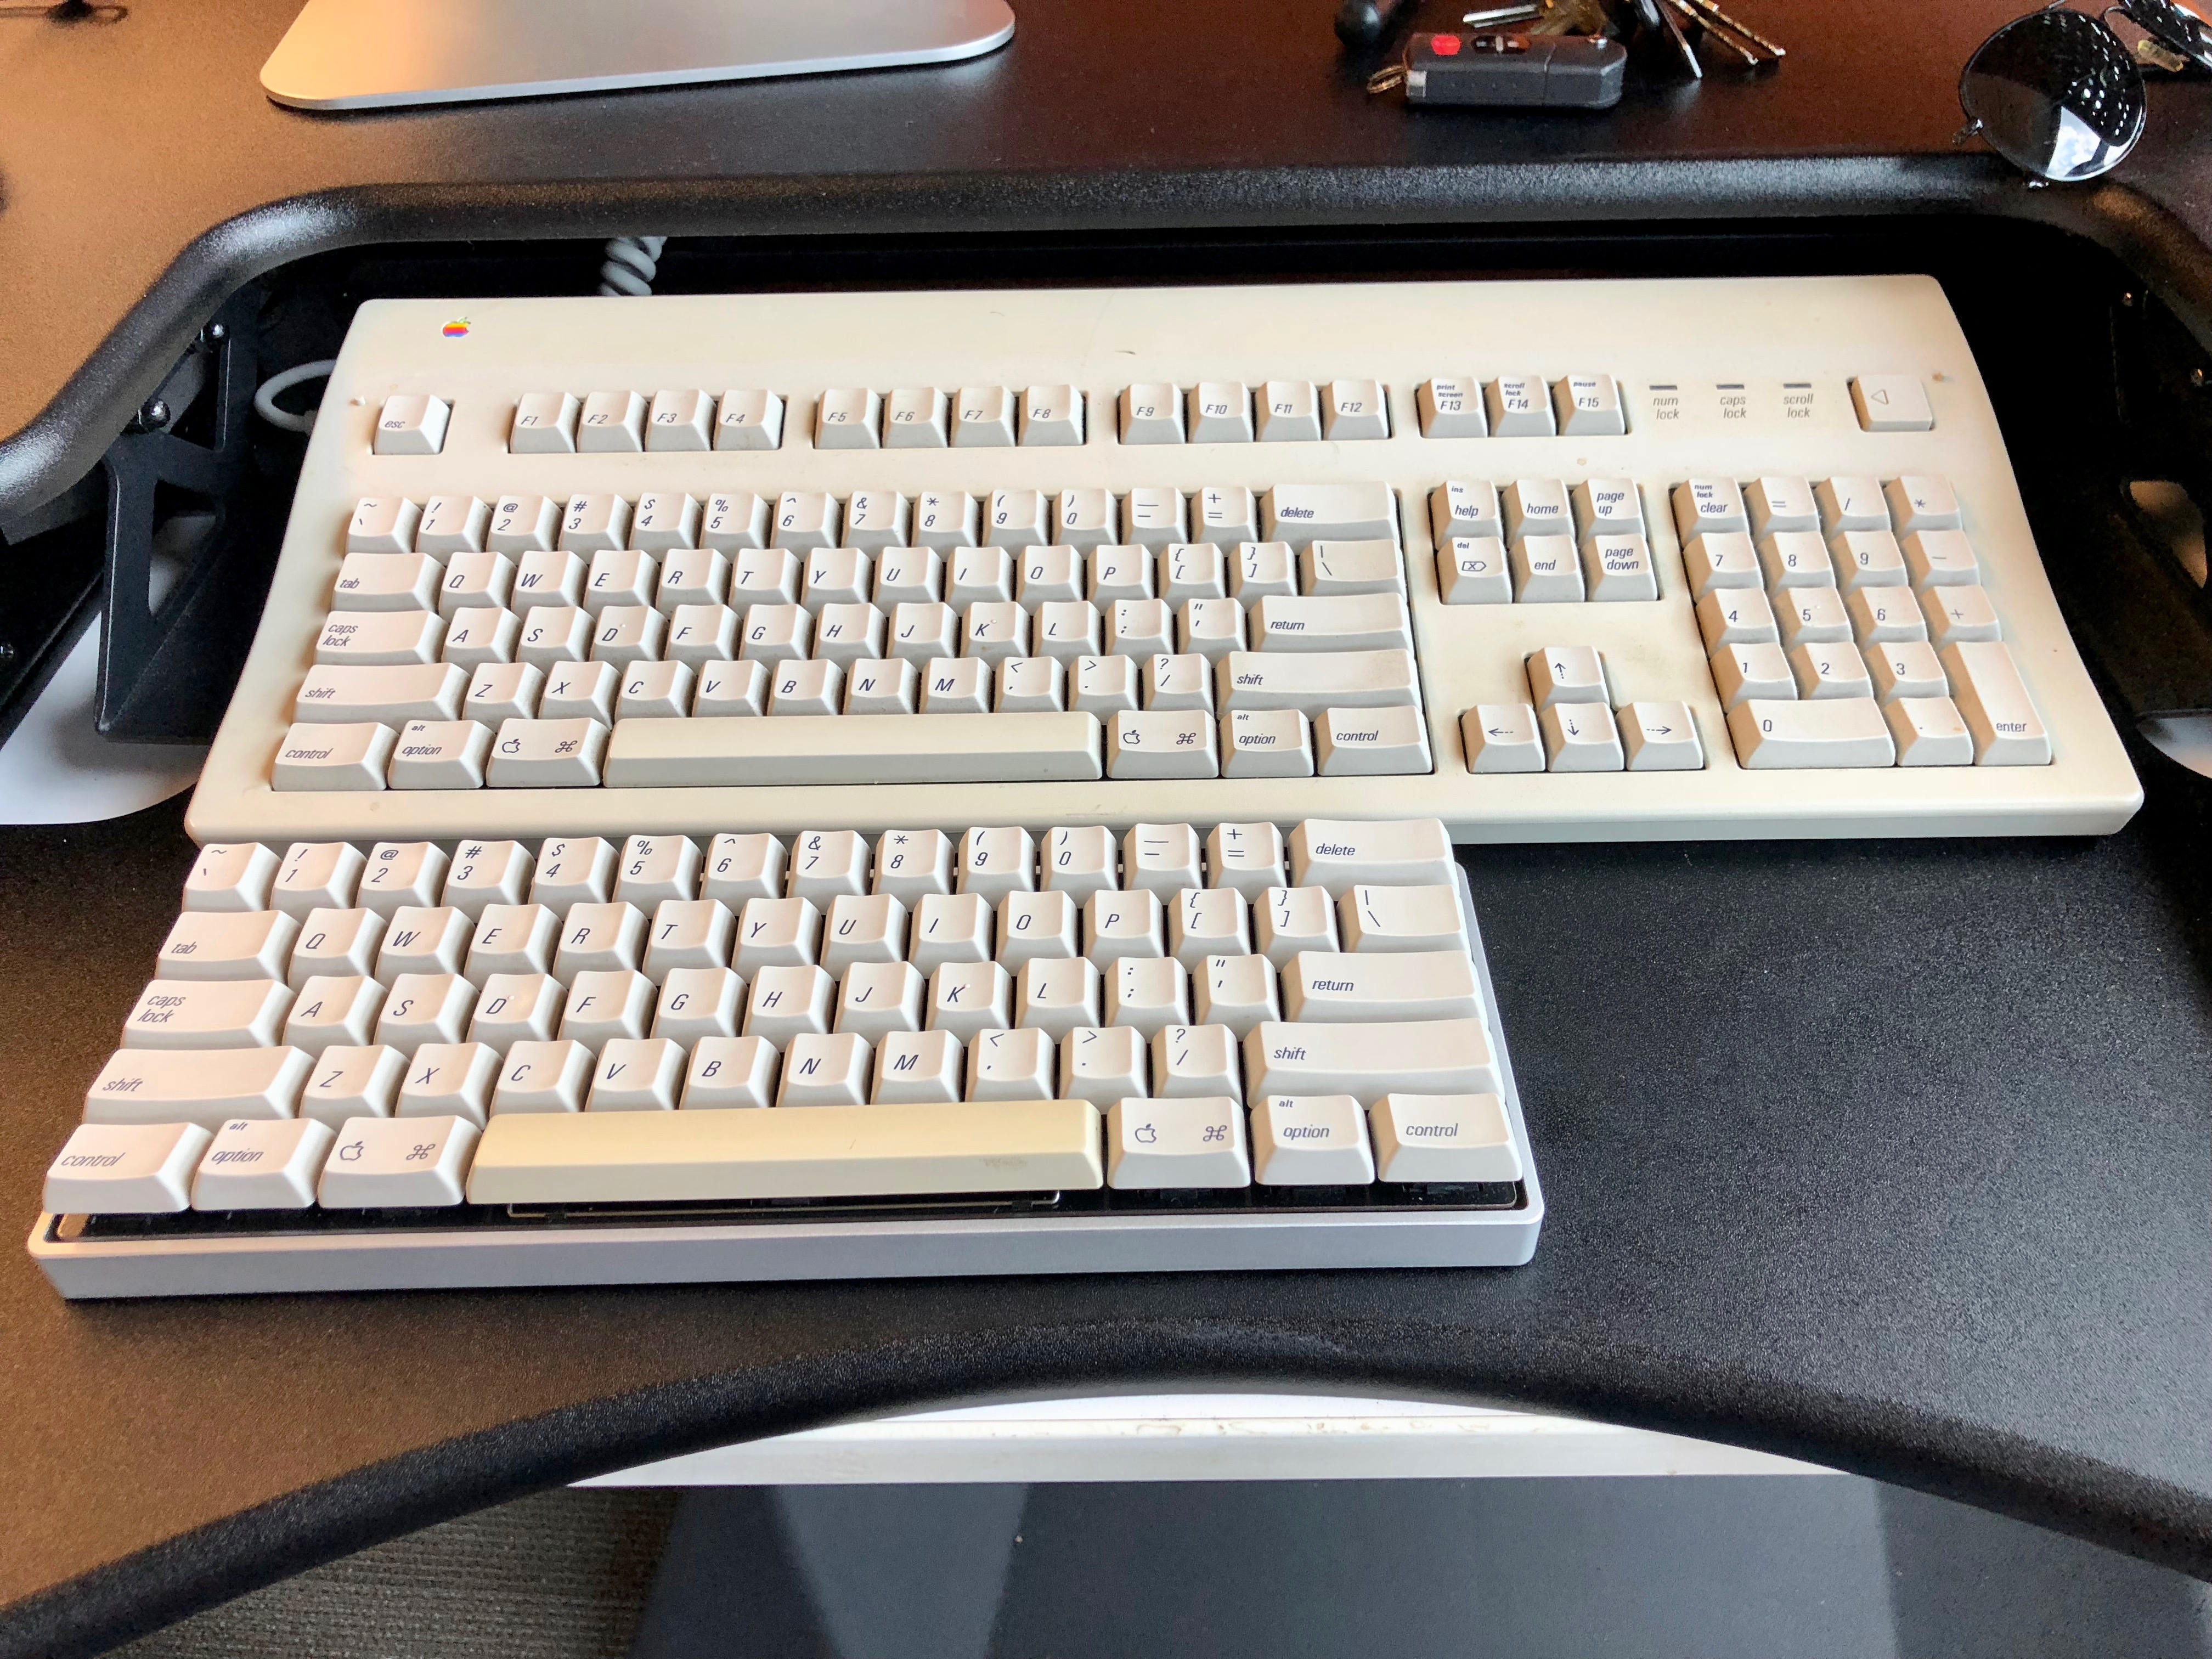
The Hook
I don’t remember exactly what prompted me to visit this picture, but I was utterly captivated when I saw it. You’ll recall, I have several spares. I have switches, keycaps, and solder. All I need is a custom PCB and a GH60 case. Help me, Hasu. I ordered one set of the PCB and plates. I still have two spare keyboards, having built a second Teensy adapter so I could leave one keyboard at work and one at my studio. This keyboard is so much smaller, I can actually fit it in my bag and tote it along with me, and I have future plans to make it a truly on-the-go tool.
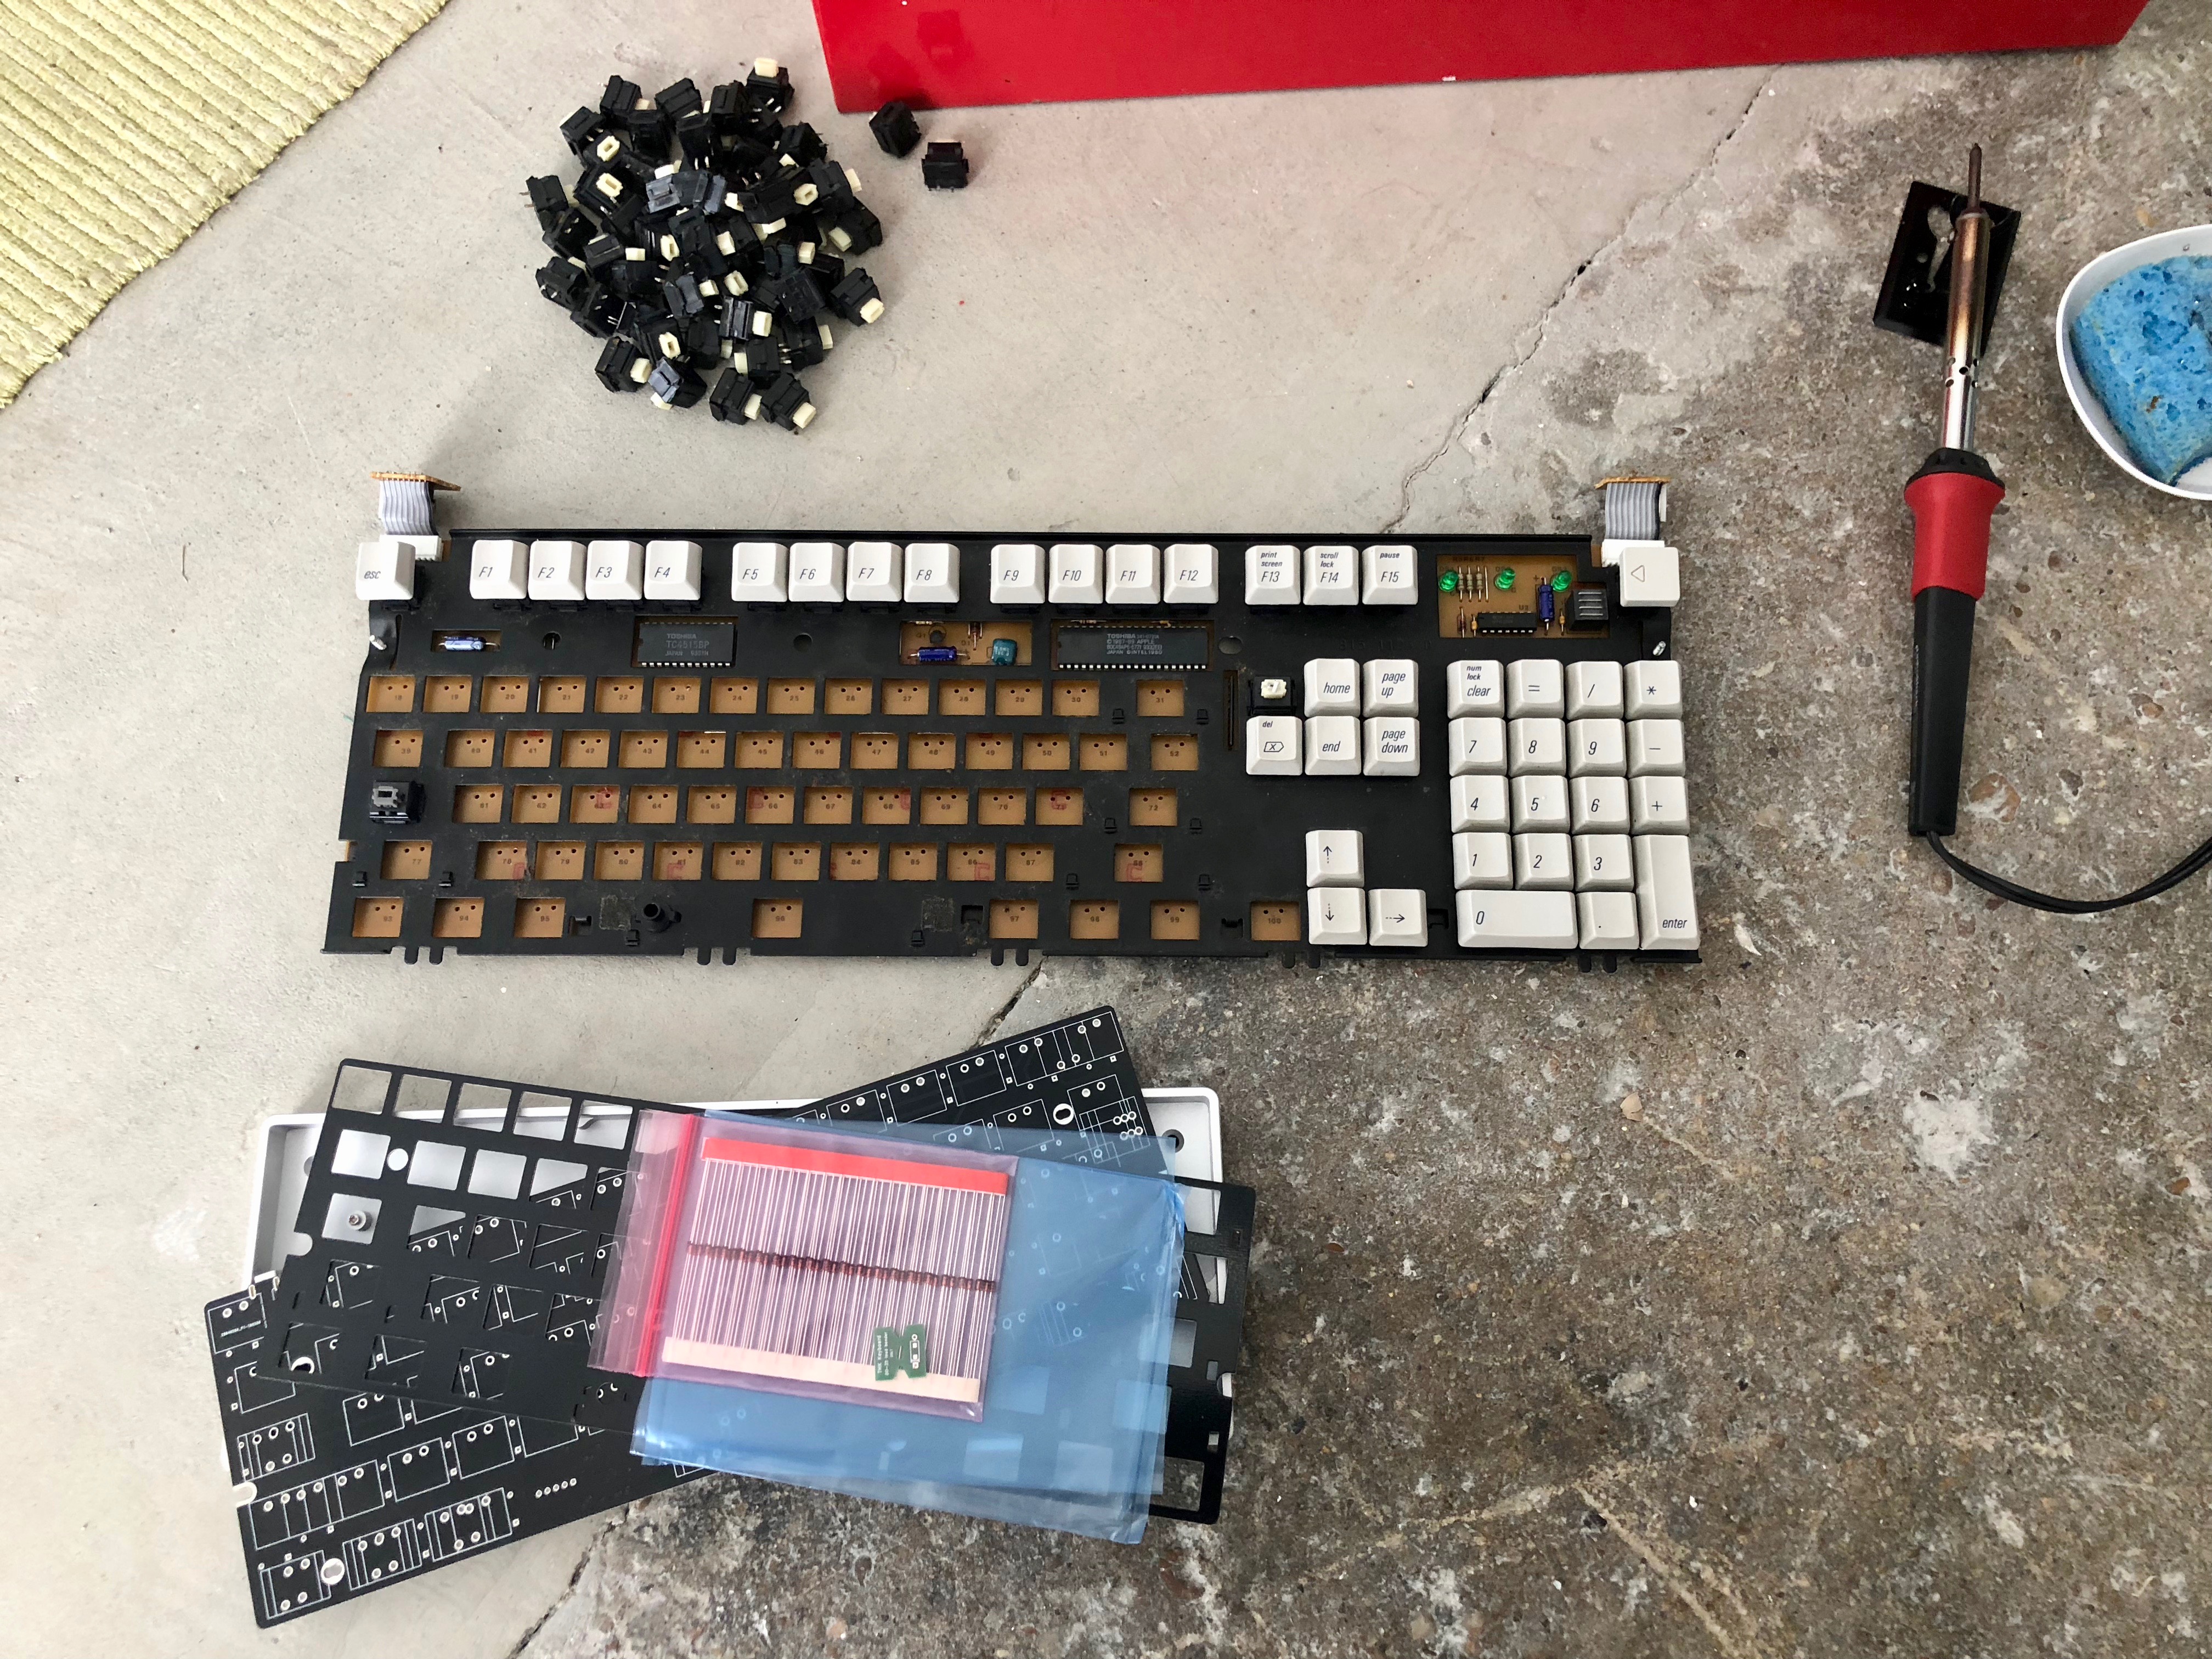
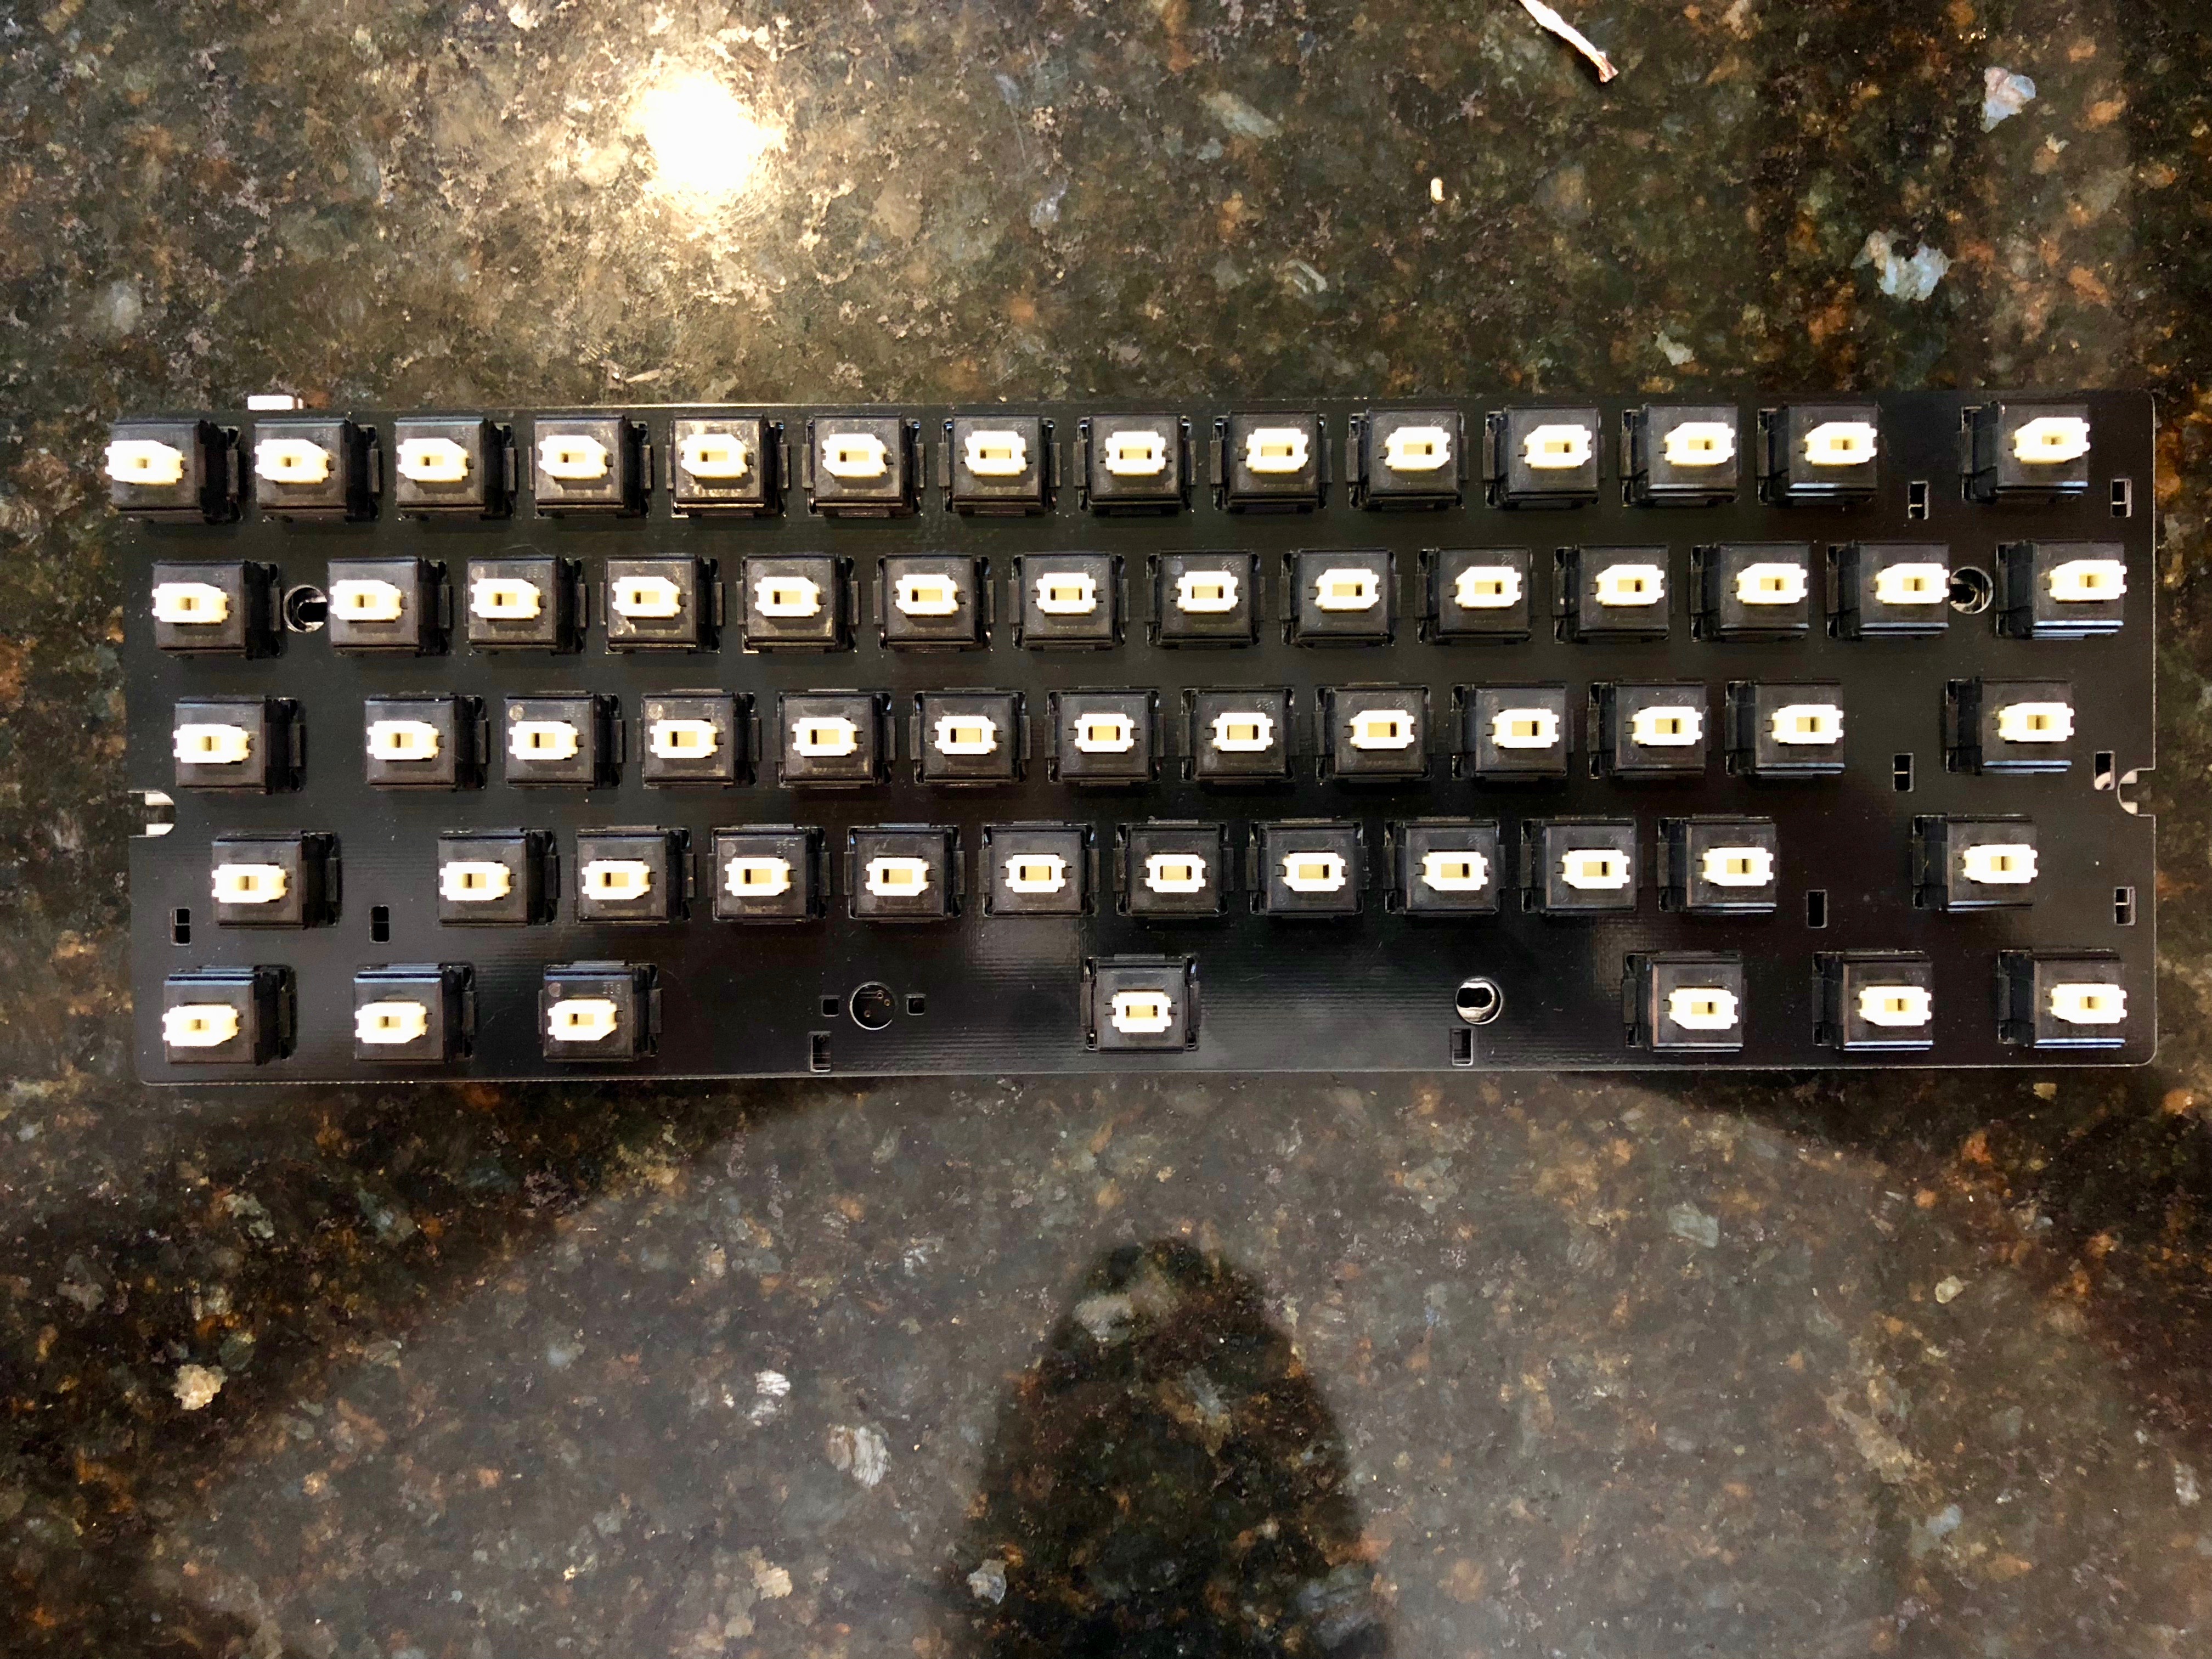
Desoldering switches
The Apple Extended Keyboard II disassembles pretty easily. There’s only one
screw, and a minimal amount of prying to get the case open. A keycap puller
gets the switches clear for removal. Luckily, the only keycap that had problems
on this keyboard was the help key. Who needs that, with
Geek Hack and Deskthority
available? Slow and steady gets the switches desoldered. Several of them had
the pins bent down, presumably to make a better connection. Patience and needle
nosed pliers won out in the end, though. Cleared out and bent straight, I had
60 little switches ready to be redeployed.
Cleaning keycaps
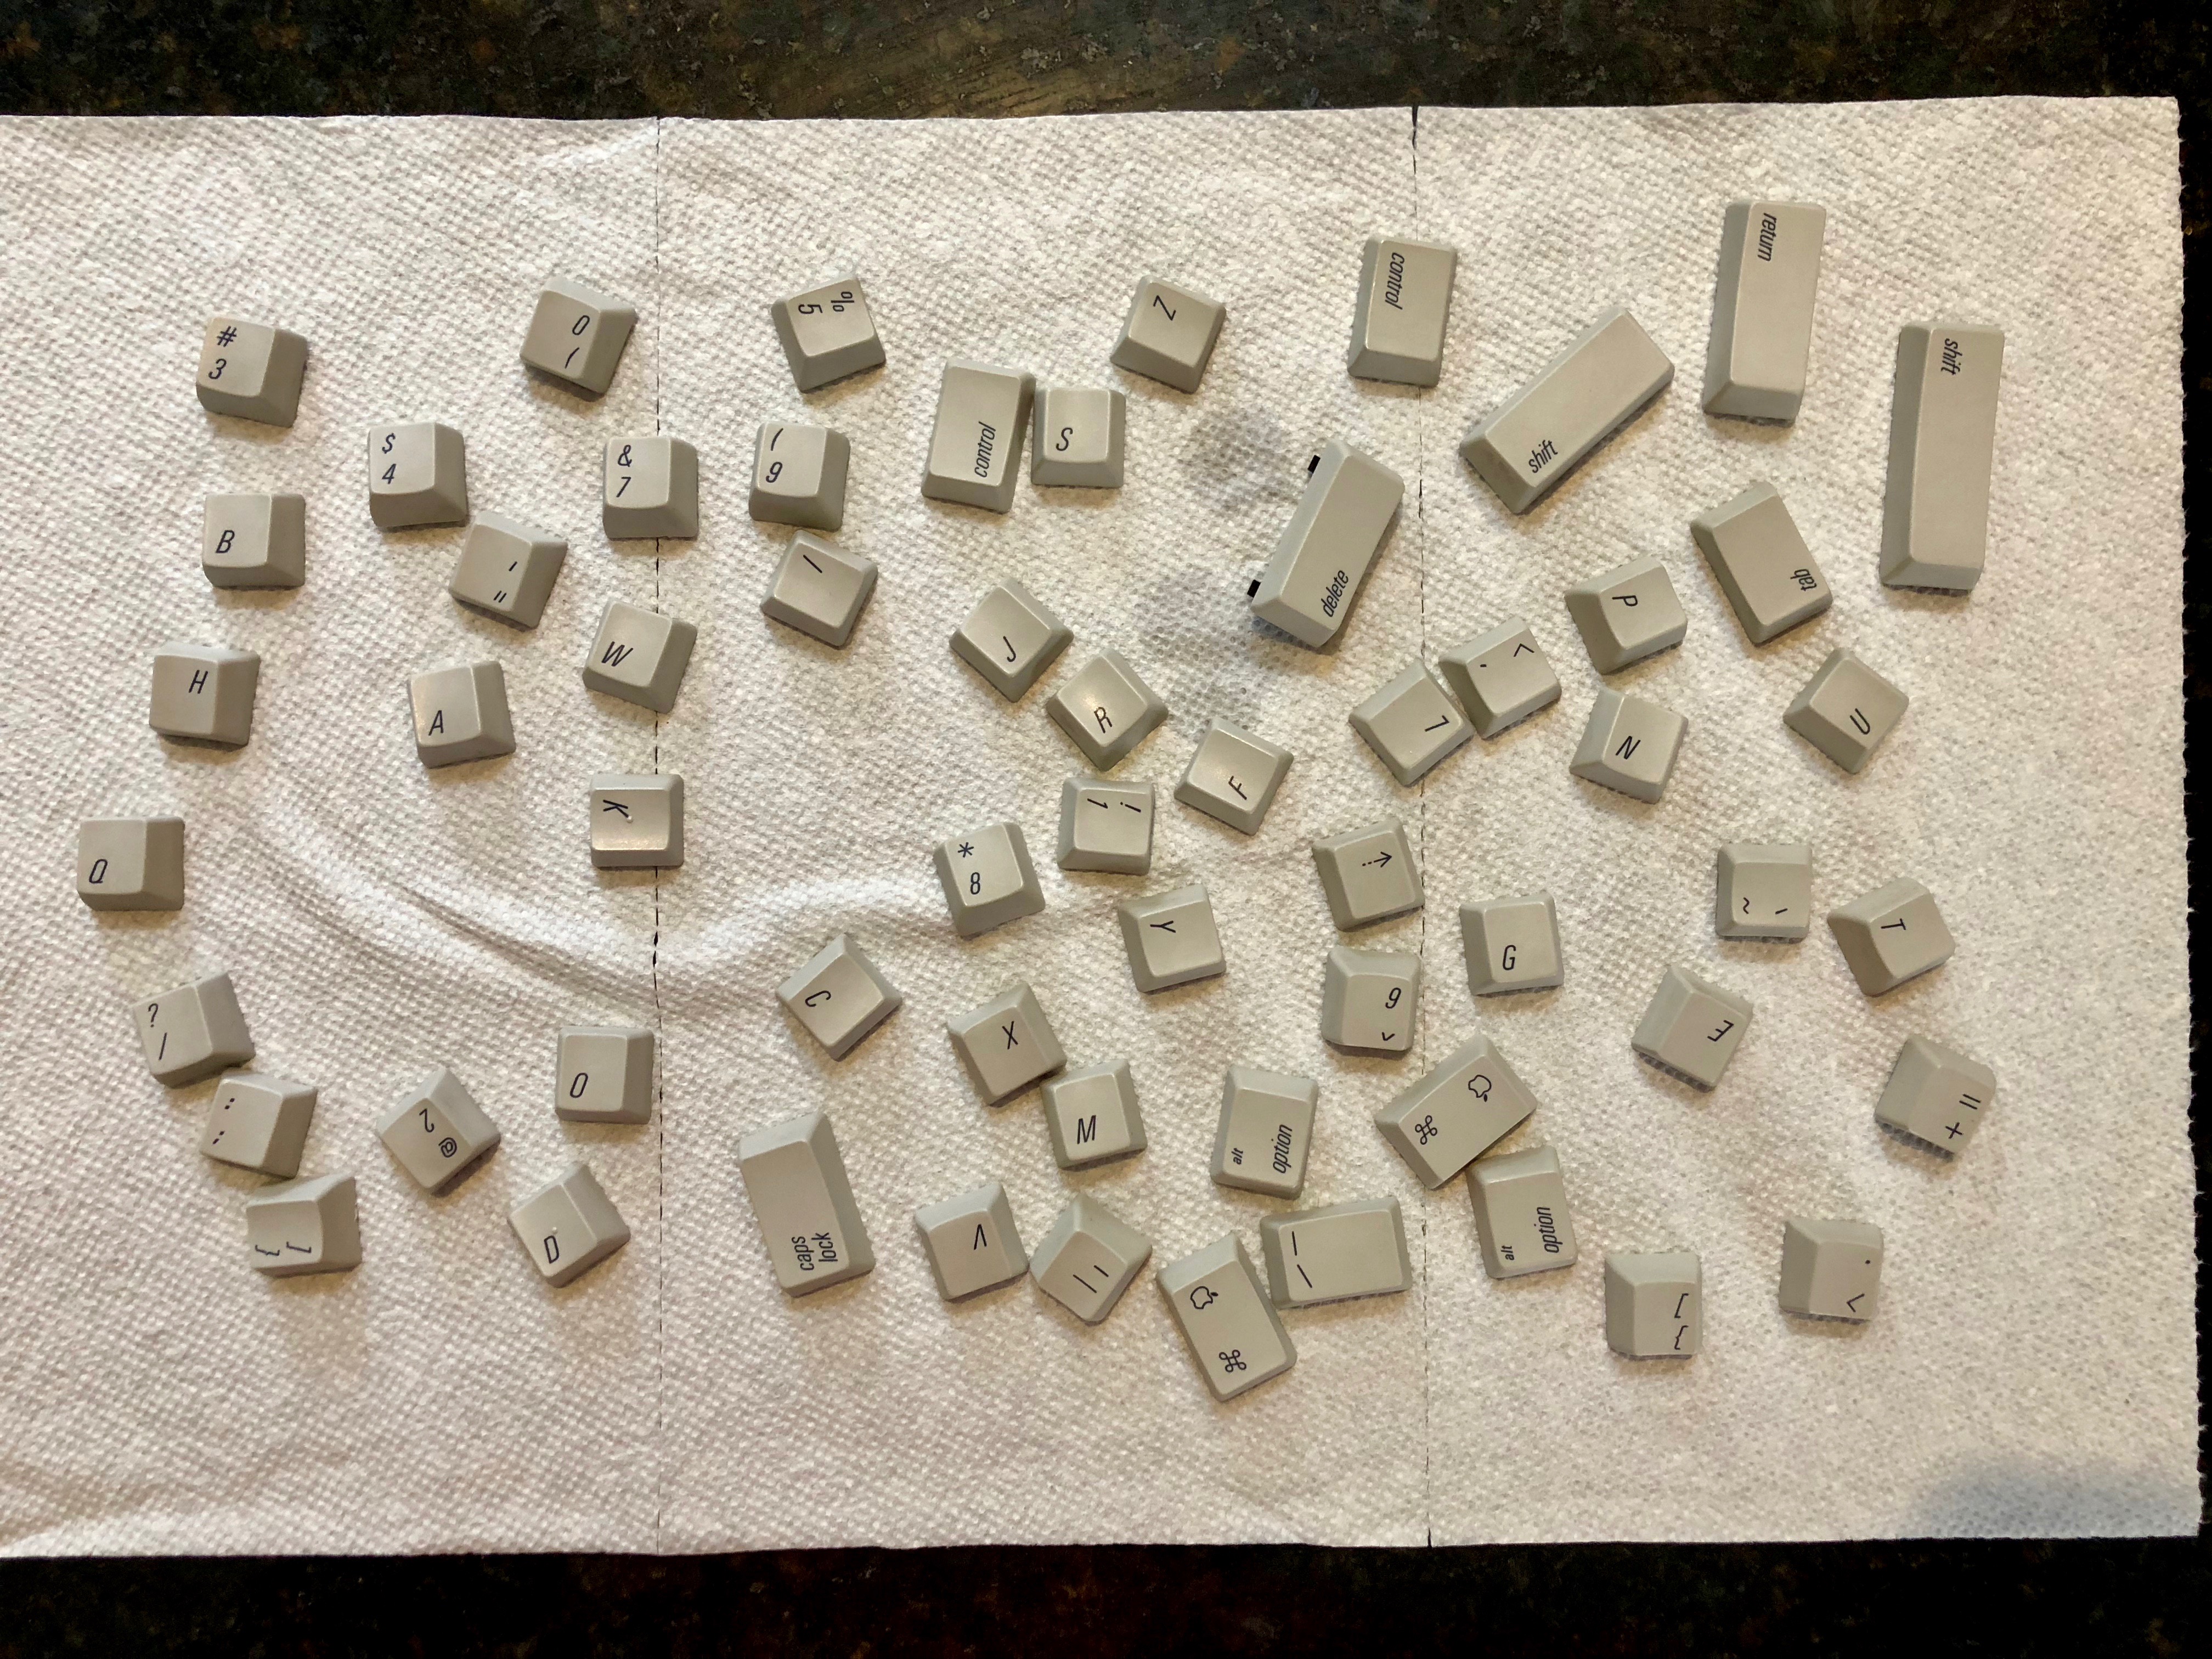
Once I had those keycaps off, it was obvious they were filthy. Threw them in a big, quart-sized Mason jar with some dish washing liquid and warm water, screwed the lid on, and put them through the gentle cycle. If your keyboard’s keycaps are removable, do yourself a favor and clean them once in a while. Your fingertips will thank you. The spacebar keycap is made of ADP rather than PBT, so it yellows over time, just like the case. I could apply retr0bright, but I think I’ll just let it be for the time being.
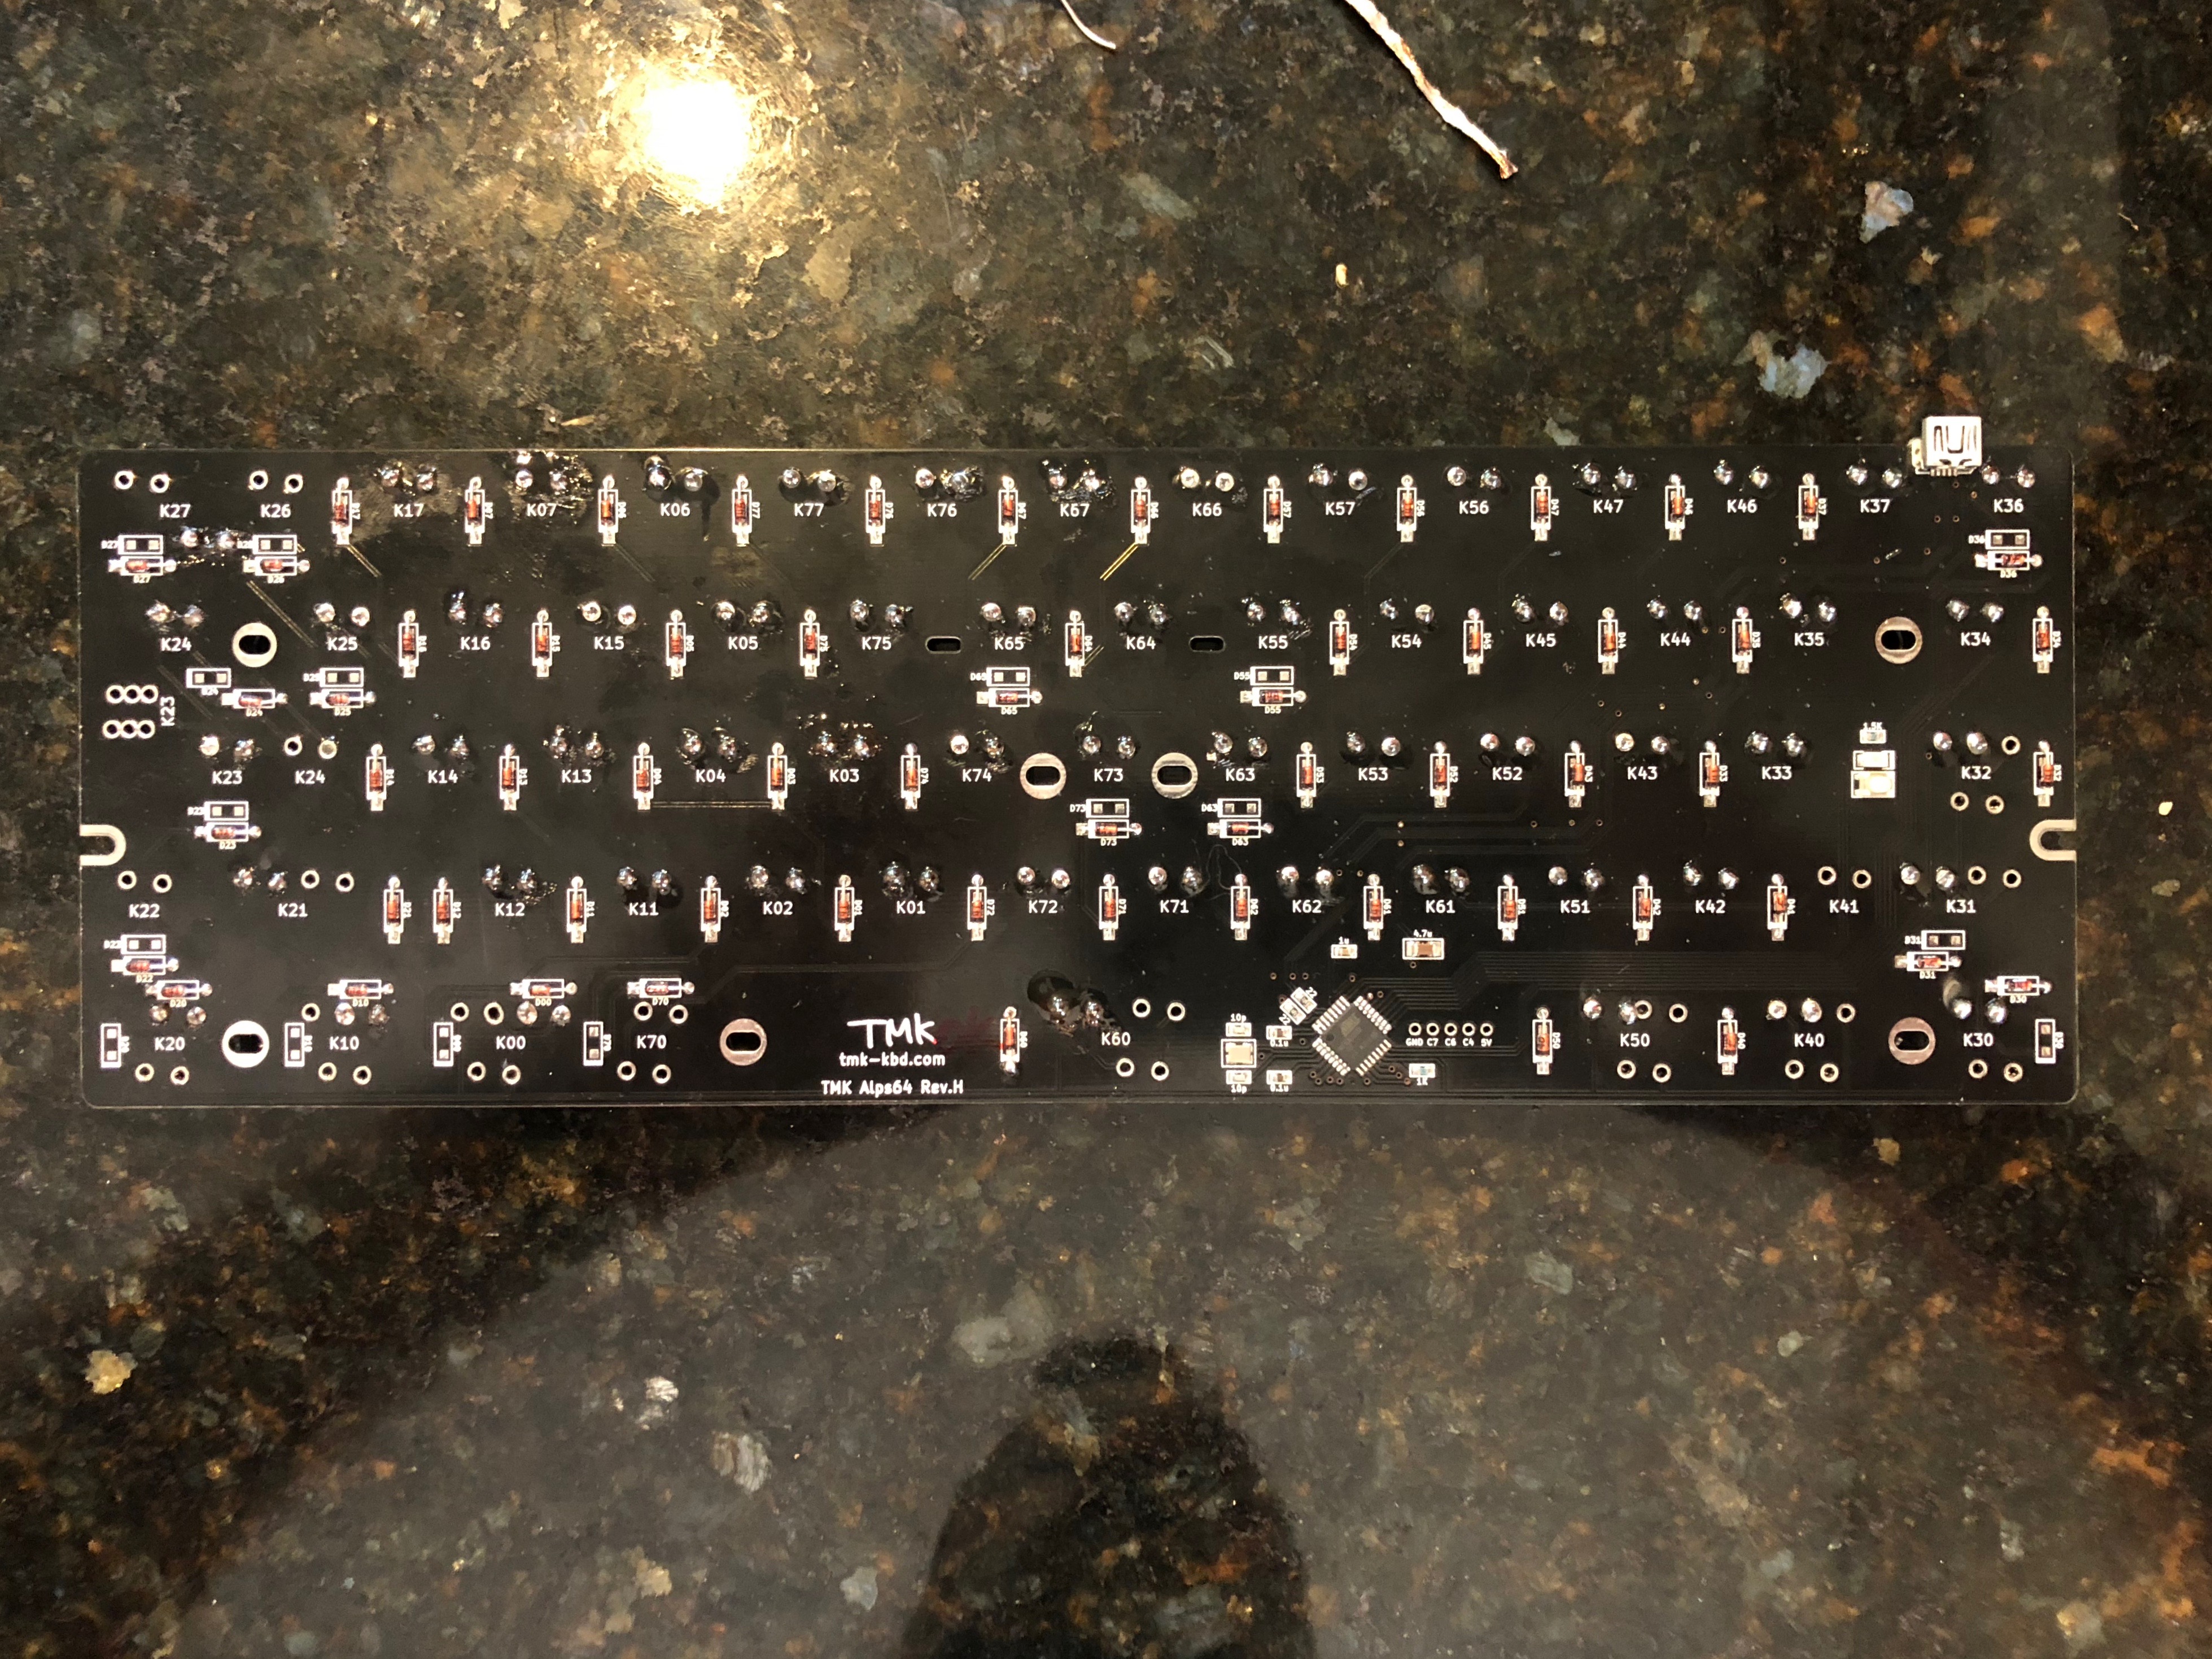
Folding and soldering diodes
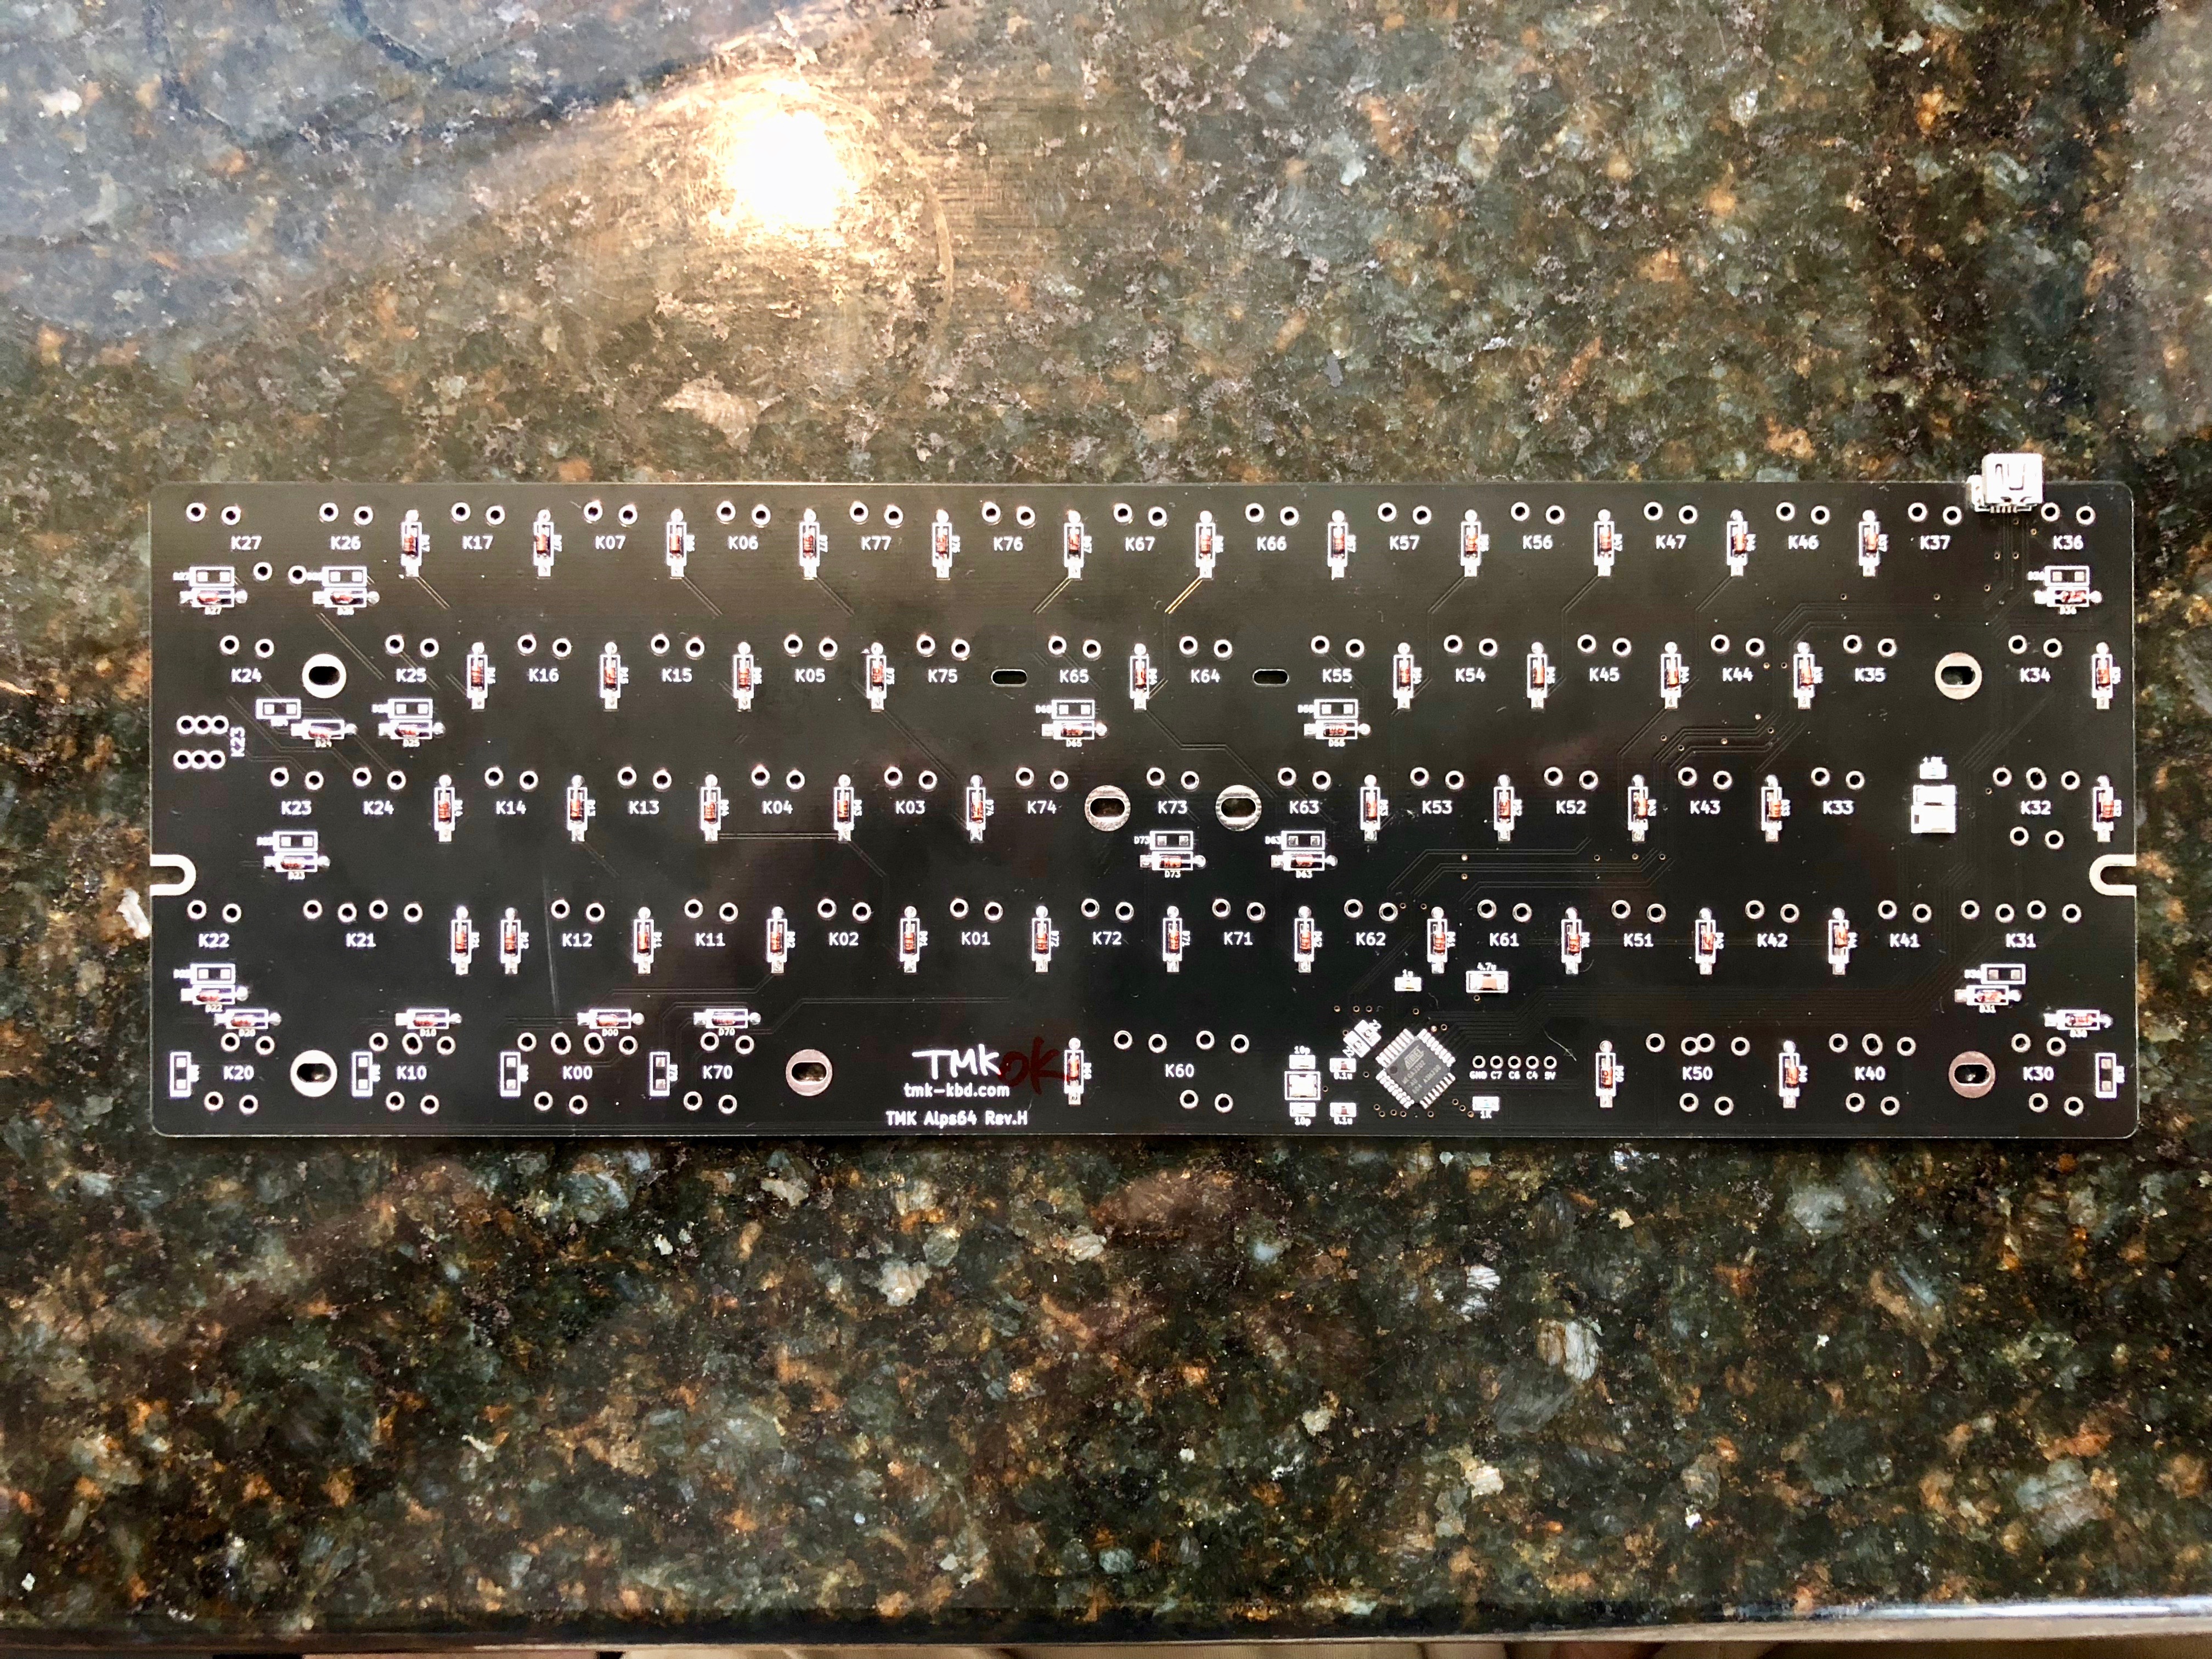
When you order the Alps64 board from Hasu, it requires some assembly. He includes a strip of diodes that need to be soldered to the board. I suppose he does this because the board also includes SMT pads if you are crazy and want to surface mount your own diodes. I opted to fold (using the included little tool!) each and every one, and aligning them properly (line side goes to the square pad), solder them all in place. For future reference: use flux and more solder than you think. I’m pretty sure I’ve got decent connections (I’m typing this on the keyboard now), but it seemed pretty clear to me that the solder is really only on one side of the PCB. It’s not that big a deal, but if I were to do it again, I’d be a bit more generous with the solder and make that connection as solid as possible.
Soldering switches
The diodes live on the underside of the PCB, hidden from view, so you need to do them first. Once attached, the switches will sandwich the top plate down and obscure the top of the PCB. So, you’ll also want to ensure that the leads are clipped as close as comfortably possible. At this point in the project, I was actually running low on solder, so I placed the switches, and soldered the four corners plus the space bar. After acquiring more, it was a simple job to apply flux to the leads and solder them one row at a time. I tested as I went: hook up the keyboard, launch TextEdit, and press switches, when you see characters appearing, you’ve got a good, solid connection. Once I had everything done, I noticed a few switches weren’t registering. I tested the PCB by bridging the switch pads with the accompanying diodes with tweezers and seeing characters typed in TextEdit, so I deduced the switches must be bad. Luckily, going from a 104-key keyboard to a 60-key means you have a reserve supply. I desoldered three more switches and tested each before fixing them in place.
Installing the PCB and plate
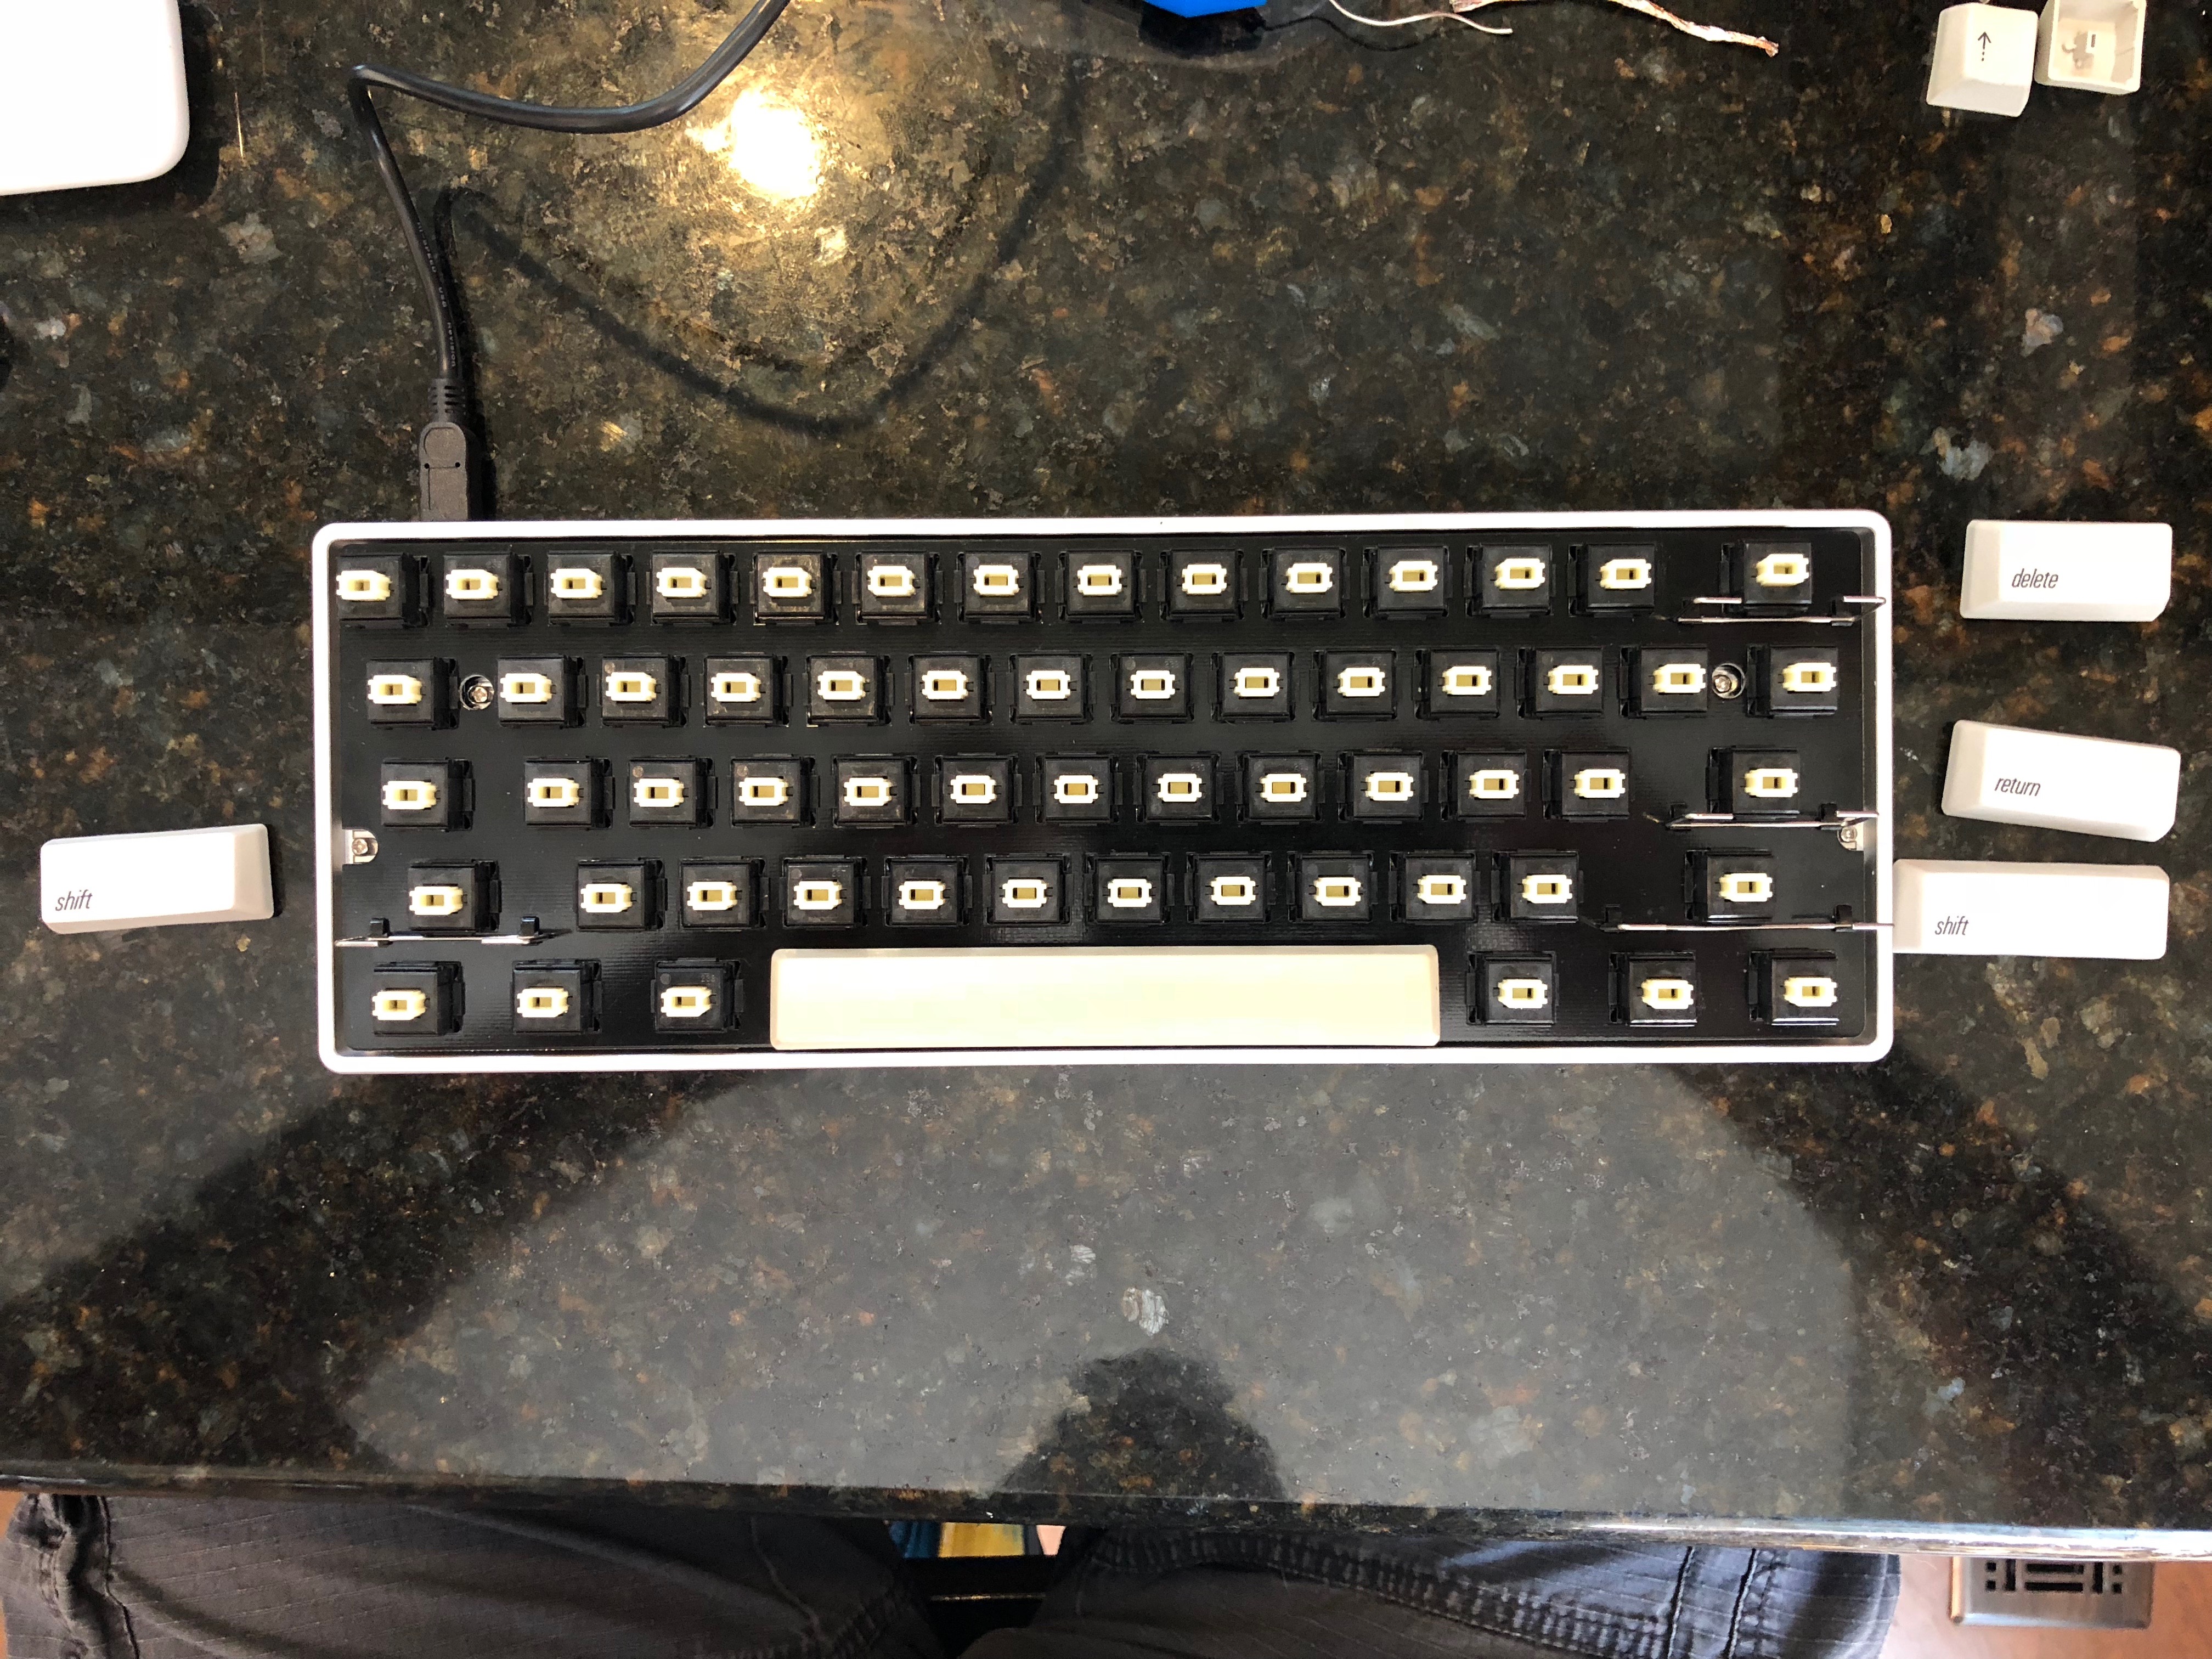
At this point, all the switches were working with the default onboard keymapping, so I attached the PCB to the case with screws and tested and retested and retested (a lot of testing). I set all the stabilizers back in, and attached the largest keycaps first, starting with the space bar.
Installing keycaps
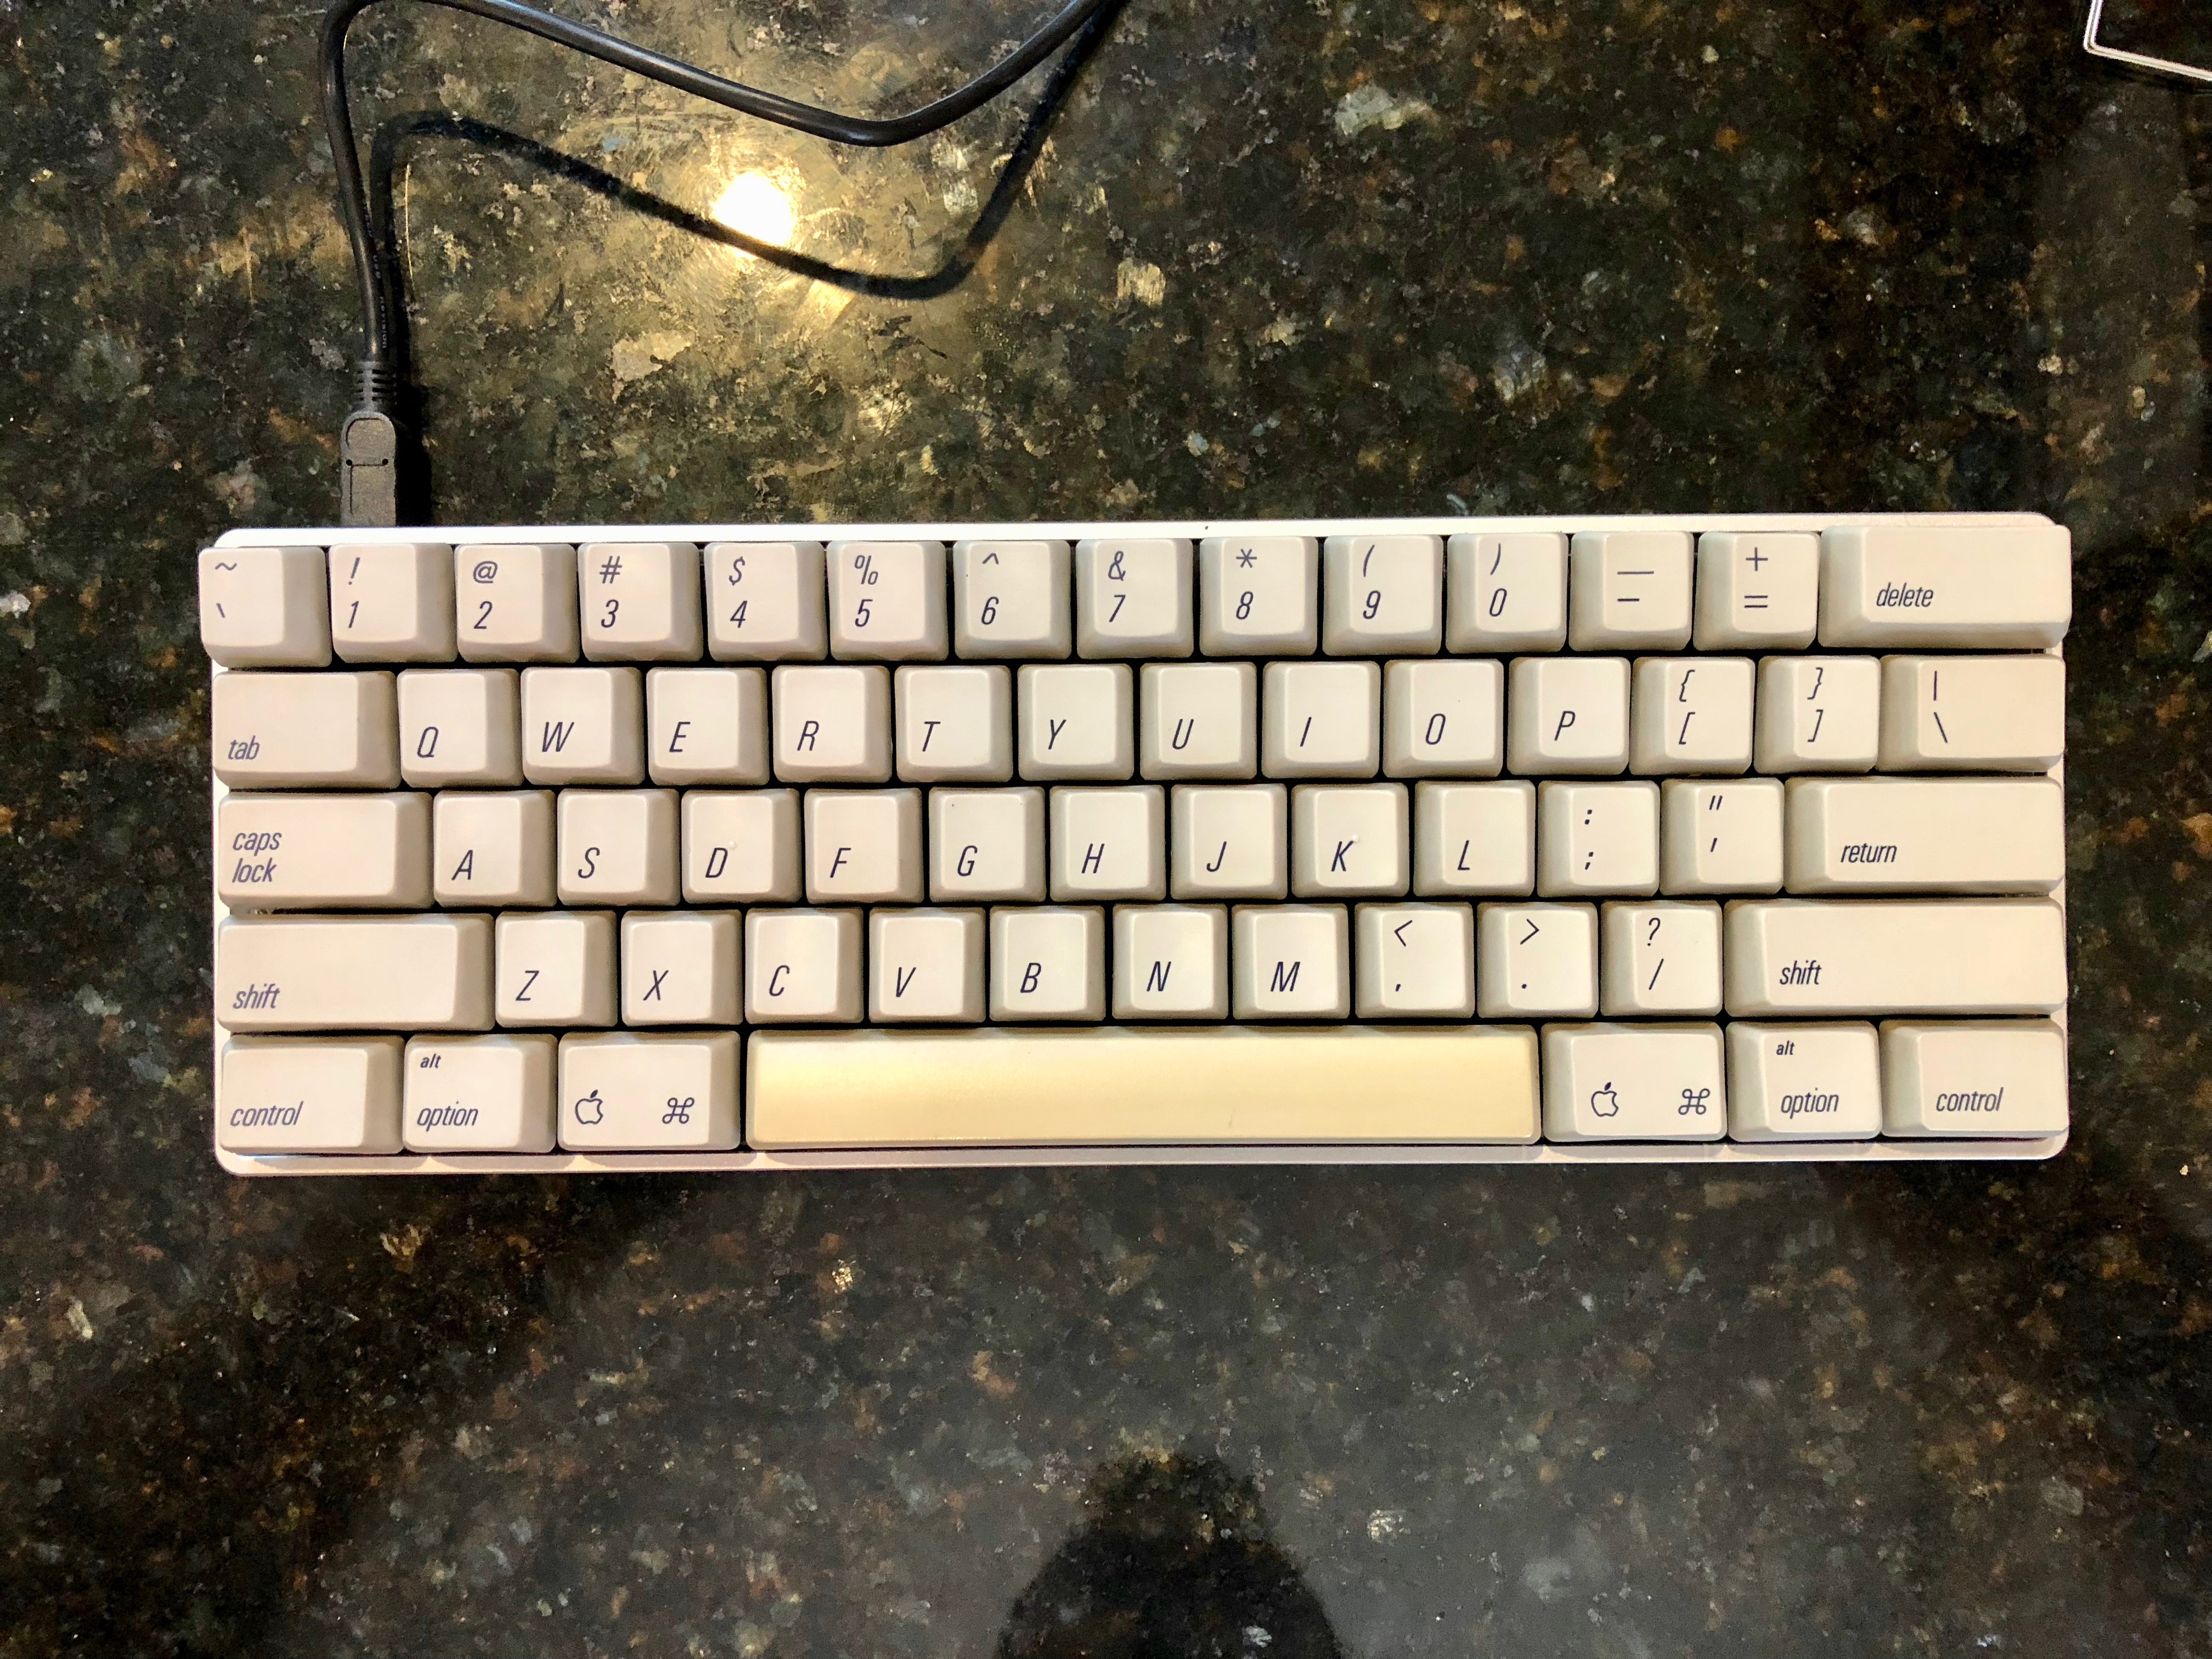
The keycaps are simple enough to install by themselves: just place over the switch and push down with moderate force until it clicks. With no particular order to follow, it was kind of fun trying to match muscle memory with where keys went. When I wasn’t sure, I just looked at my Macbook Pro for confirmation. Muscles remember, but they don’t talk.
Test drive
I found the default key layout a little wanting. Luckily, the onboard chipset is completely programmable, and Hasu provides an online configurator to specify just exactly how your keyboard should act.
Configuring and flashing the firmware
I used Hasu’s TMK Keymap Editor to set up a few layers on my keyboard. It supports up to 7, but I haven’t explored more than the three I have so far:
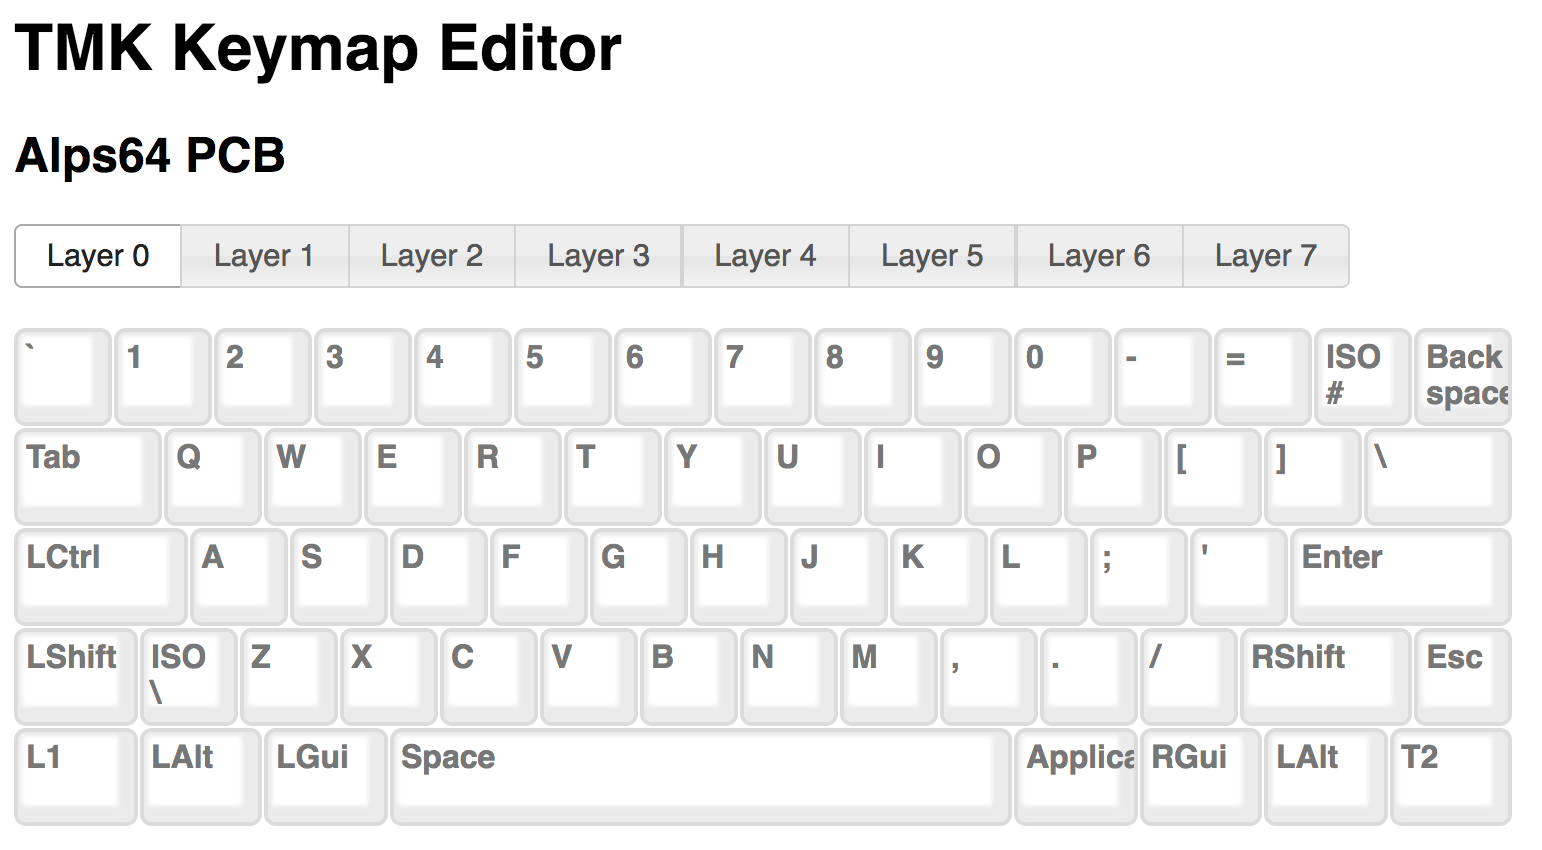
In the default layer, most everything is normal, with the exception of the two
control keys in the bottom row.
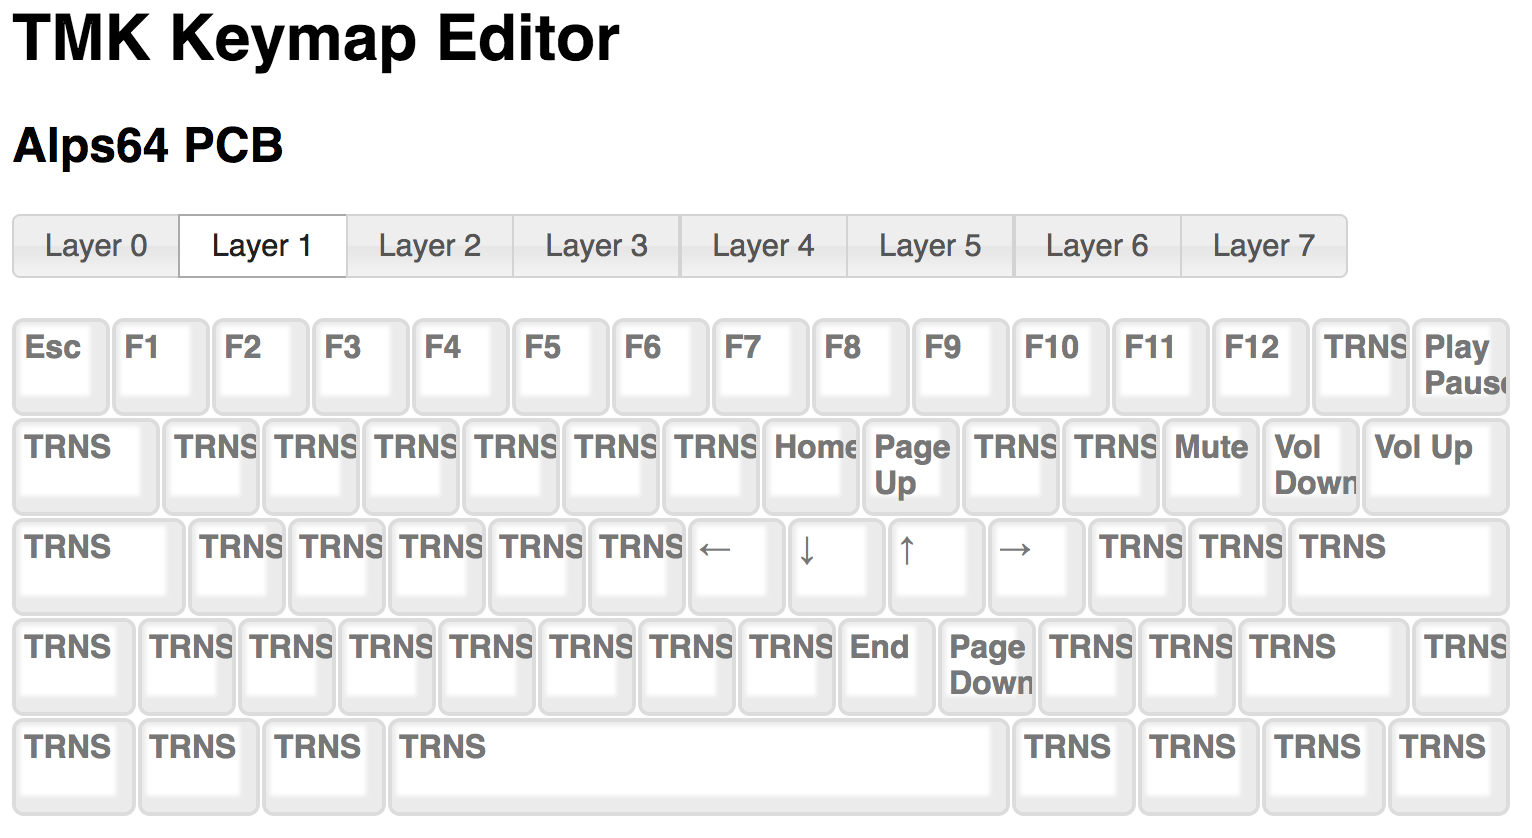
The left control key activates Layer 1, but only when held, making it a modifier to enable arrow keys, function keys, and media keys.
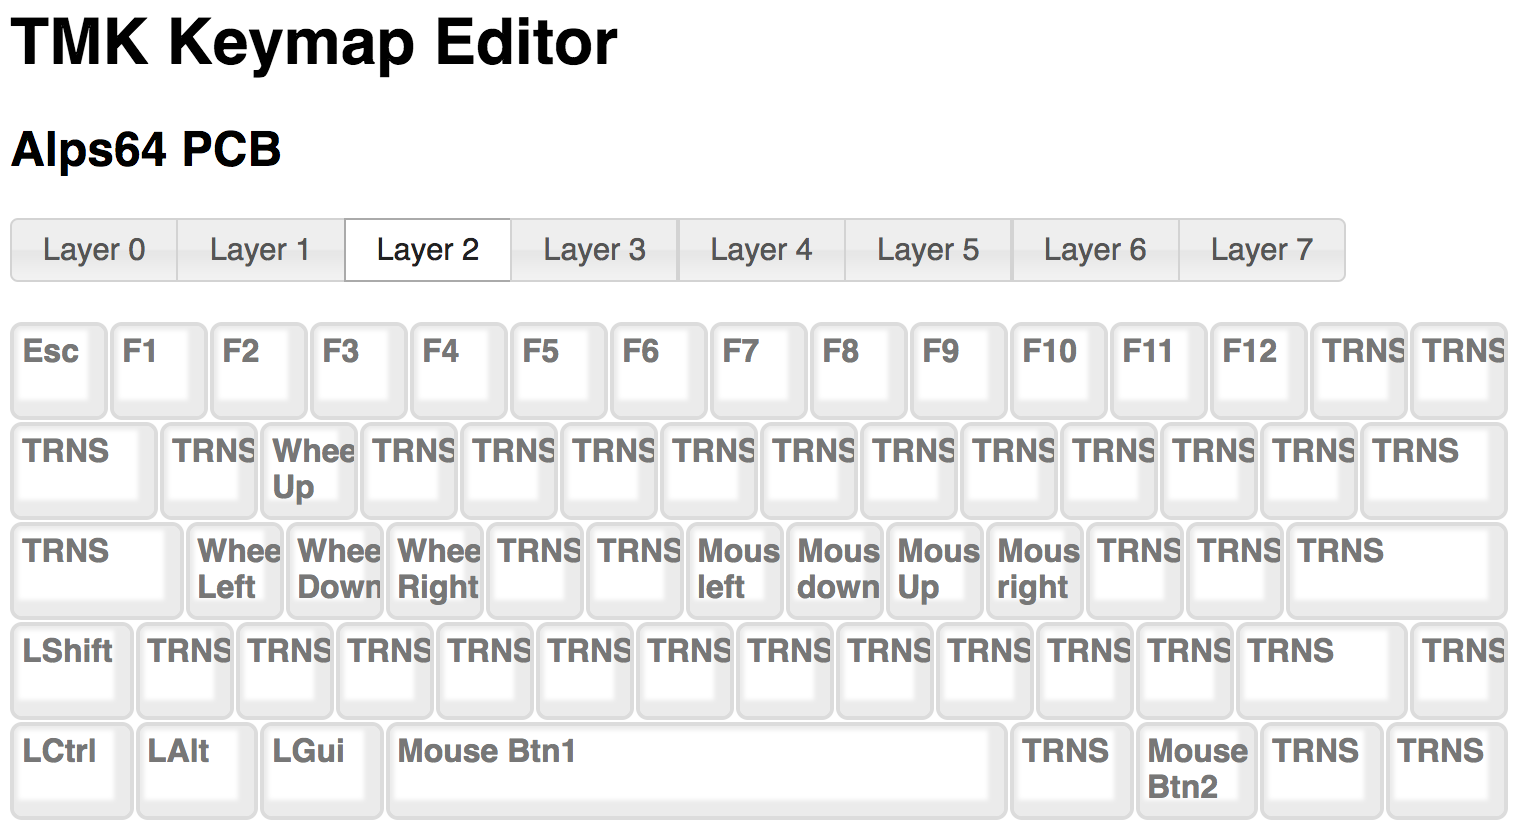
Press the right control key, however, and the entire keyboard switches into
mouse mode. I’ve mapped the vim keys for left, down, up, and right to
the corresponding mouse events, left, down, up, and right, and I’ve reused the
standard WASD keys for scrolling behavior. Space bar becomes mouse button 1,
and the right Command key becomes mouse button 2. I now have a fully capable
(if slow, and currently frustration-inducing) mouse mode.
In use
So far, after a day of use, it’s becoming a bit more familiar, and a whole lot more intuitive. As a heavy vim user, I still get caught up in using the Esc key on layers 1 or 2. I’ve swapped it to be Esc on Layer 0, but it turns out I also make heavy use of the backtick and tilde! In the meanwhile, I’m quite enjoying the aestheic nature of my new keyboard, and the challenge involved in mastering yet another set of fingertip-driven conventions. With a pleasing click and a solid build, I’ll give it another 100 years.
Future Plans
There are a couple ideas I’m already exploring in my head:
- Bluetooth! There’s a writeup of adding a BT controller and battery inside the case. There should be enough room to make that happen, and there are a few other keyboard enthusiasts at work planning on just such a project for theirs.
- 3D printing a new case that doesn’t leave the top plate and switches so exposed.