Getting Control over Caps Lock
So, one of the first things I wanted to do with my newly resurrected Apple Extended Keyboard II was to return to the “proper” behavior with respect to the horribly misplaced Caps Lock key.
As a developer, I make extensive use of OS X’s built-in text editing features, many of which have origins in UNIX. I use a lot of Control key shortcuts: Control-A to go to the beginning of a line, Control-E to go to the end, Control-N to advance to the next line, Control-P to go to the previous line, and so on… I don’t know the whole history of keyboard hardware development, but I’m sure there was some reason why Caps Lock got the placement it did, wrong as it was. Personally, I find using Control works much better situated next to the ‘A’ key.
Normally, OS X makes it very easy to change the behavior of the Caps Lock key (as we’ll see below). However, Apple’s mechanical keyboards use locking Alps key switches, which behave as a key-down-key-up with each press, rather than as a momentary key-down like other modifier keys. This means the OS can’t simply treat it as it does a non-locking switch (like on Apple’s new keyboards). These locking switches are easily modifiable though, as I’ll explain.
There are three parts to upgrading your Caps Lock to Control: One mechanical, one in the firmware of the adapter, and one in the OS.
[Edit 2015-01-19]: Actually, you don’t even need to fiddle with the OS. You can just change the firmware
Mechanical
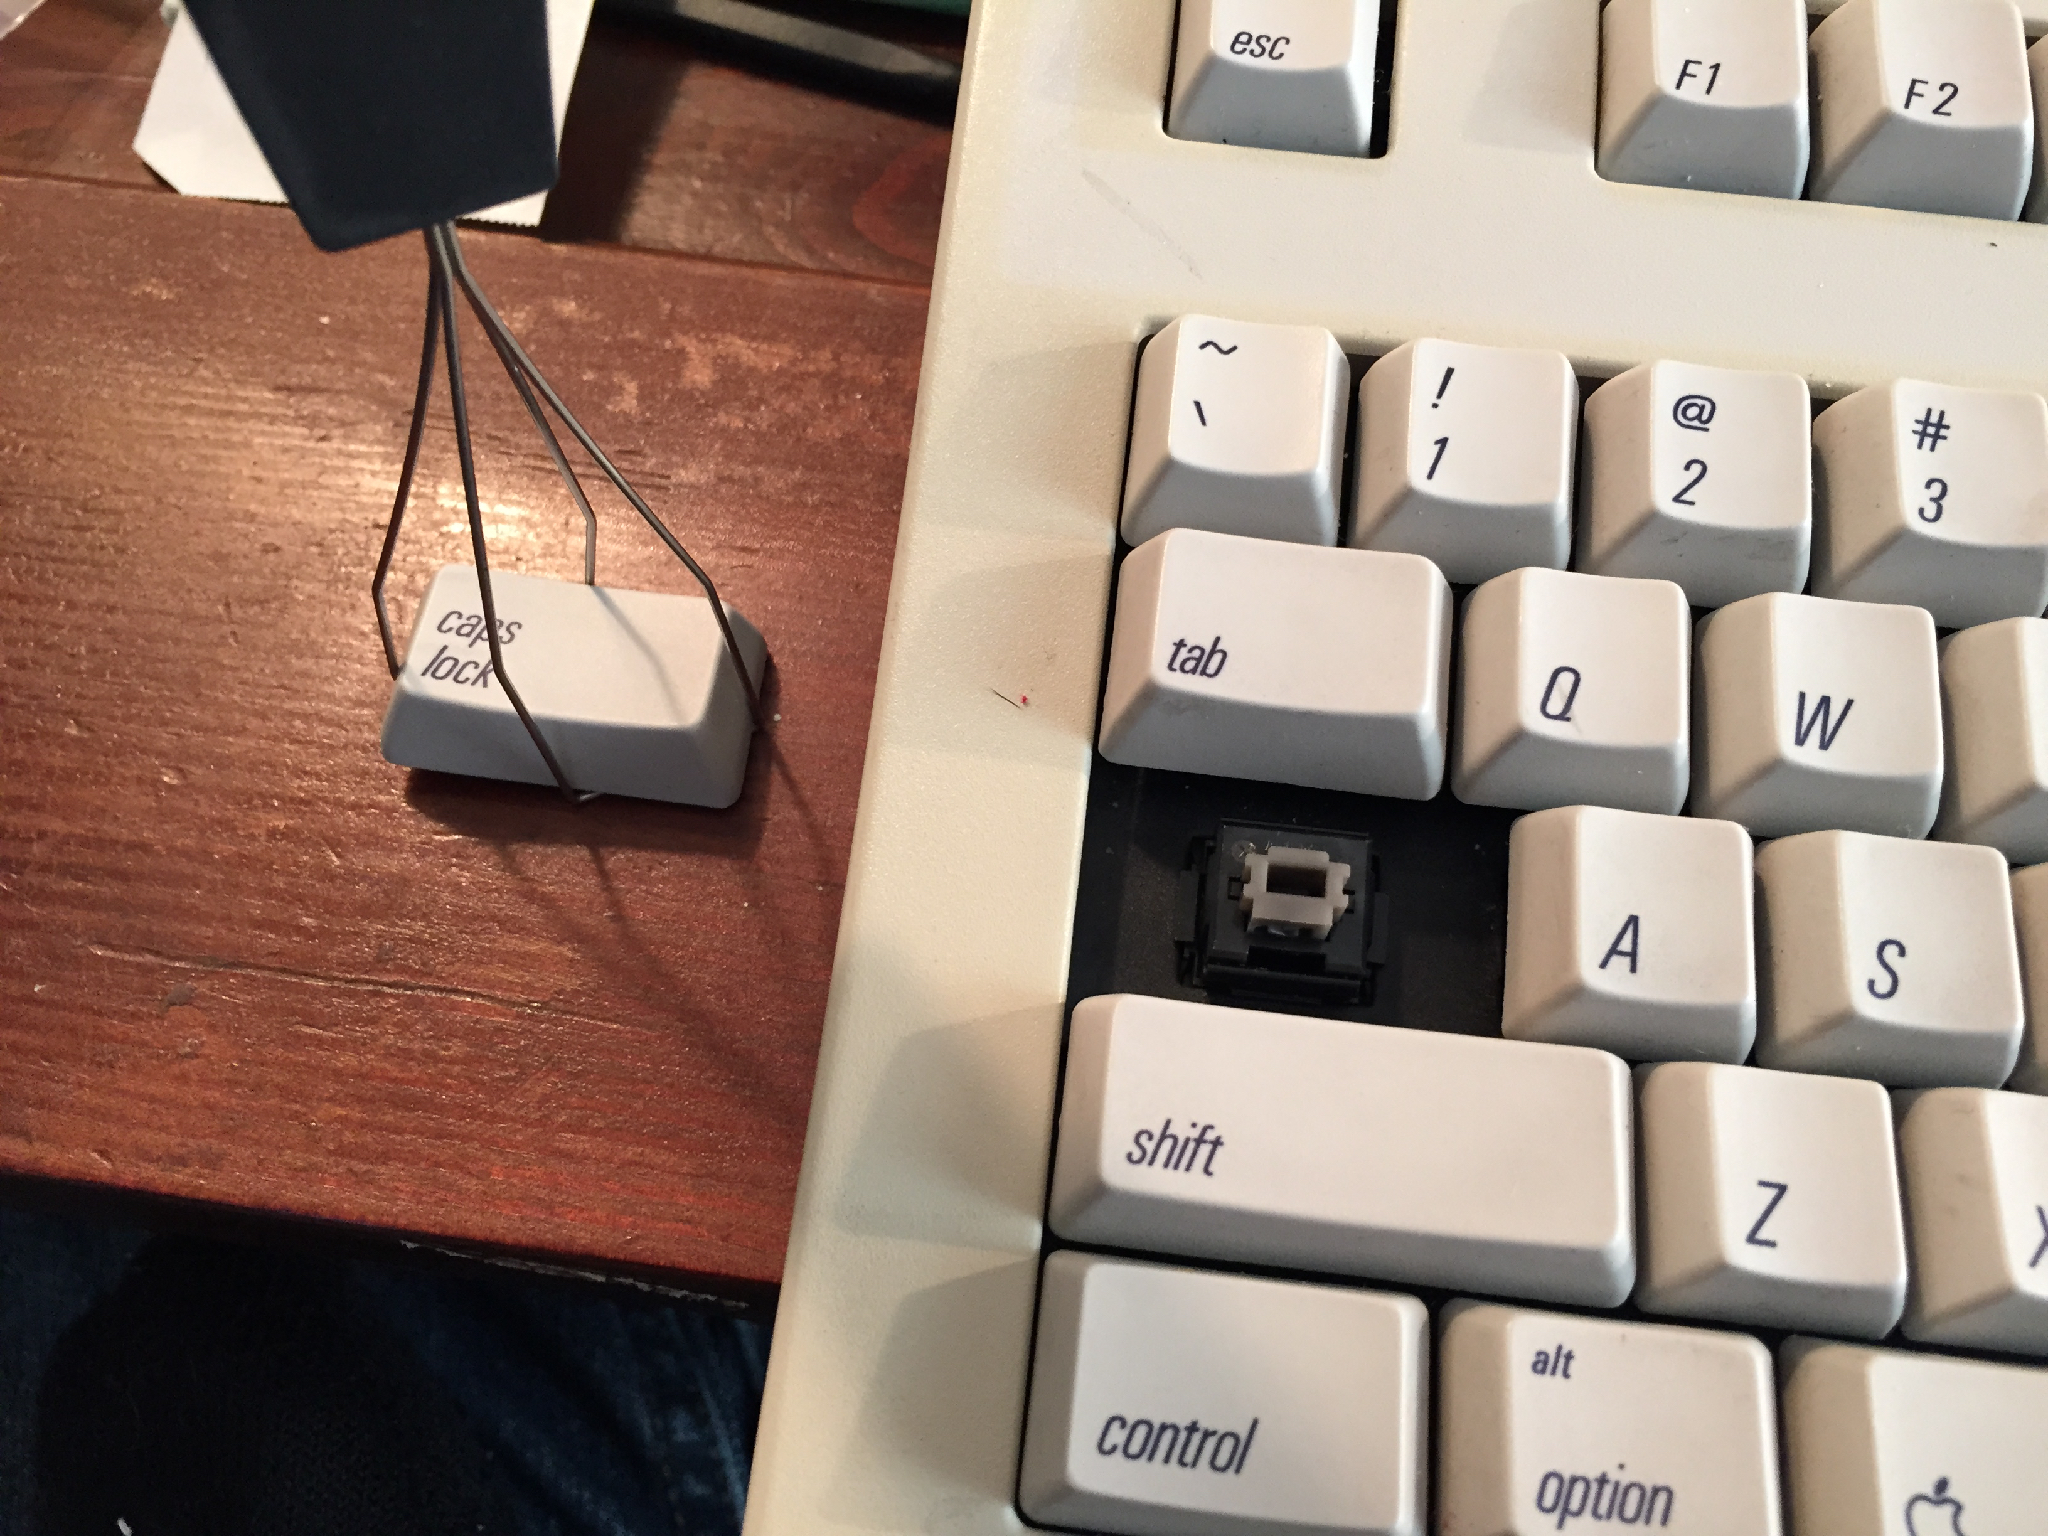
- You’ll need to remove the keycap of the Caps Lock key. I have a wire keycap
puller, but if you exhibit a bit of care, you can gently pry the keycaps
off.
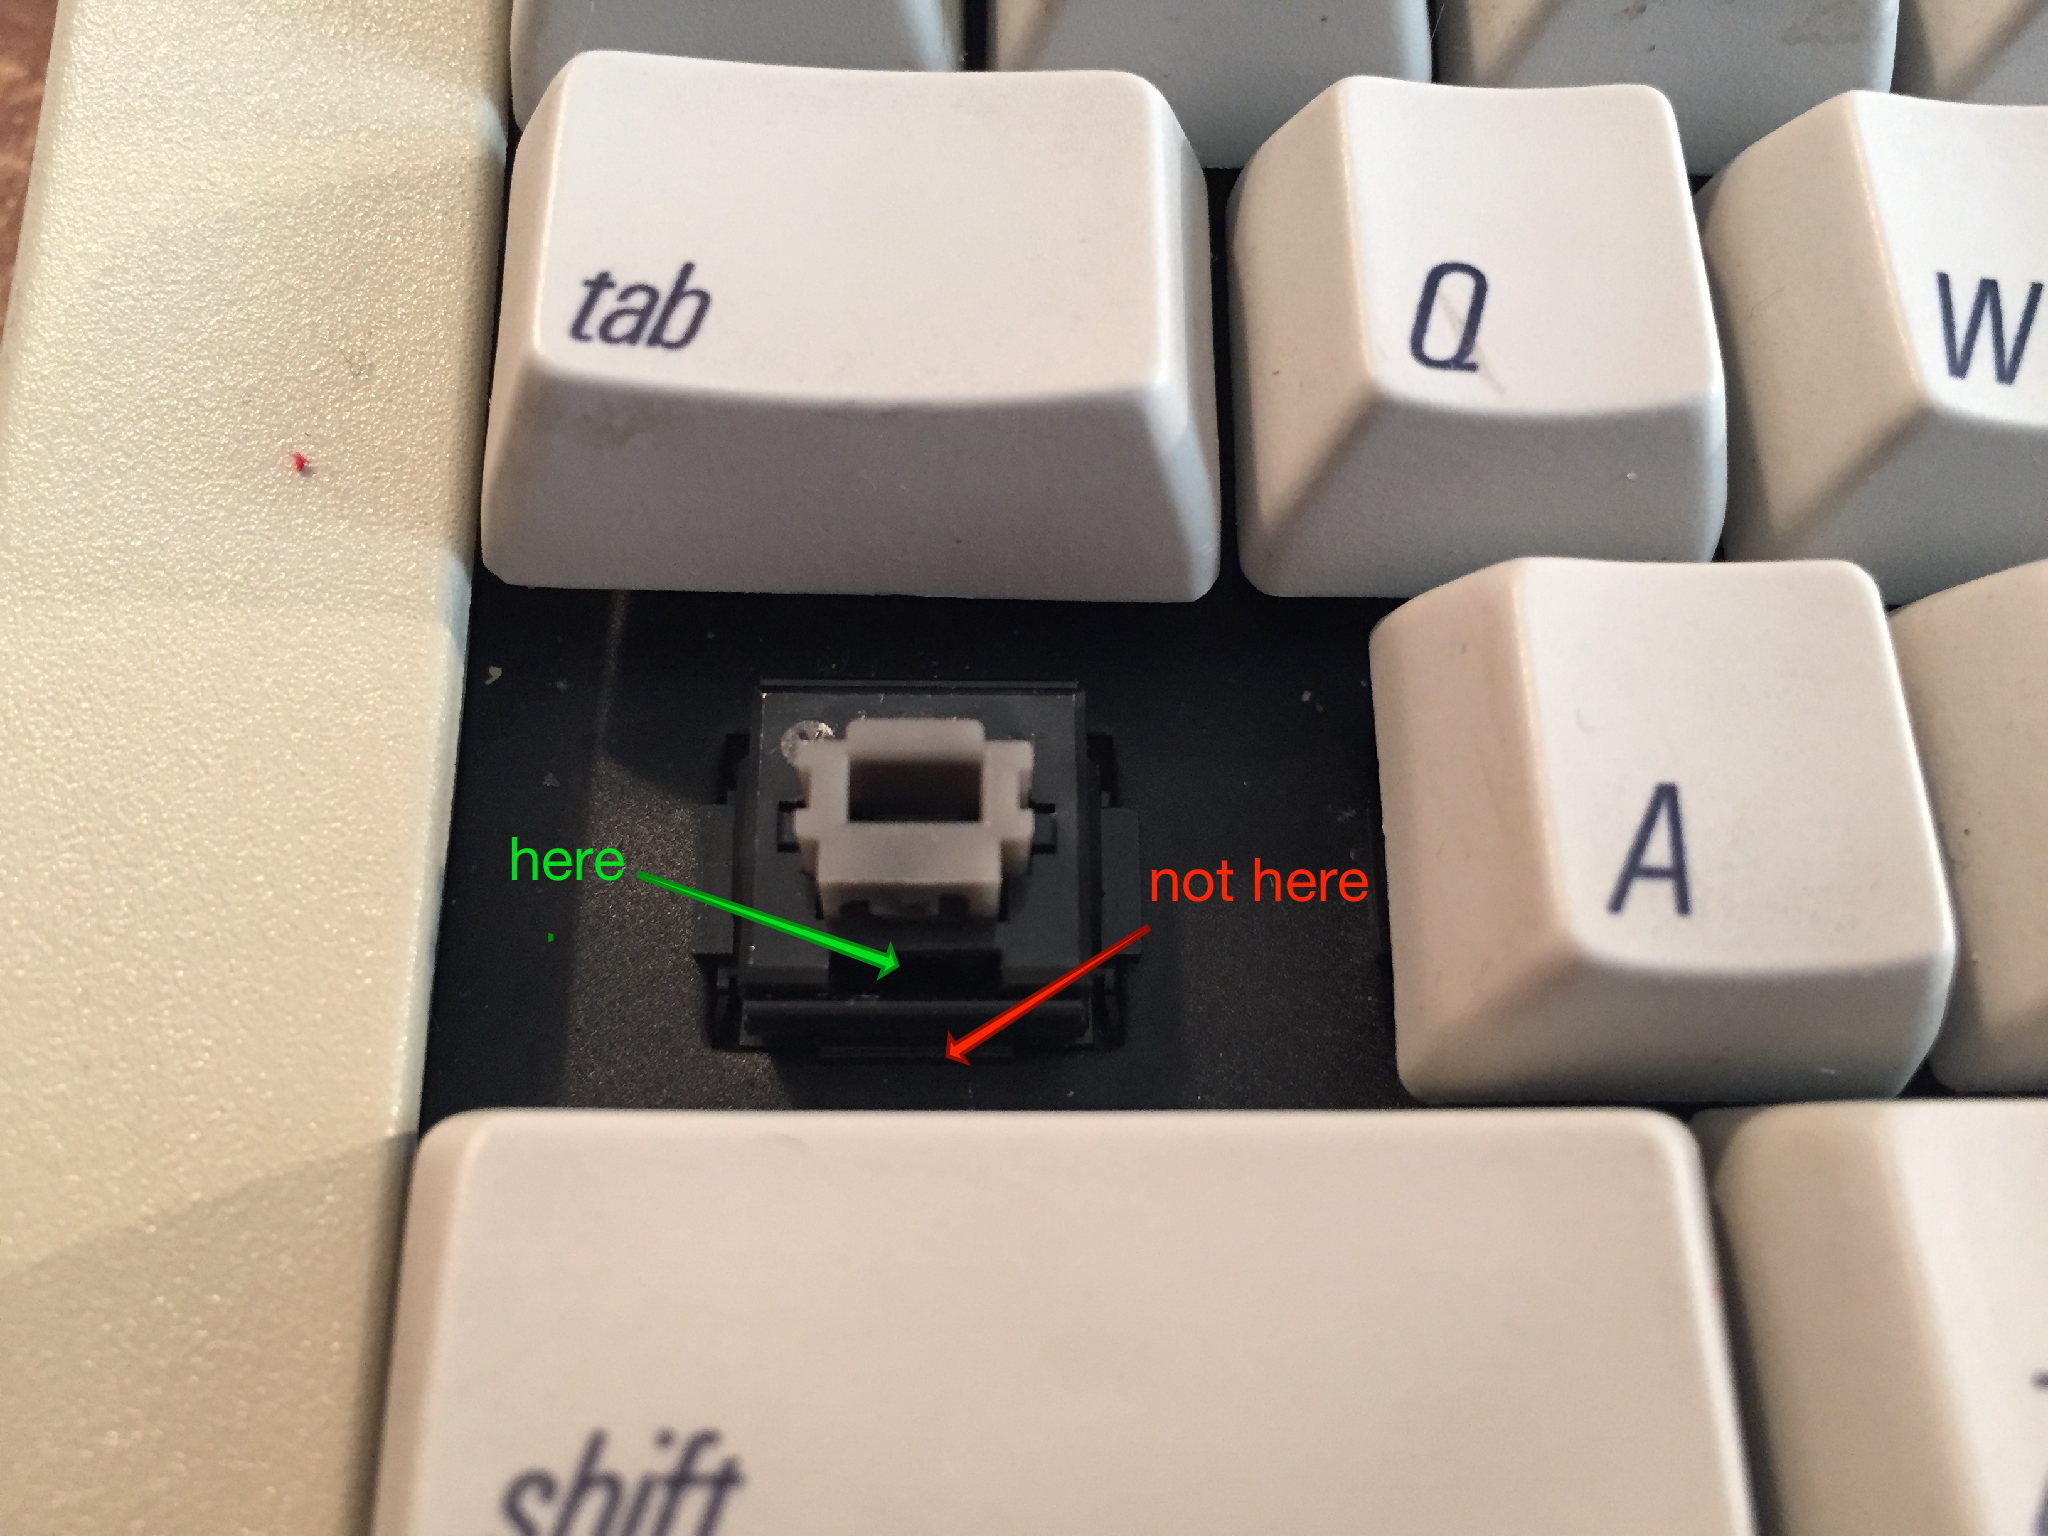
- You’ll need to gently remove the inner sleeve of the key switch. Watch
this video to see the process
in action. This is the housing where you’ll be able to remove the locking pin.
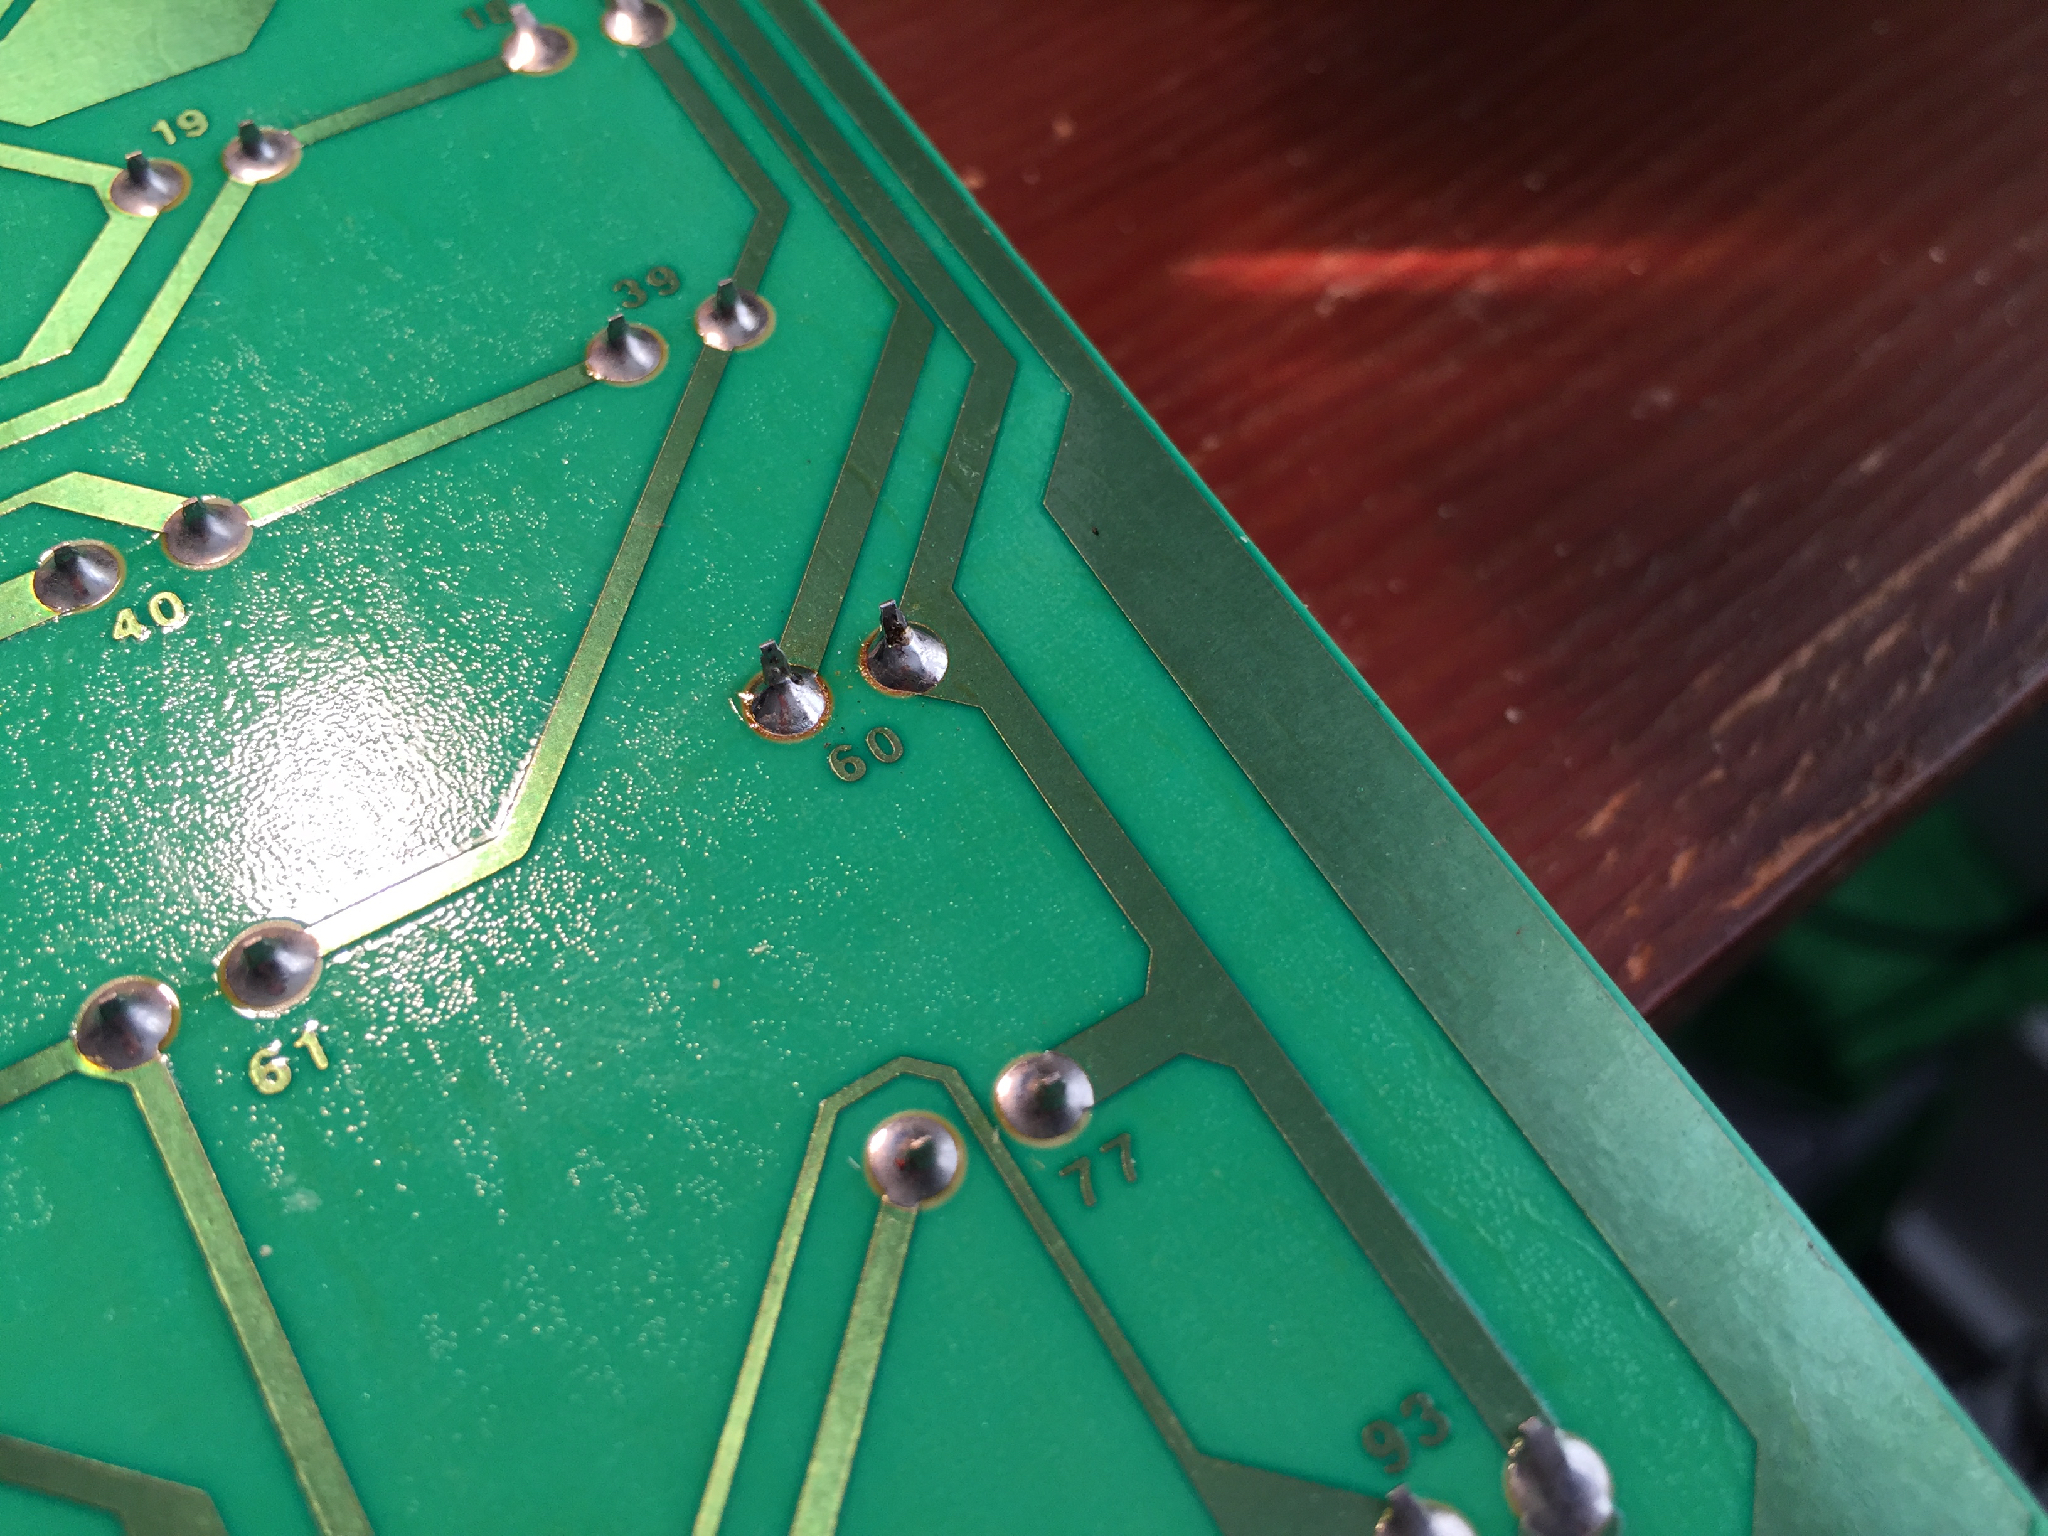
If you accidentally pry out the entire switch, like I did, the best that will
happen is you’ll break the soldering connection on the board, like I did, and
have to clean it up, and re-solder, or you’ll damage the switch, possibly
irrevocably. I was not too thrilled about prying out the entire switch, but I
managed to reseat it, and get it cleanly soldered again.
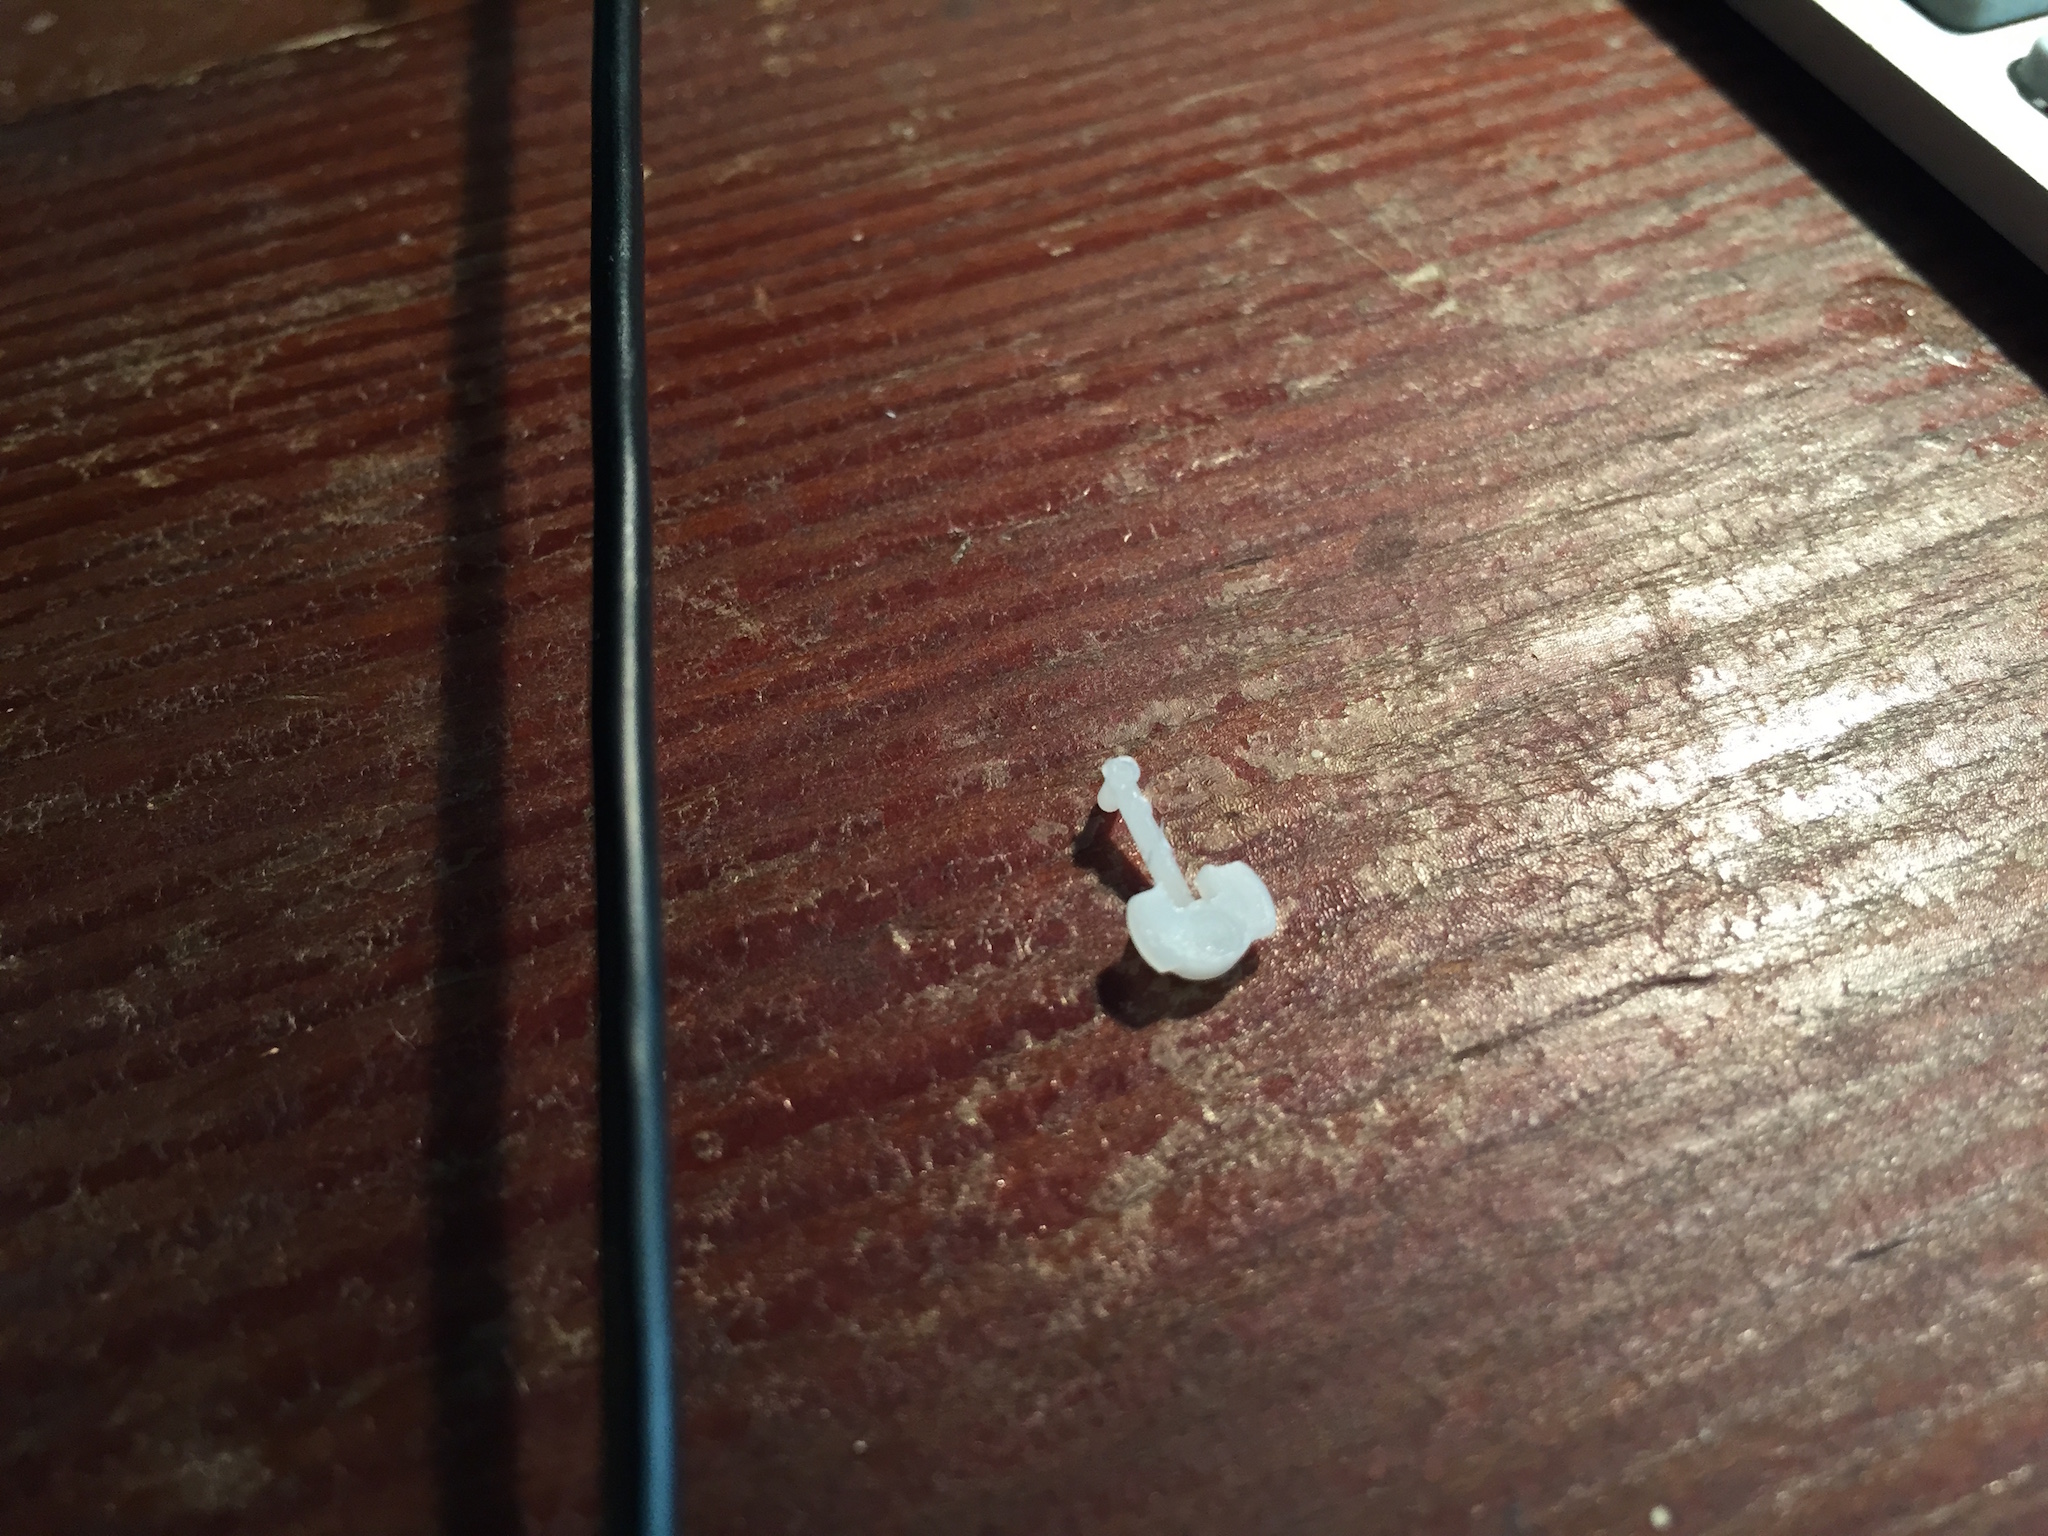
- With the inner housing removed, use tweezers to remove the small, plastic
locking pin. Now you have a regular switch. Gently replace the housing in
the switch, and replace the keycap. I saved the pin because reasons.
Firmware
All you need to change in Hasu’s tmk code is the keymap code for the Caps Lock key in keymap_ansi.c:
--- a/converter/adb_usb/keymap_ansi.c
+++ b/converter/adb_usb/keymap_ansi.c
@@ -6,7 +6,7 @@ const uint8_t PROGMEM keymaps[][MATRIX_ROWS][MATRIX_COLS] = {
     ESC, F1,  F2,  F3,  F4,  F5,  F6,  F7,  F8,  F9,  F10, F11, F12,           PSCR,SLCK,PAUS,                   PWR,
     GRV, 1,   2,   3,   4,   5,   6,   7,   8,   9,   0,   MINS,EQL, BSPC,     INS, HOME,PGUP,    NLCK,PEQL,PSLS,PAST,
     TAB, Q,   W,   E,   R,   T,   Y,   U,   I,   O,   P,   LBRC,RBRC,BSLS,     DEL, END, PGDN,    P7,  P8,  P9,  PMNS,
-    LCAP,A,   S,   D,   F,   G,   H,   J,   K,   L,   SCLN,QUOT,     ENT,                         P4,  P5,  P6,  PPLS,
+    CAPS,A,   S,   D,   F,   G,   H,   J,   K,   L,   SCLN,QUOT,     ENT,                         P4,  P5,  P6,  PPLS,
     LSFT,Z,   X,   C,   V,   B,   N,   M,   COMM,DOT, SLSH,          RSFT,          UP,           P1,  P2,  P3,
     LCTL,LALT,LGUI,          SPC,                               RALT,RCTL,     LEFT,DOWN,RGHT,    P0,       PDOT,PENT
     ),
Apply this change, recompile, reinstall the firmware, and reboot your Teensy.
Operating System
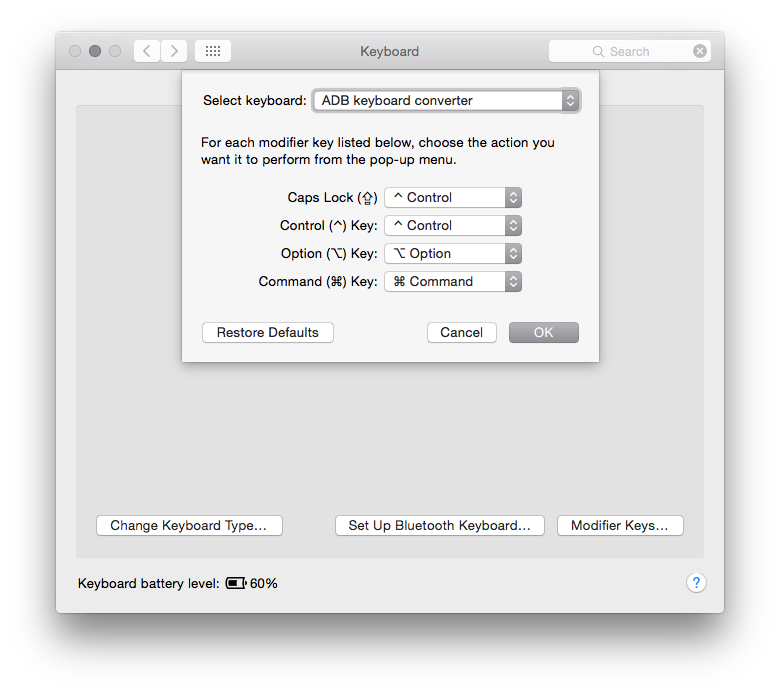
Open your Keyboard preference pane, select the “ADB keyboard converter” keyboard, and set Caps Lock to “^ Control”.
Now you have a Control key where it belongs.
